
Reference Images
Reference images tell BLNG what to keep from an inspiration photo, a sketch or an existing piece: the shape, the material, the style or the lighting. Each reference has its own Influence setting, and you can combine up to 10 per prompt.
They come in two kinds: image references, the ones you attach yourself, and the canvas reference, a live thumbnail of your canvas that joins the row automatically whenever the canvas has content. Both guide the AI the same way, and each has its own influence dial. See Influence.

Adding references
There are several ways to attach a reference, use whichever fits the moment:
- Add references (+): the round + button at the bottom-left of the prompt box opens your file picker, so you can pick one or more images or videos from your computer. They land in the reference row, not on the canvas.
- Drag and drop: images or videos from your computer, or anything already in BLNG, a layer or a generated result, straight onto the panel.
- Copy and paste: Cmd+V an image and it attaches as a reference.
- Drag a layer from the canvas straight into the panel.
- On any generated result, open its menu and choose Use as reference, the fastest way to iterate: keep what's working and nudge the rest.
You can attach up to 10 references in total per prompt, including the canvas thumbnail. Attached references appear as thumbnails above the text input, so you always see what the AI will consider; click one to preview it.
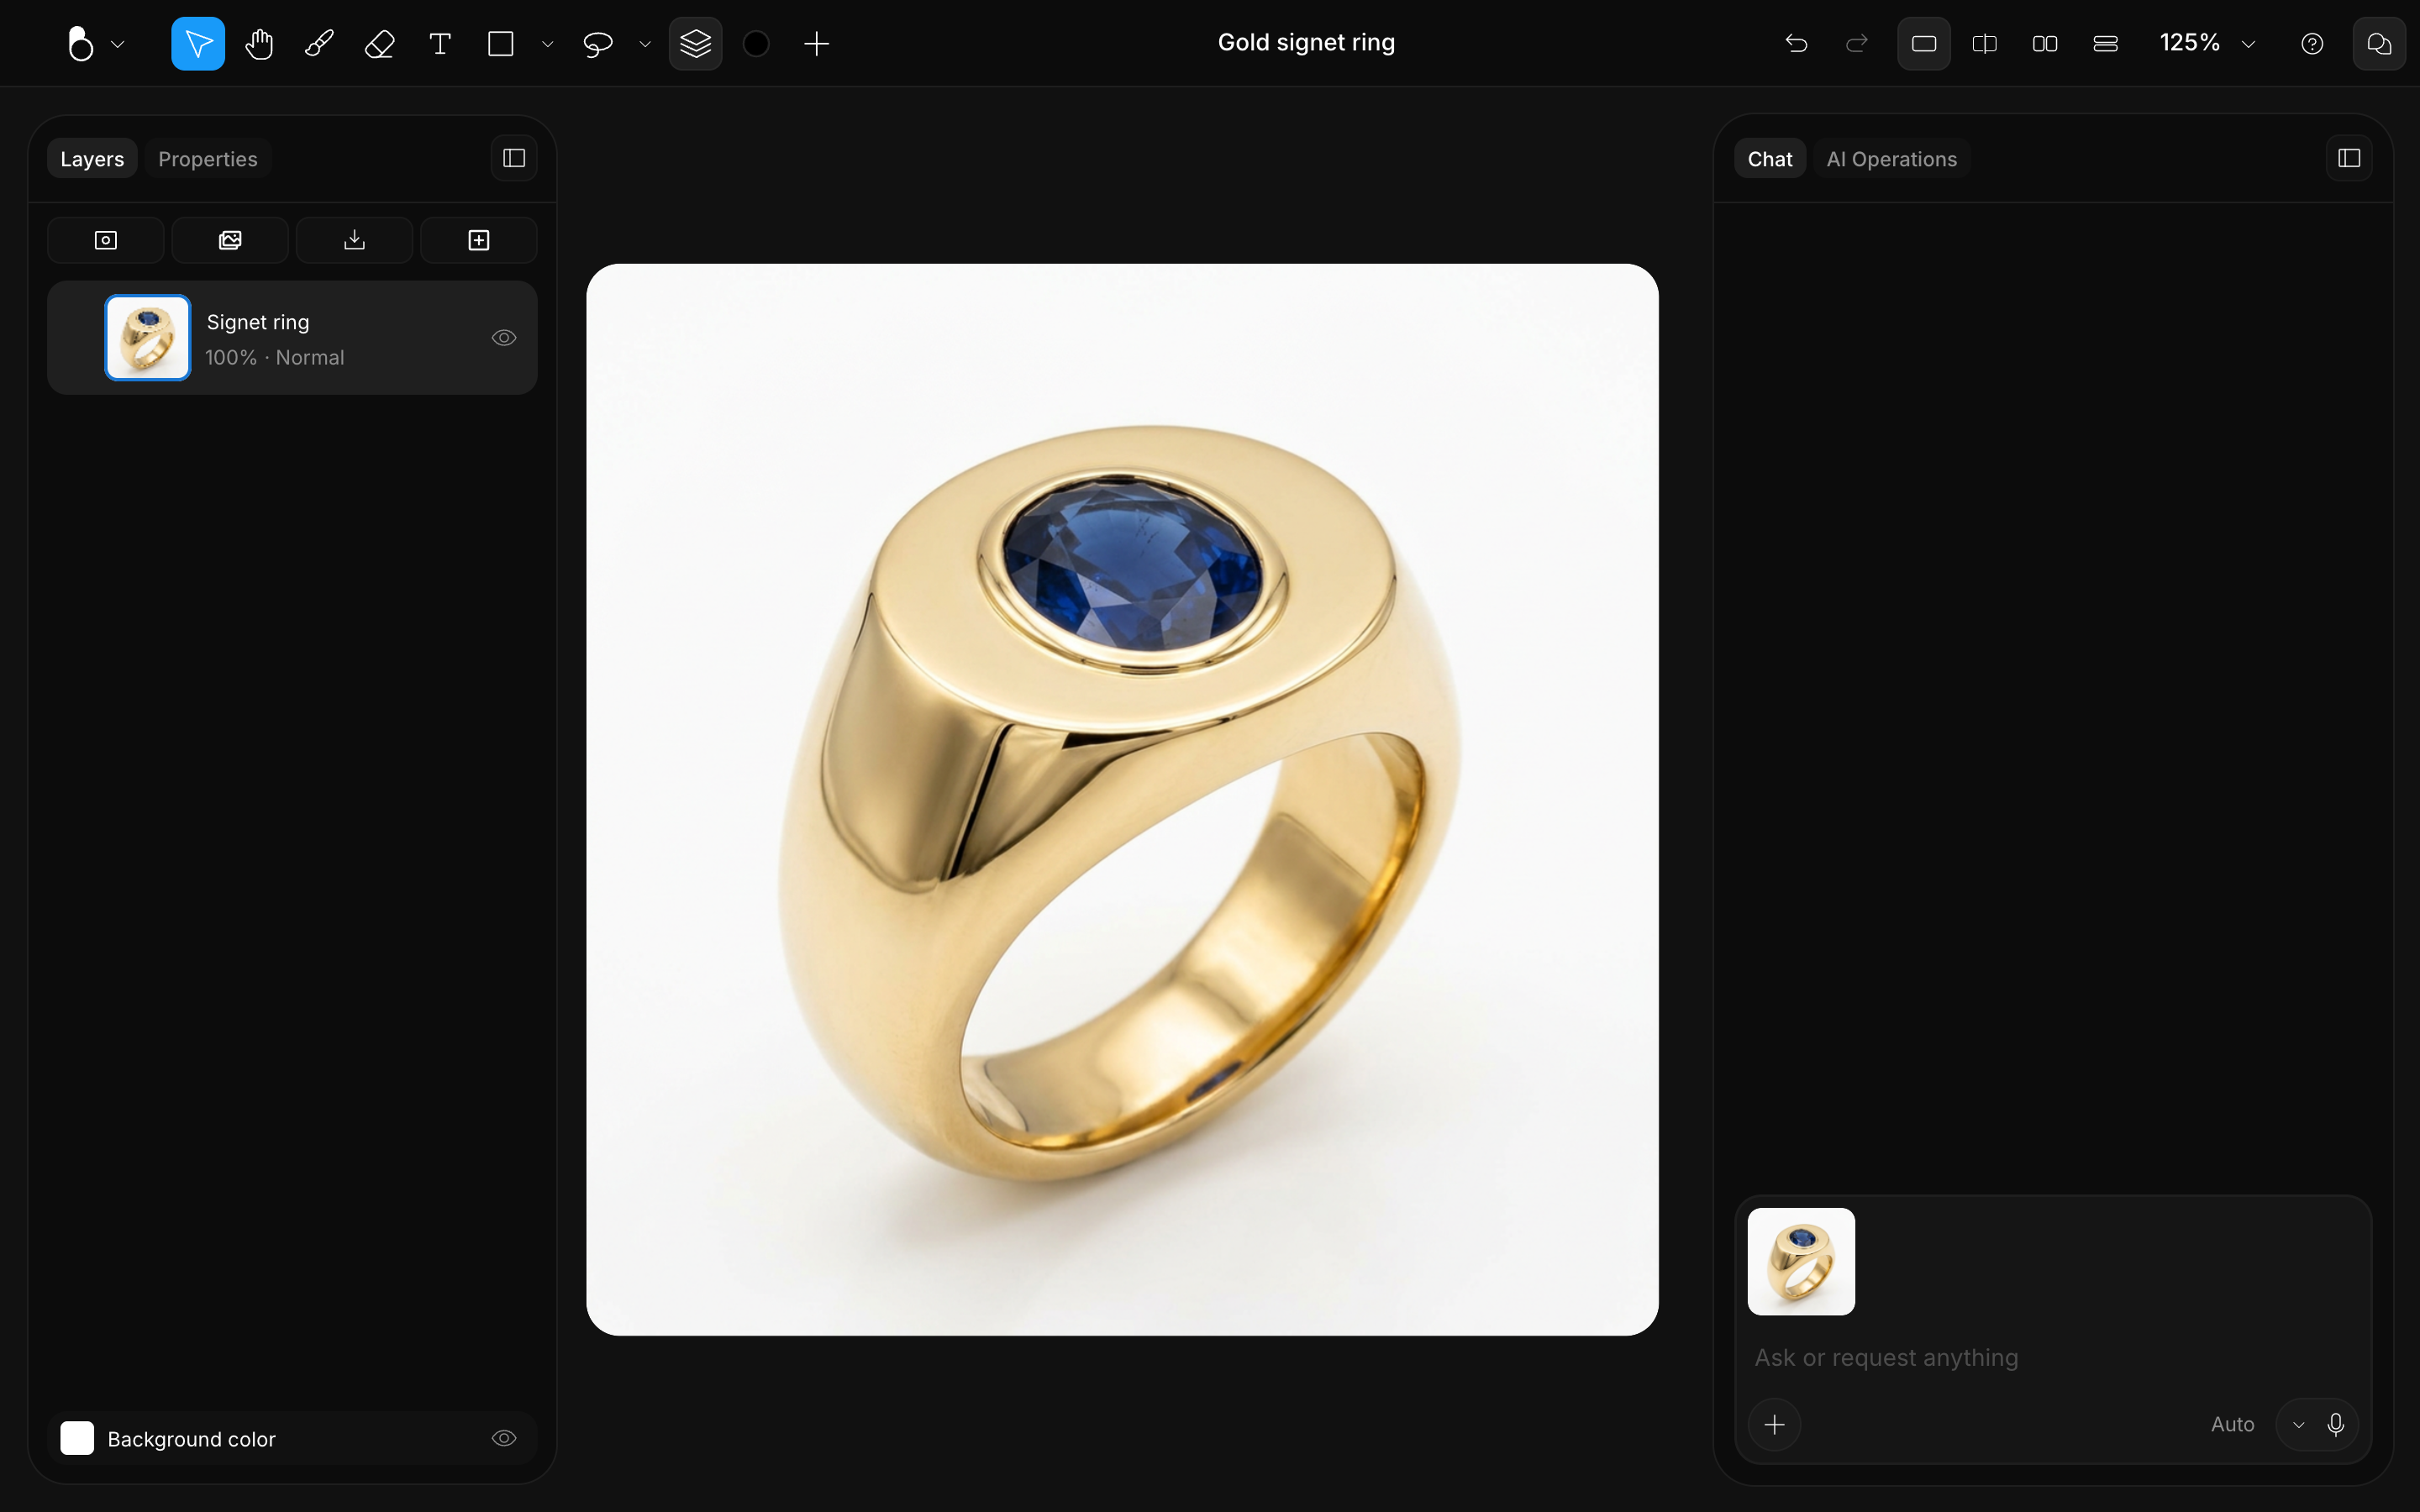
Every reference can also be switched off for a prompt with the eye icon on its thumbnail: it stays in the row, grayed out, and simply doesn't count until you switch it back on. Attached references can be removed entirely with the trash icon; the canvas thumbnail can only be switched off, it returns whenever your canvas has content.
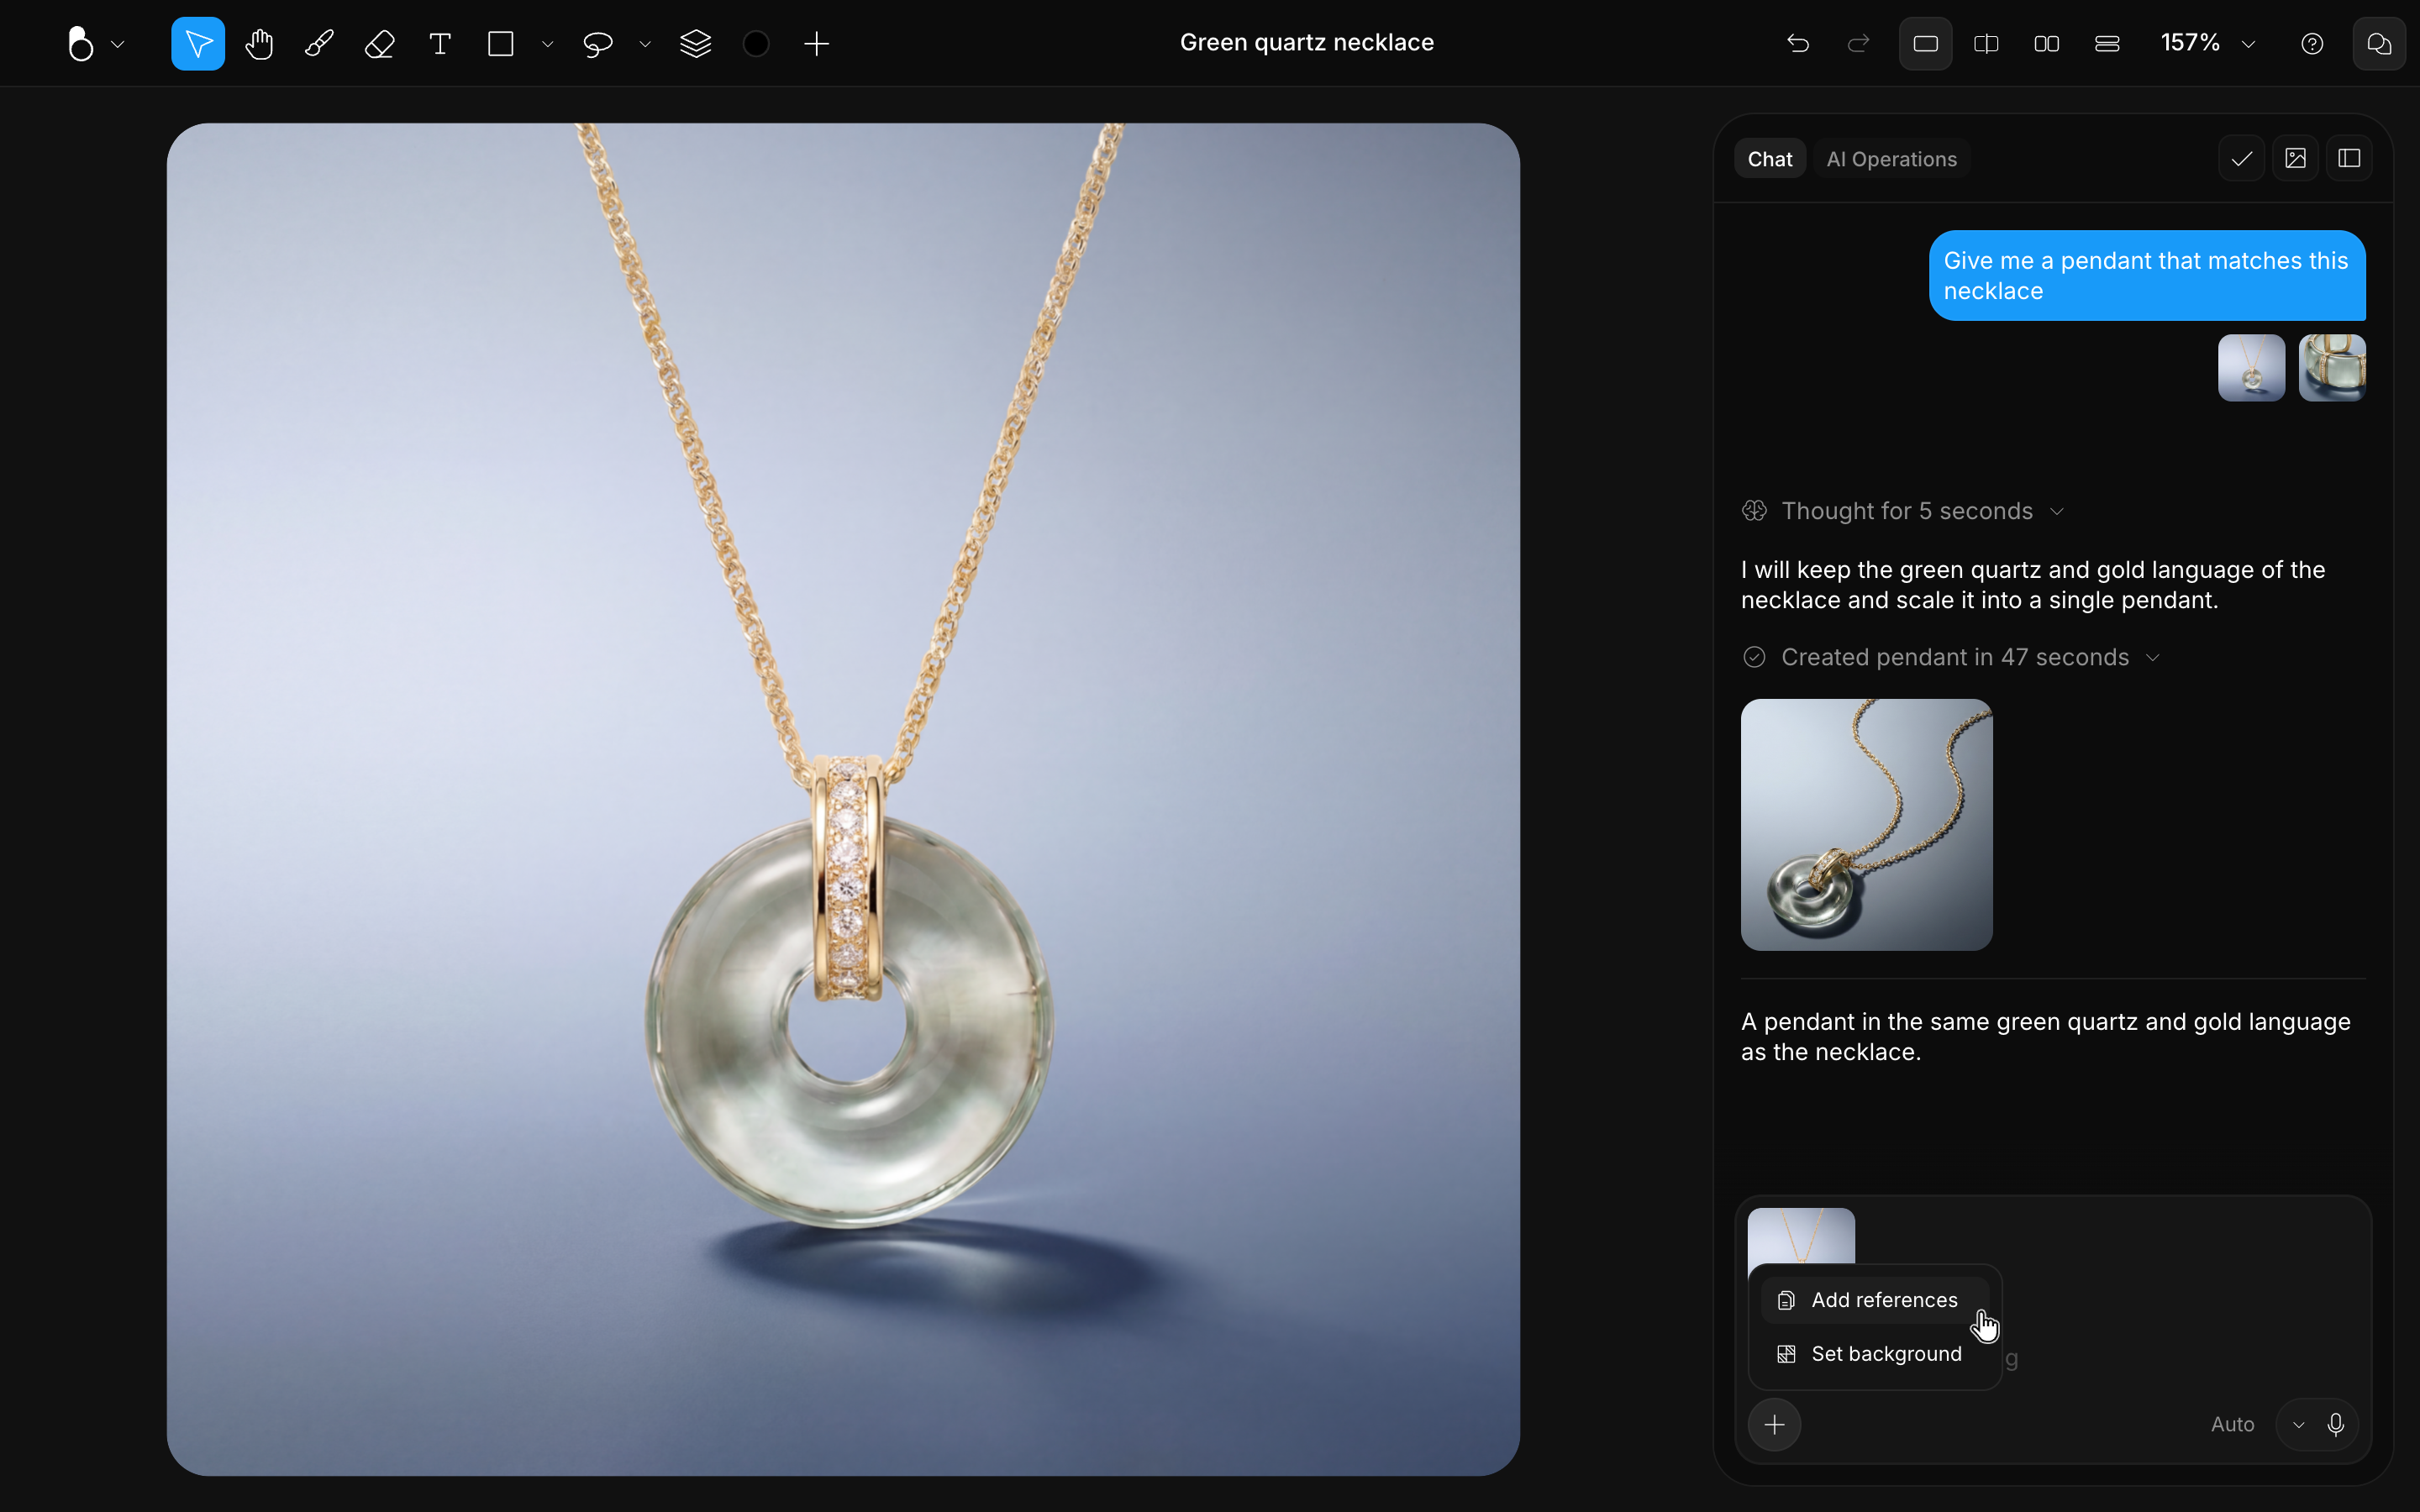
The canvas reference
If your canvas already has content (a sketch, an imported image, shapes, or text), a live thumbnail of it appears automatically as a reference. To leave the canvas out of a particular prompt, switch it off with the eye icon on its thumbnail; it comes back whenever you want it counted again.
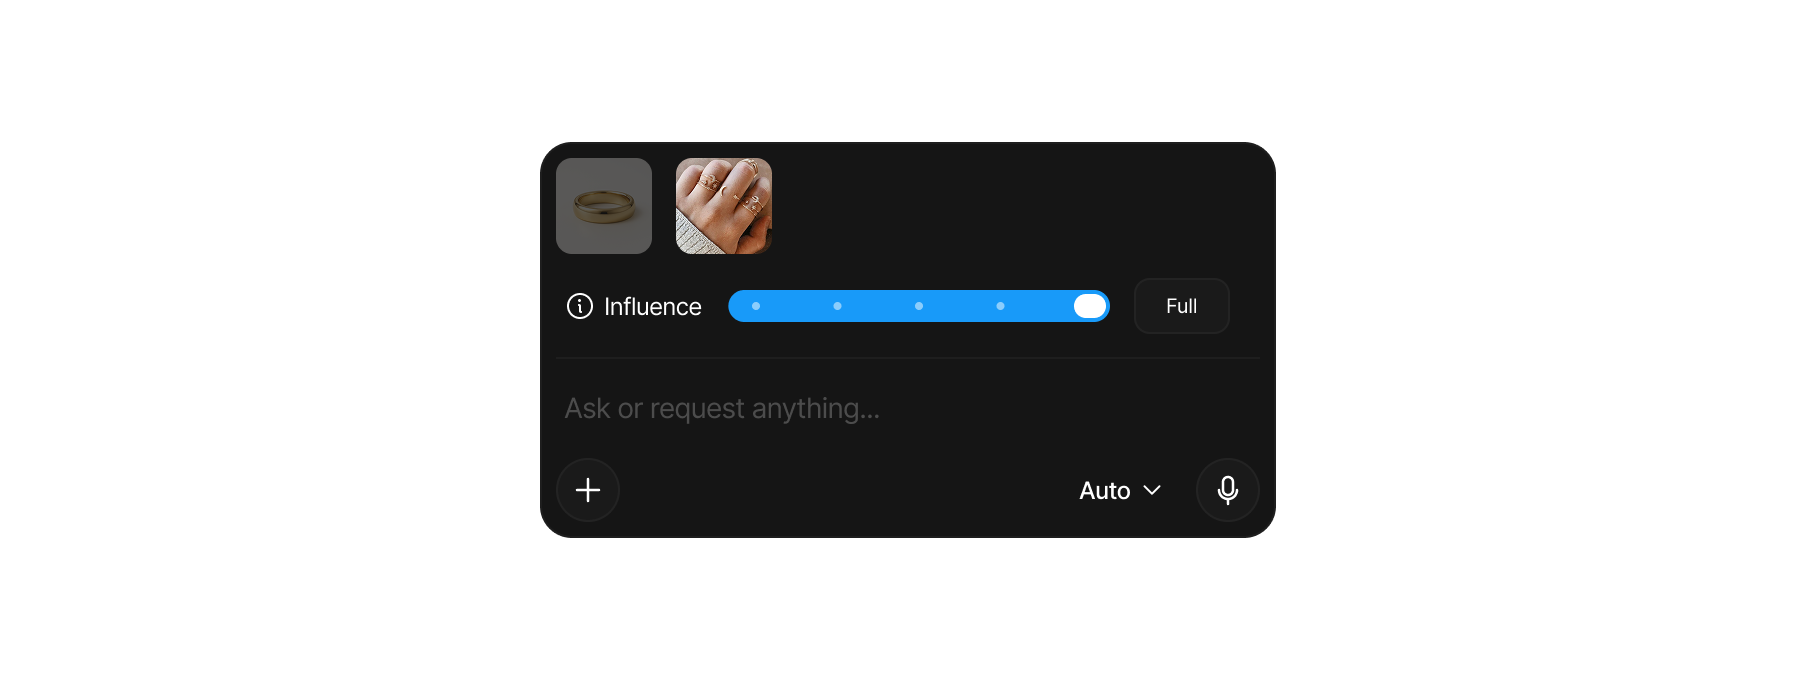
Per-reference Influence
Every reference has its own Influence setting, so you control how closely the AI follows each one:
| Level | Effect |
|---|---|
| None | The reference is ignored. |
| Low | A loose hint; lots of creative freedom. |
| Mid | A balance between the reference and the AI's interpretation. |
| High | Close alignment to the reference. |
| Full | Strict adherence to the reference's structure. |
To adjust it, open the reference thumbnail's menu and choose Adjust influence, or simply double-click the thumbnail to reveal the slider.
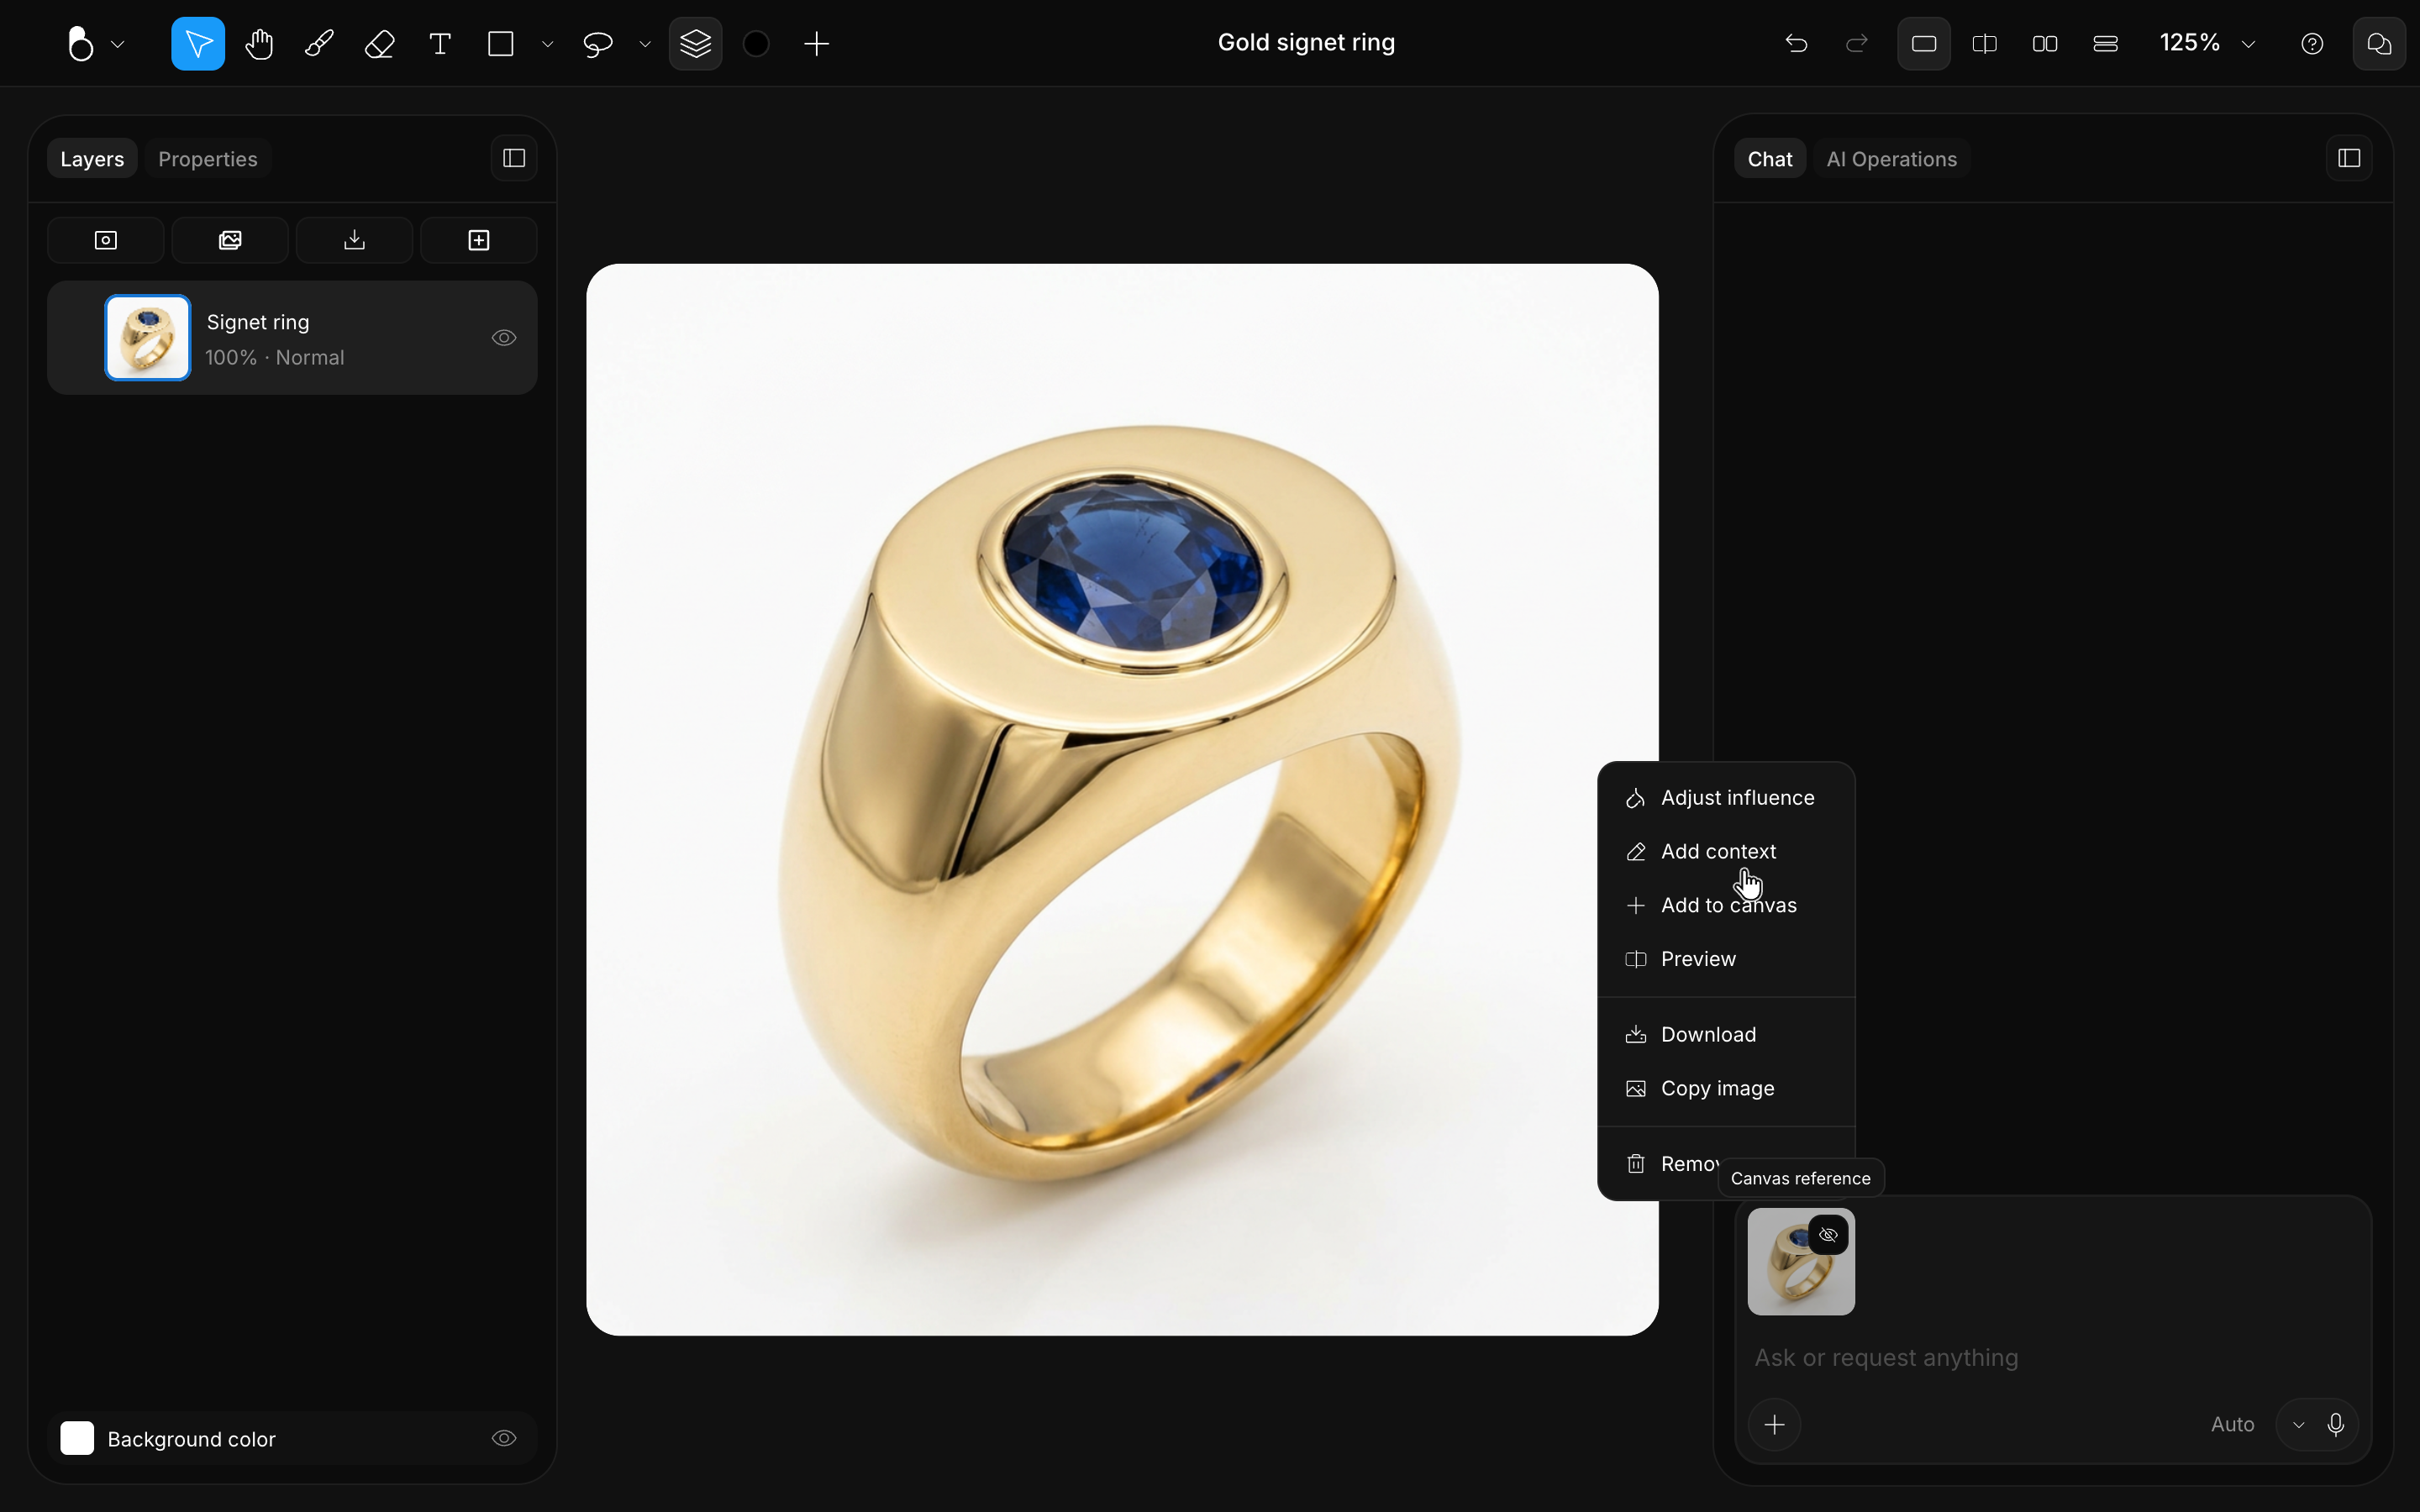
Adding context to a reference
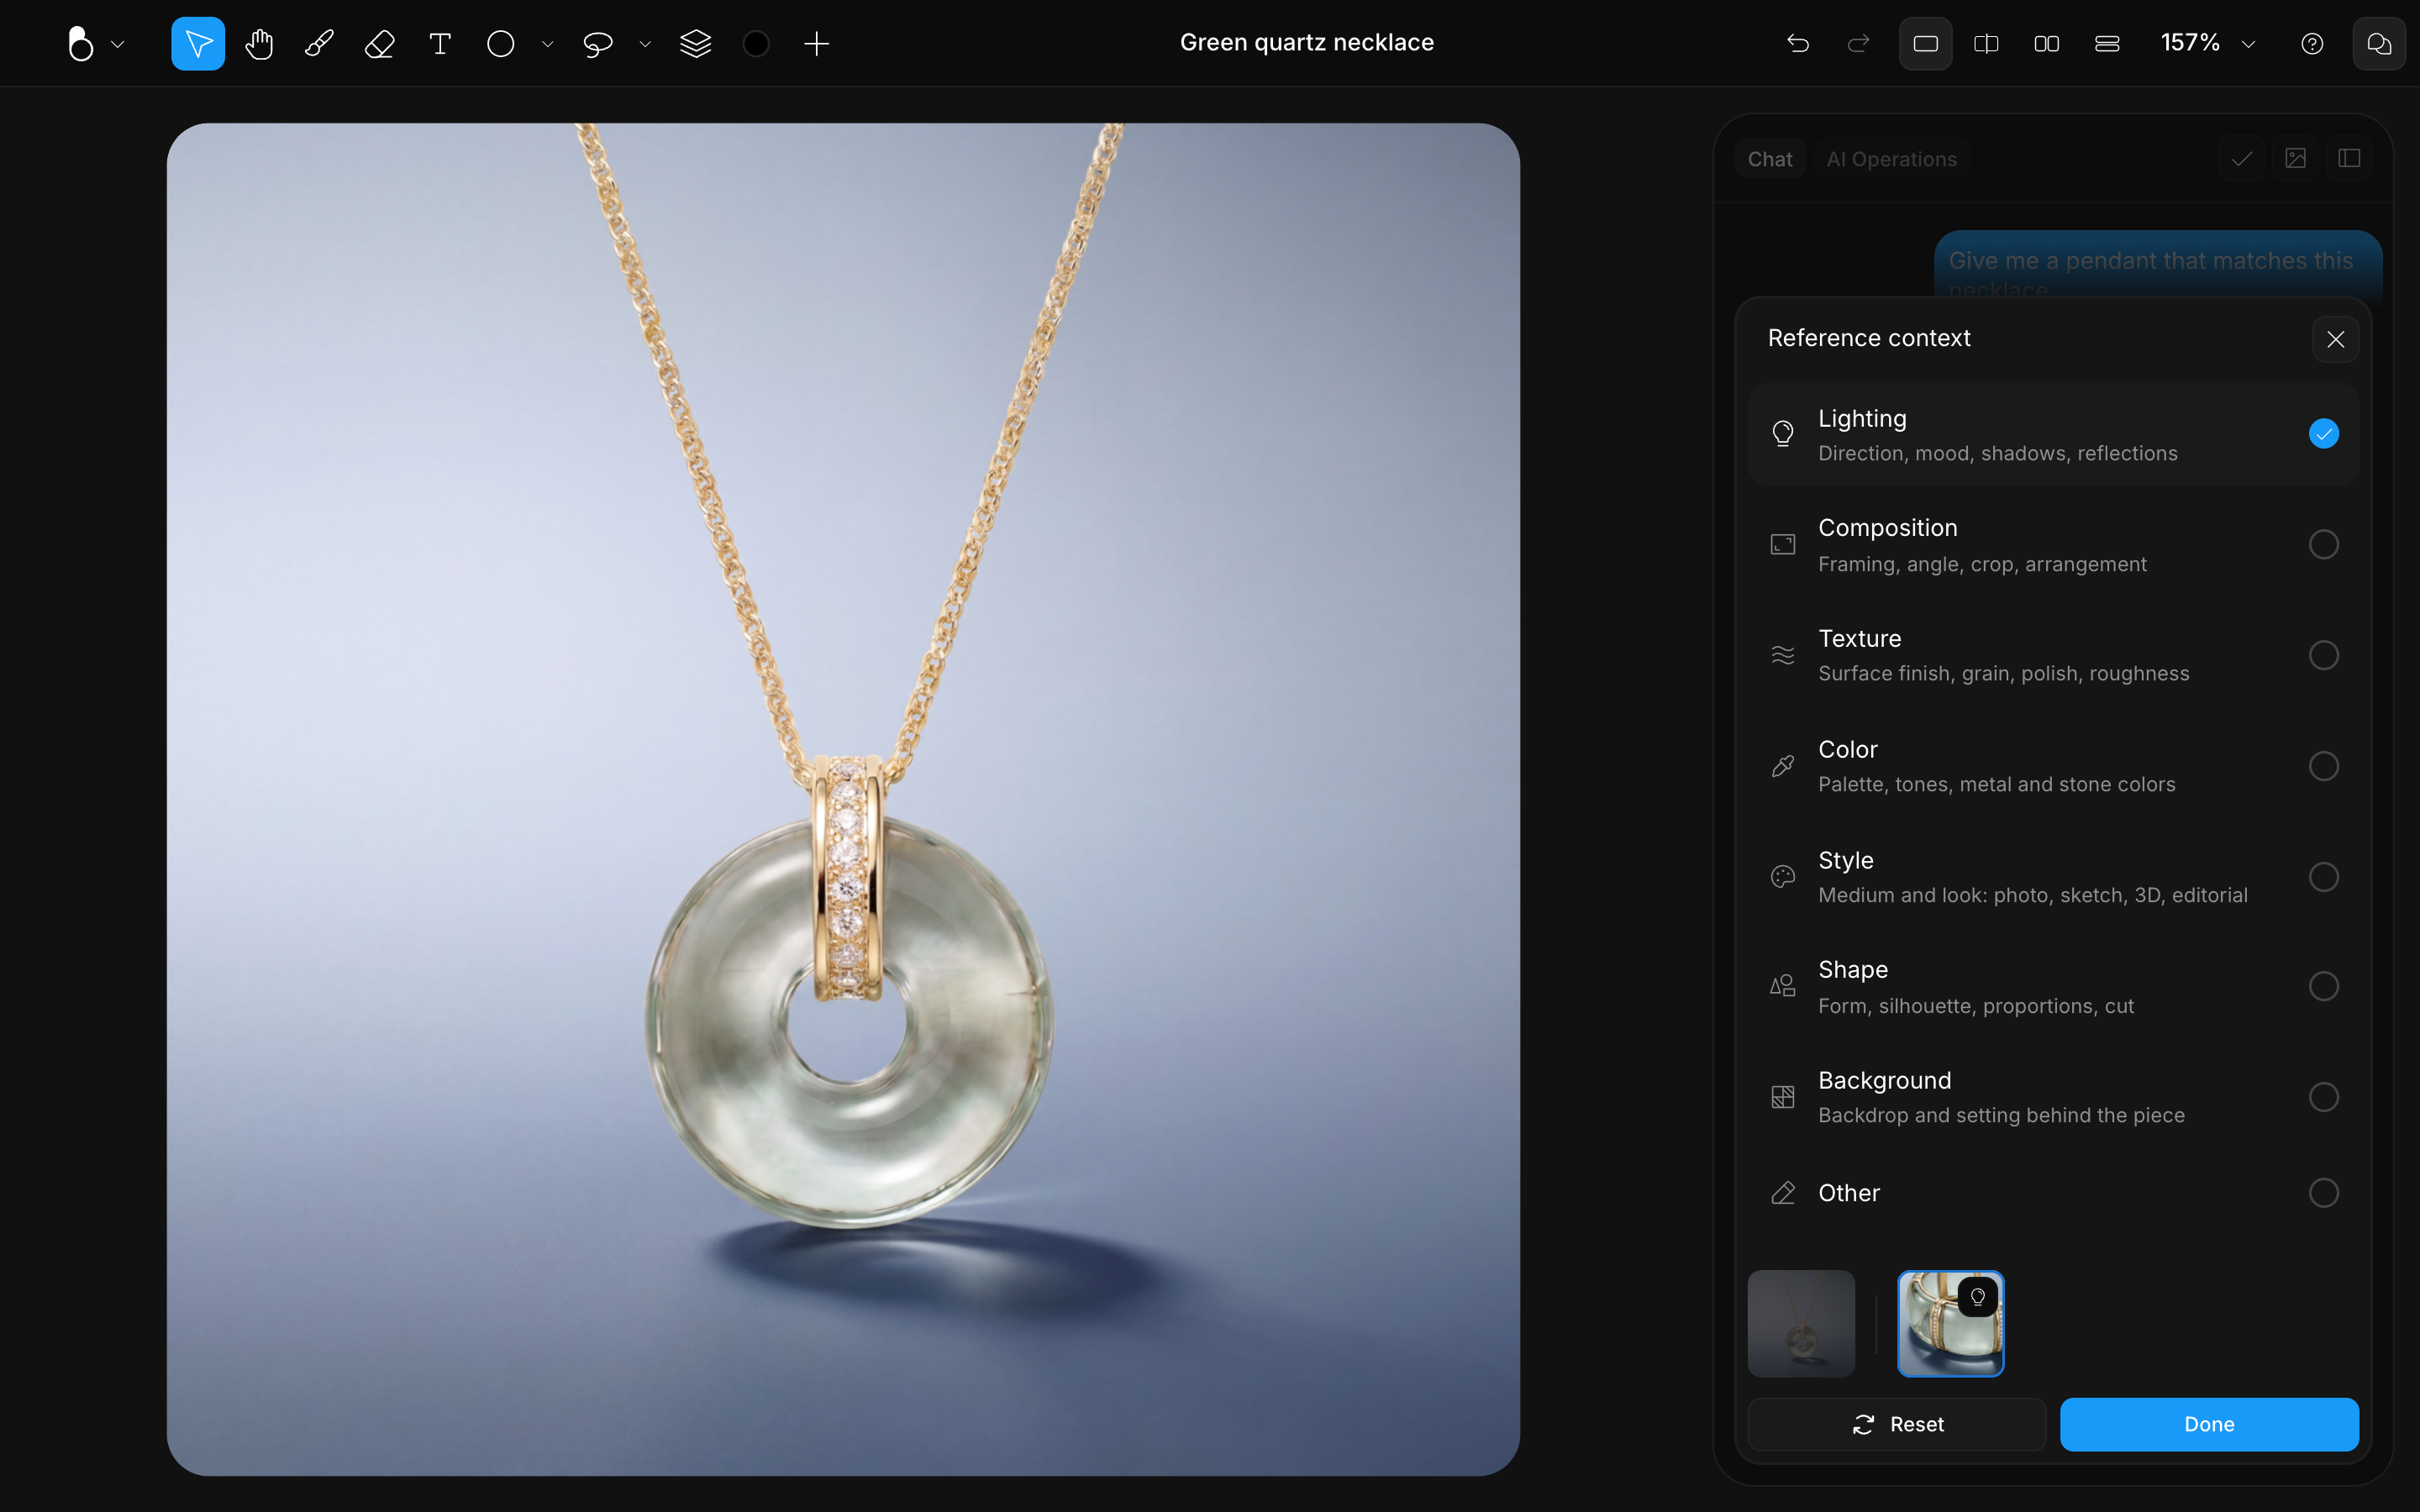
Influence says how strongly a reference counts; context says what should count. Open a reference thumbnail's menu and choose Add context: pick the aspects the AI should take from the image, Subject, Scene, Lighting, Camera, Material, or Style, and add a line of your own for anything more specific ("only the clasp", "the way the light wraps the band"). The more specific you are, the better the result. The context stays attached to that reference, so your prompt is free to describe the piece instead of explaining your attachments.
Two related tips: for pure style and mood, an Image scene style is often the better channel, it shapes the rendering aesthetic without copying the image's layout onto your piece (see Scene Styles). And when a change can be fully described in words (a color, a finish, a size relationship), skip the reference entirely: text-only edits are the most precise, and a reference can pull the result toward things you didn't intend.
Preparing a reference
Strong references make a real difference. A good one has a clear, well-lit subject, one idea (one for shape, one for material, one for mood, so you can tune each independently), and an angle close to what you want in the result.
You can also refine an image in BLNG before attaching it: import it (Cmd/Ctrl + I) or drop it on the canvas, crop to the part that matters, remove the background to isolate the subject, or sketch over it with the Brush, Shape, or Text tools to point the AI at what you want changed.
Best practices
- Change one thing per reference. References shine at swapping a specific part: attach the chain, the finish, or the exact stone you want, and ask for it by name.
- Combine a few complementary inputs, not many overlapping ones, and say what to keep from each: "A ring in the shape of the first reference, using the brushed-gold material from the second."
- Set influence by role. Higher on the reference that defines the shape, lower on the one that only supplies a material or mood.
- A few well-chosen references, each at the right strength, beat a pile of similar images all set to Full.