
3D on the Canvas
A 3D model on your canvas doesn't flatten into a picture on its own: it stays a live, interactive 3D object that you can orbit and inspect from any angle, right in your design. When you want a still of the current view, right-click the layer and choose Merge › Flatten. This page covers the whole life of a model on the canvas: how it gets there, what to expect from a generated one, how to view it, and how to export it.
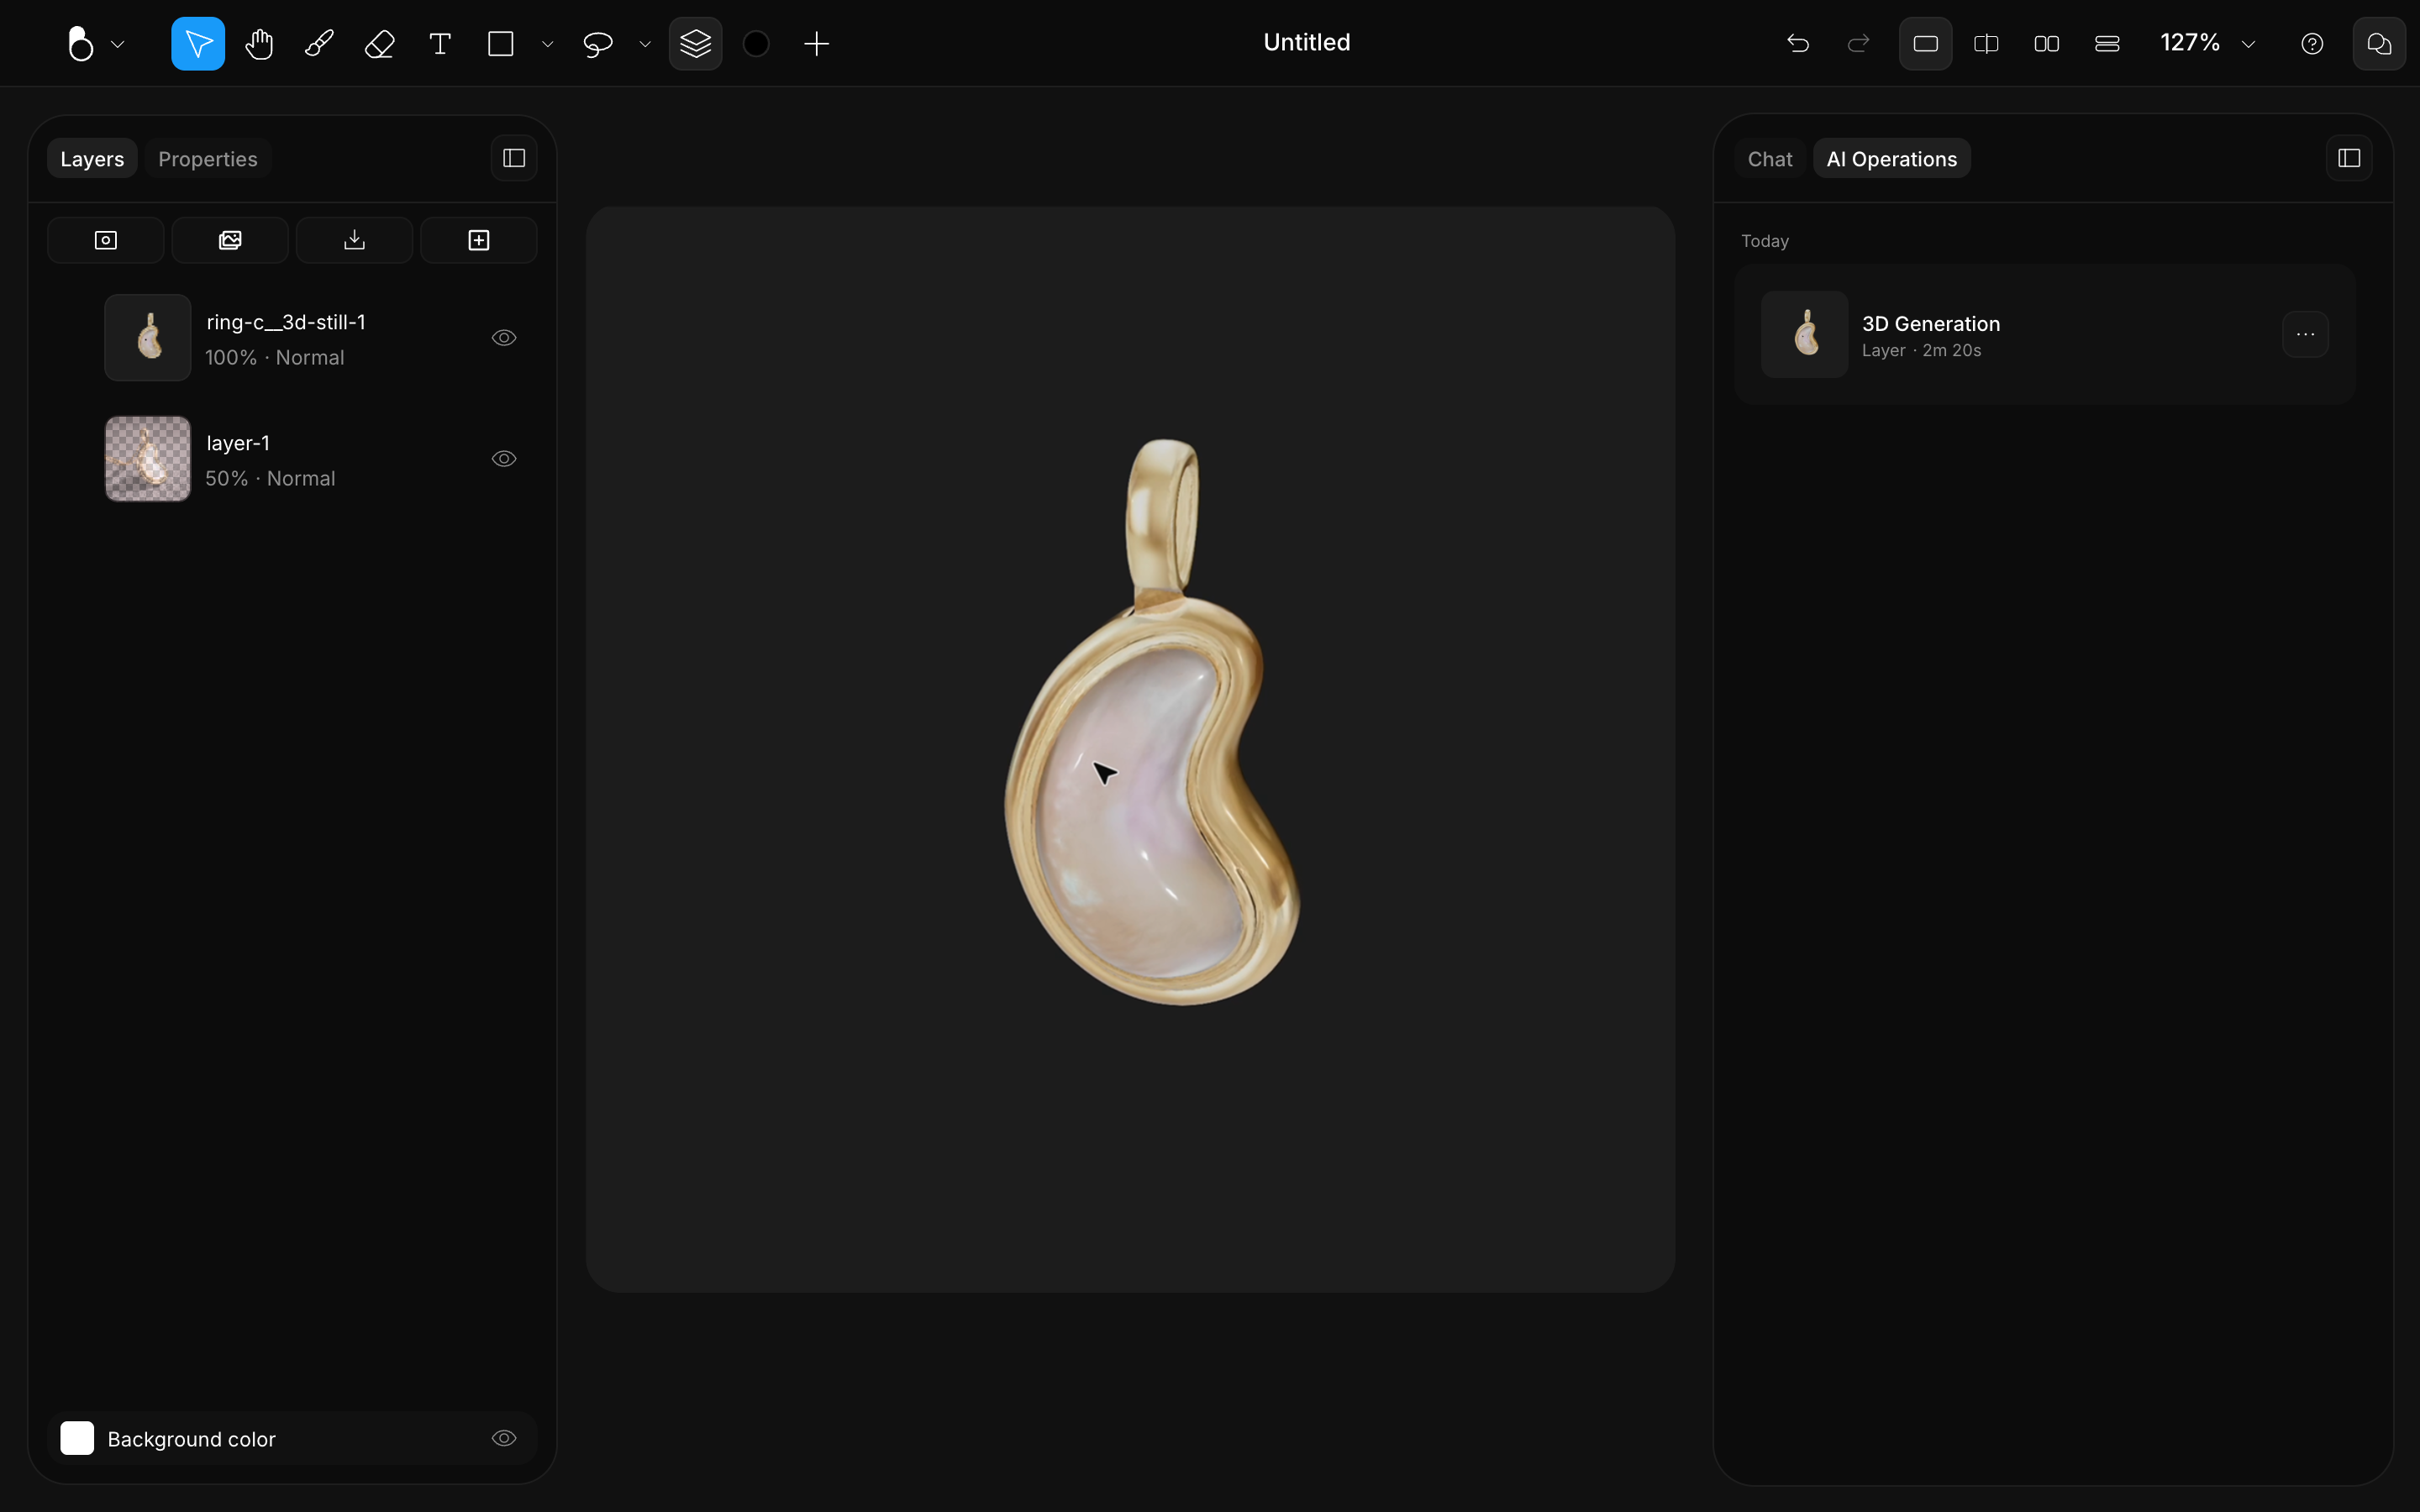
How a model gets onto the canvas
The right route depends on what you're starting from:
- A generated image or a photo: right-click it and choose Generate 3D, or ask for a 3D model in the chat. Straight-on views convert best.
- A 2D sketch: first turn it into a polished image (see Sketch to Image), then generate the model from that image. The full recipe is 2D to 3D.
- A CAD file: export it as GLB from your CAD tool and import it with Import (Cmd/Ctrl + I) or by dragging it onto the canvas; see Preparing 3D Files for Import. If your format can't be exported, render from screenshots instead: see CAD Visualization.
Whichever door you take, the result is the same kind of object: a live model on your canvas that you can orbit, place, and export.
Generating a 3D model
- Right-click an image in the chat and choose Generate 3D, or select several images first to run them in one go. Asking in the chat works too ("generate a 3D model of this").
- BLNG builds the model in the cloud. If your browser or device can't render 3D reliably, a note says so before it starts, and you can Generate anyway or Cancel.
- When it's ready, click the tile to open the 3D preview, or use Add to canvas to place the model in your design.
The job shows in the AI Operations tab while it runs; generation typically takes a few minutes, several models can generate at once, and you can keep working meanwhile. Generate 3D is included on every plan, the free Starter plan included. See AI Operations.
Materials are applied to the model automatically, so it arrives looking like the source image rather than a flat grey mesh. BLNG builds the model from the single image you give it: everything visible converts faithfully; hidden areas, the back structure and undersides, are the AI's inference, not your design. Two consequences:
- Straight-on views convert best. A clean, level view of the piece gives the most reliable geometry; extreme angles force more guessing.
- Every run is a little different, by design. If a result is off, run Generate 3D again on the same image rather than rewording anything.
Generated meshes arrive clean and watertight: surfaces are sealed and simplified, stray floating fragments are removed, and bright highlights or sparkle in the source no longer punch holes in the geometry, so models are ready for downstream 3D work.
Viewing a model in place
Select the model and a round rotate handle appears at its center: drag that handle to orbit the model and inspect it from any angle. The canvas keeps its own zoom and pan, so you frame the model the way you frame anything else. Imported models are converted in the cloud first, so you'll see Uploading 3D Model, Converting 3D Model, then 3D Model Ready.
Selecting a model brings up the 3D toolbar:
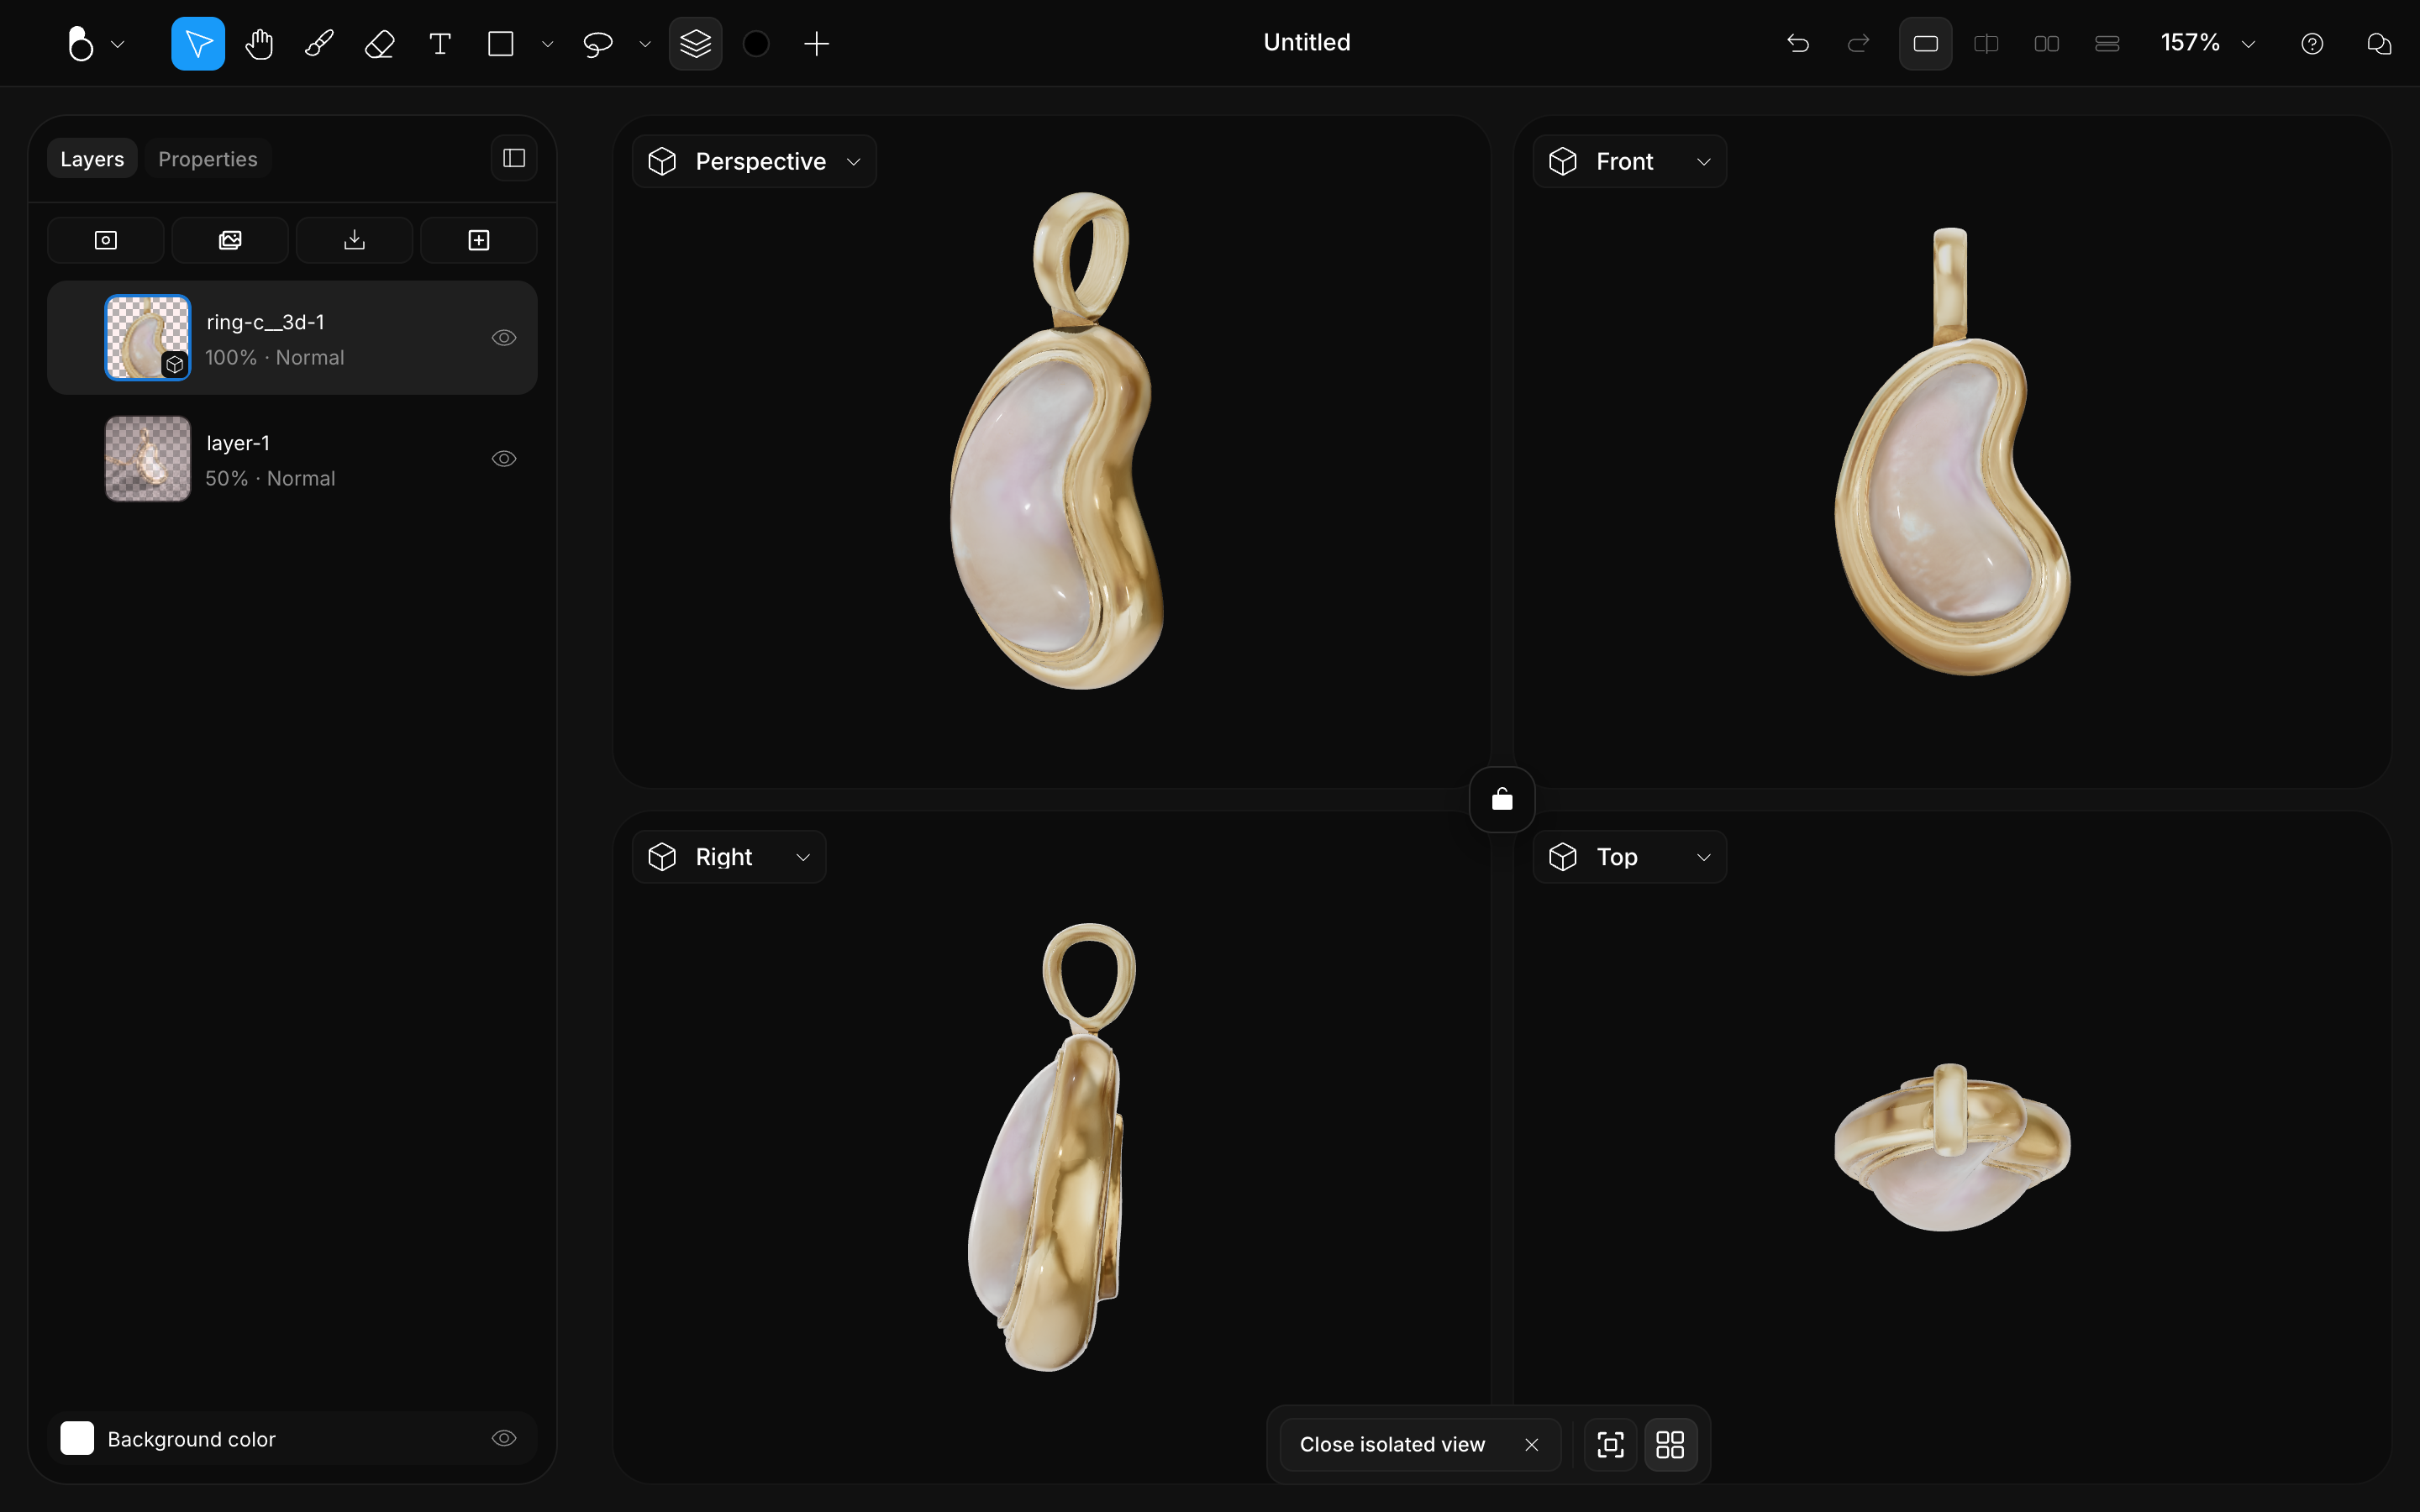
- View presets: jump to Perspective, Top, Bottom, Front, Back, Right, or Left.
- Isolated view: focus on one model on its own.
- Quad 3D view (Alt + 5): four panes of the same model, opening on Perspective, Front, Right, and Top, with a menu on each pane so you can point it at a different angle. A central lock keeps the four cameras in sync; unlock it to move one pane alone.
On iPad and iPhone the viewer is built on Apple's RealityKit and loads models as USDZ. Drag to orbit, pinch to zoom, and use two fingers to pan; the camera snaps to cardinal angles with a light haptic as you orbit. See Touch Gestures.
Exporting
Download a model to use it elsewhere: BLNG exports GLB, USD, and USDZ (USDZ is the one for viewing on Apple devices). A single file downloads on its own; several are bundled into a ZIP. Like any layer, a model layer can be exported from the Layers panel: right-click its row, then Export and Download. On iPad, if you don't see an option to save a .usdz, capture the framed view as an image or export from the web app. See Export & Share.
AI Operations on a 3D model
The one-click operations are image actions: Generate 3D, Upscale to 4K, Remove background, and Extract shadows run on an image layer, so a model layer doesn't offer them, and there is no Upscale for a model. To upscale a view of it, flatten it first (Merge › Flatten) and upscale the image. What a model does take part in is image generation: the moment a view of it sits on the canvas as part of your design, generation works from that 2D view like any other canvas content. Angle the model the way you want it seen before you prompt, and if you want a new model, run Generate 3D on that image. See AI Operations.