
2D to 3D

BLNG generates a 3D model from a 2D jewelry design in about three minutes (Fast, ~180s) or about ten (Thinking, ~600s). You can orbit it, add it to the canvas, and export it as GLB, USD or USDZ for review, a quick 3D print, or as a reference for your CAD operator.
What you need
- A finished 2D design, either an image you generated with the AI (see Chat Panel) or one you imported onto the canvas.
- An internet connection. 3D generation runs in the cloud and is disabled while you are offline.
Step 1. Prepare the source image
The conversion works from one image, so what is in that image is what you get. Isolate the subject before you generate: run Remove background on the chat image, or generate it with the Transparent scene style. Busy backgrounds and overlapping subjects produce less reliable geometry.
Step 2. Generate a 3D model from a 2D image
- Open the Chat panel and create or locate the image you want to convert.
- Right-click the image in the chat and choose Generate 3D. If your browser or device cannot render 3D reliably, a note says so first, and you can generate anyway or cancel.
- A toast tracks the job while it runs, so you can keep working in the meantime.
- When it finishes, click the result to open the 3D preview, or use Add to canvas to place the model as a layer.
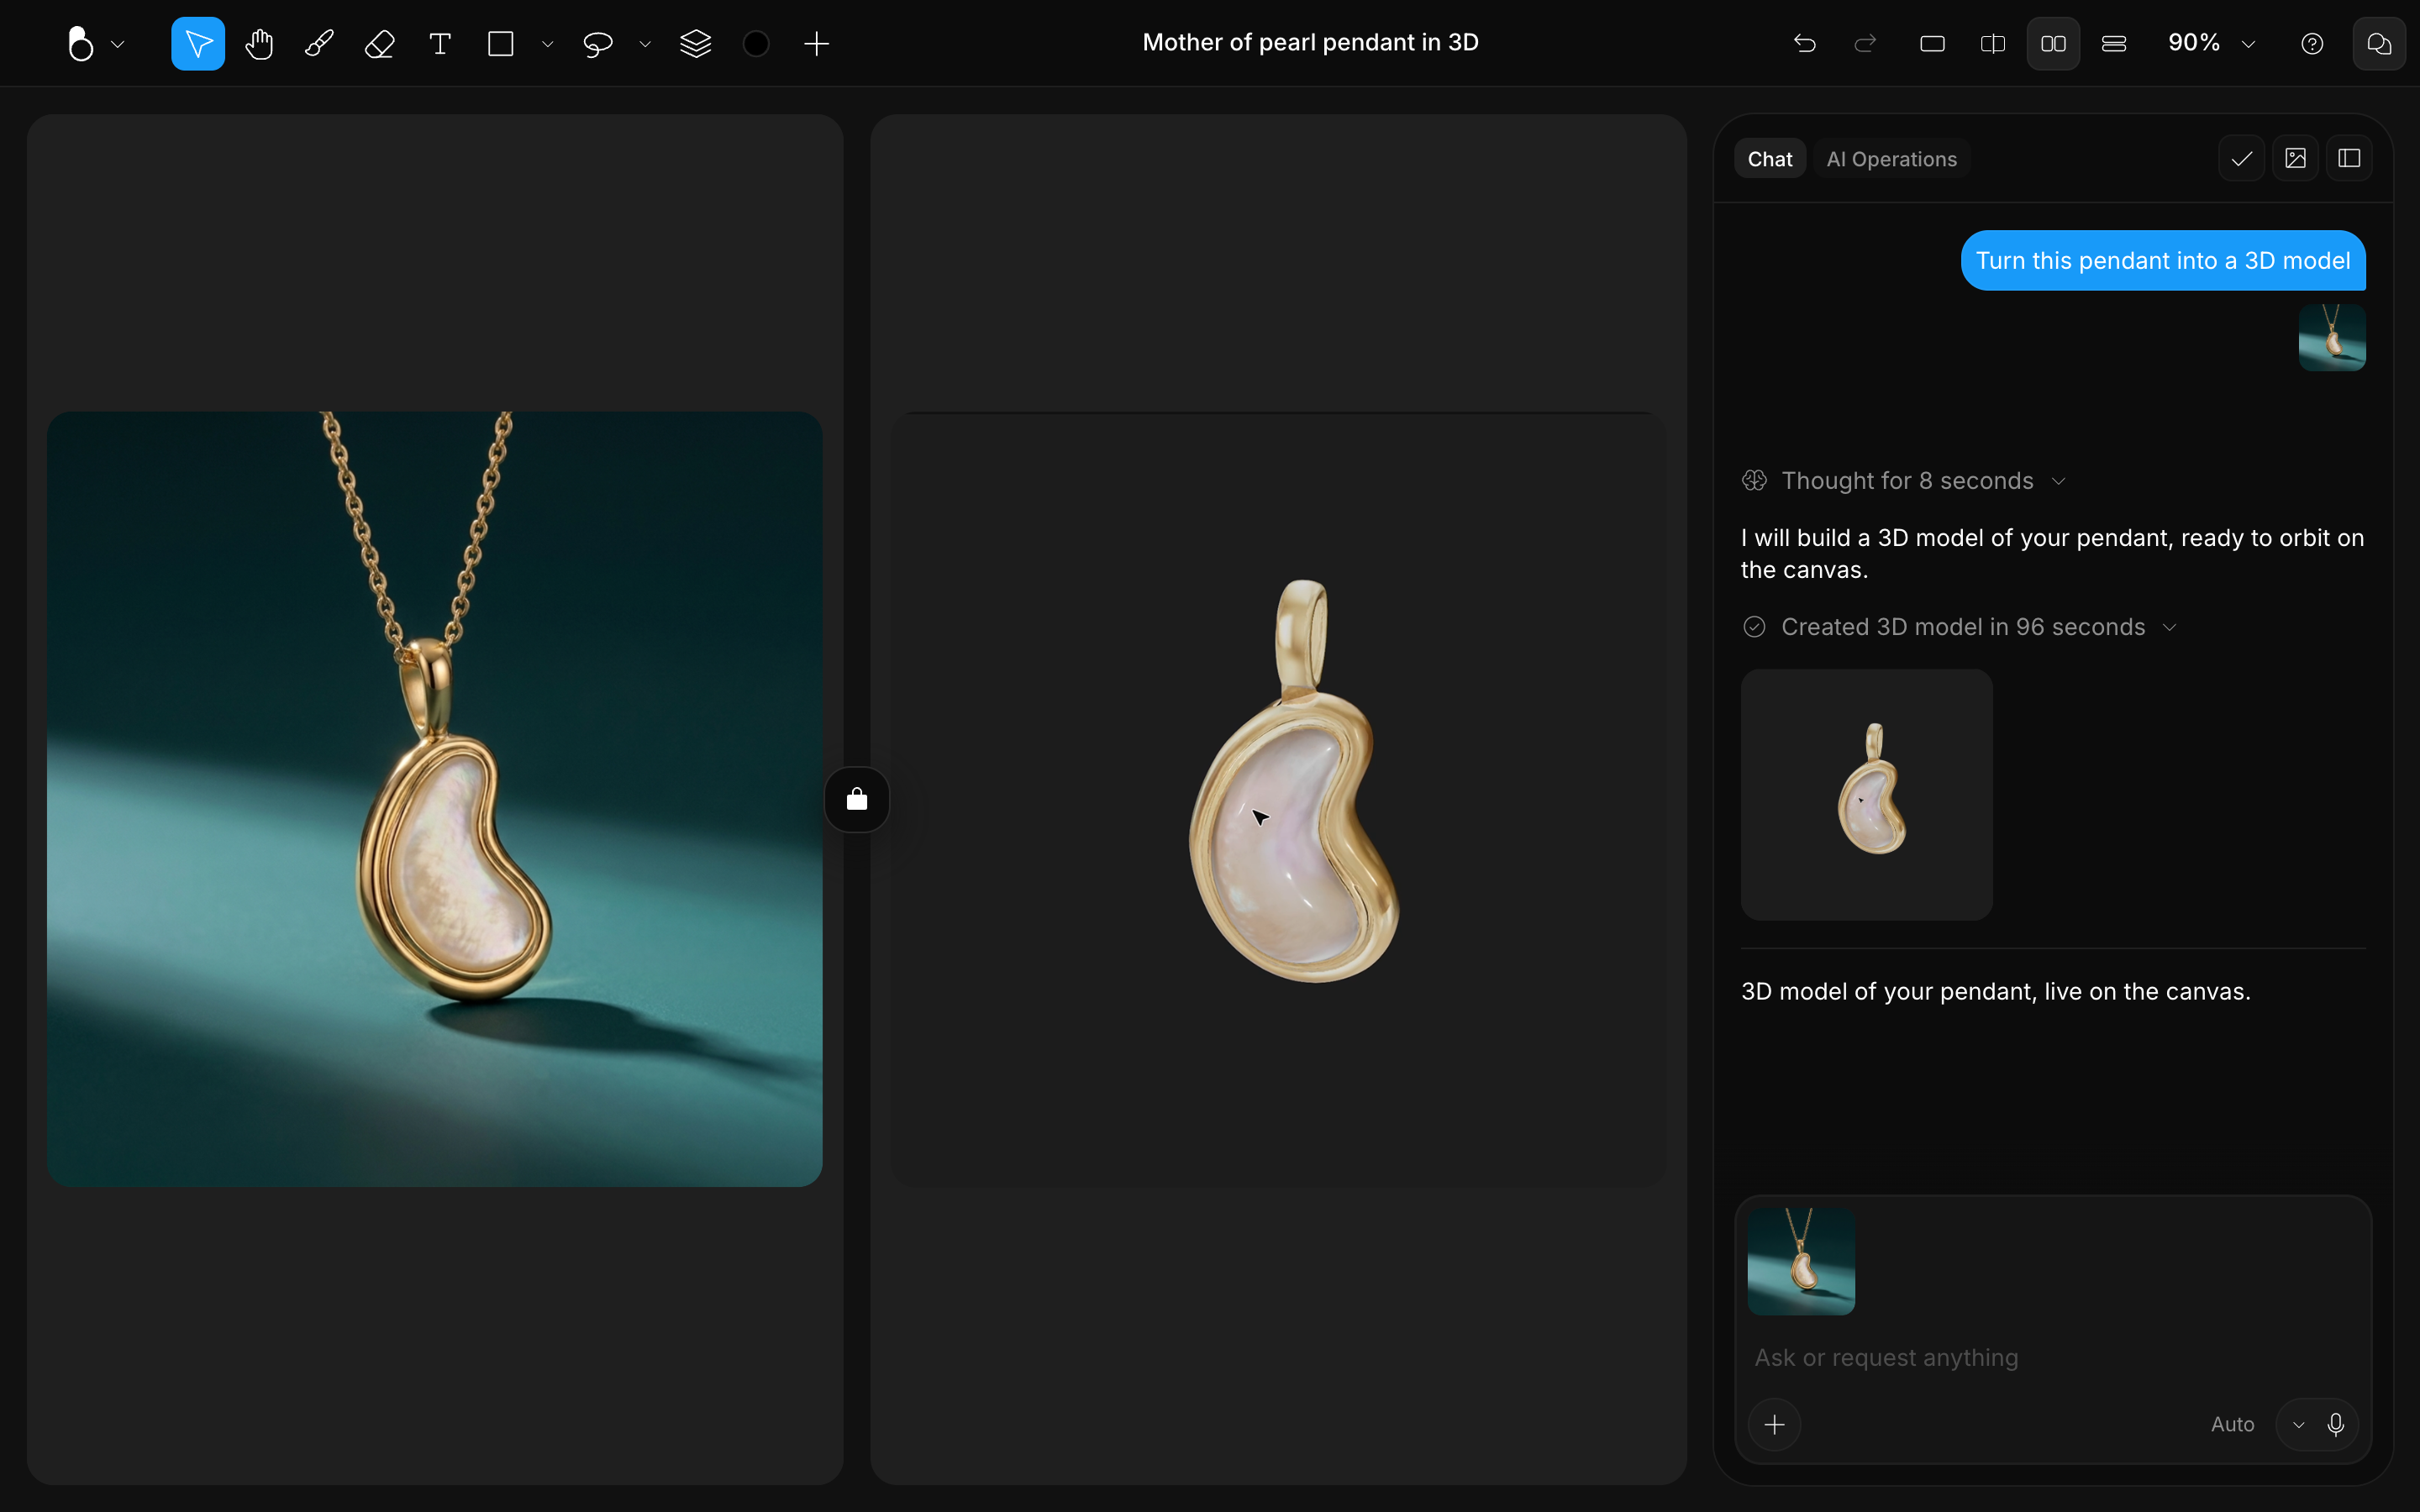
Step 3. Review the model in 3D
The model stays live once it is on the canvas, so orbit it in place to check the shape from every side. For four fixed angles at once, switch to the Quad 3D view (Alt + 5). See 3D on the Canvas.
Step 4. Export the model
Download (Cmd/Ctrl + S) exports your design, and when the canvas holds a 3D model you get a ZIP with the model files alongside the image. Copy layers as image (Cmd/Ctrl + Shift + C) grabs a still of the framed view instead, so orbit to the angle you want before you capture it. See Export & Share.
Tips & pitfalls
- Frame the source like a product photographer: a single, centered subject, even lighting, and a straight-on, level view. Dramatic angles force the AI to guess more.
- Thin or transparent elements (fine chains, glass, gemstones) are the hardest to reconstruct, so expect to refine them.
- Every run reads the same image a little differently, so re-running Generate 3D is the fastest fix for a result that is off. If it is still off after a couple of tries, the source image is what to change.