Sketch to Image
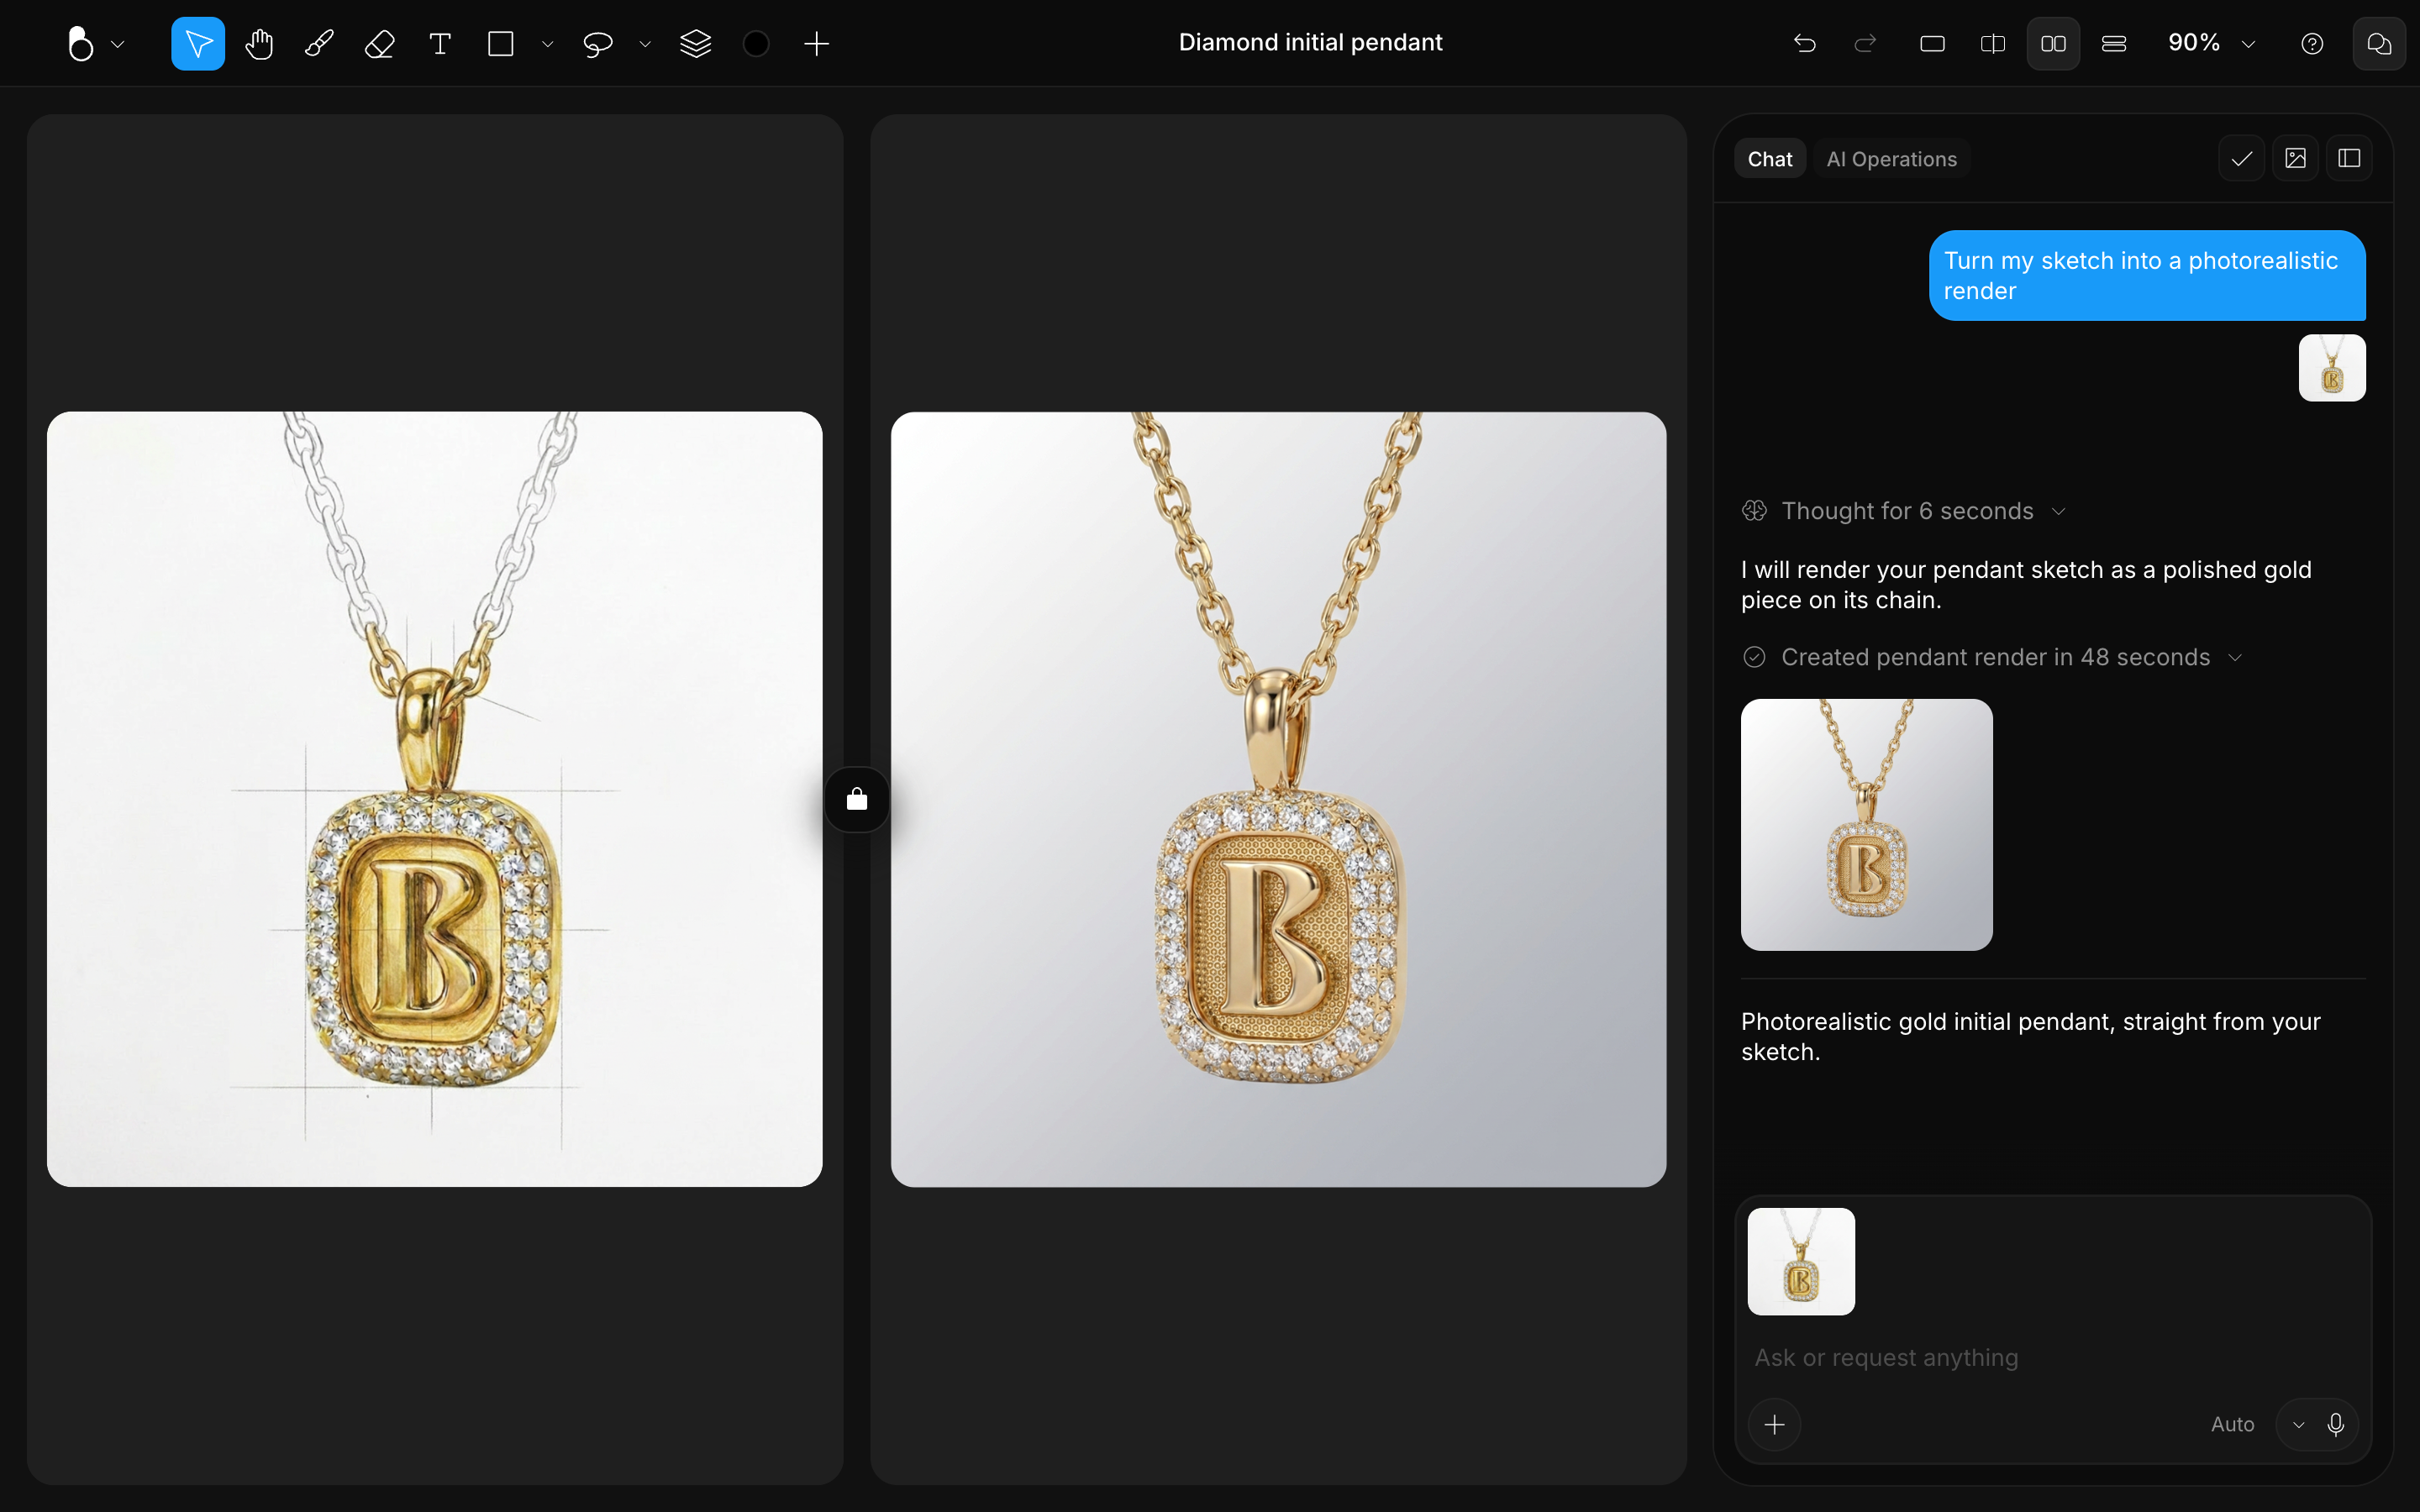
Sketch-to-image turns a rough jewelry sketch into a photorealistic render in BLNG. Draw on the canvas, describe material and finish, and the AI keeps your structure while filling in realistic metal, stones and lighting.
Step 1. Sketch your idea
Draw the composition you want: where each element sits, how big it is, and roughly what shape it takes.
- Select the Brush tool (B) and draw your concept directly on the canvas. Adjust brush size with [ and ], and raise Stabilization for smoother lines. See Brushes.
- Add structure with the Shape tool (R) for clean geometry, or the Text tool (T) for labels and annotations the AI can read.
- Keep your sketch on its own layer so you can adjust or hide it later without losing work. See Layers.
Sketch in whatever style suits your idea: the AI reads intent, not polish. A precise technical drawing, a loose doodle that suggests shape and direction, broad painted strokes, or a collage of elements arranged in a layout all work as blueprints. What matters is that the composition is legible, not that the lines are clean.
Step 2. Describe the result
Your drawing carries the shape, so the prompt is where you spend words on material, finish, and context.
- Open the Chat panel. Because your canvas has content, a live thumbnail of it joins the reference row automatically. See Reference Images.
- Type a prompt describing what the sketch should become, for example: "Turn this sketch into a photorealistic gold necklace with a brushed finish."
- Pick a scene style for the background and mood, and leave the AI mode on Auto: turning a sketch into a render does not need a heavier mode. See Scene Styles and AI Modes.
- Press Enter to generate.
Step 3. Control how closely the AI follows your sketch
Influence is the most important control in this workflow: it decides how much authority your drawing has over the result. Double-click the canvas thumbnail, or right-click it and choose Adjust influence, to reveal the slider.
Set it by how finished the sketch is. High or Full when the lines already capture the shape you want, so the AI renders your drawing instead of reinterpreting it. Low when the sketch is a starting gesture and you want the AI to propose. If results ignore your sketch, raise it; if they copy rough edges and mistakes too faithfully, lower it. See Influence.
Step 4. Iterate
Most sketches take a few passes, and drawing a correction is usually faster than describing it. Use Try again on a result for a fresh variation from the same prompt, and Add to canvas to drop one onto a new layer, so you can draw on top of it and generate again. To judge a result against what you drew, put them on screen together with Split view, Side by side, or Stacked. See Canvas & Views.
Tips & pitfalls
The AI works from whatever it can see on the canvas, so most of the quality of a result is decided before you send the prompt.
- A few confident lines beat a cluttered scribble. The cleaner the sketch, the cleaner the result.
- Hide guide layers (shapes, text, scaffolding) you don't want interpreted before you generate. To leave the canvas out of one prompt altogether, switch its thumbnail off with the eye icon: the canvas reference can be turned off, never removed, and it comes back whenever you want it counted again.