Your First Design

Creating your first image in BLNG takes just a prompt. You describe what you want, the AI generates it, and the result appears right in your conversation, ready to bring onto your canvas.
Create your first image
Five steps, from an empty editor to a result you can keep working on.
1. Open a design
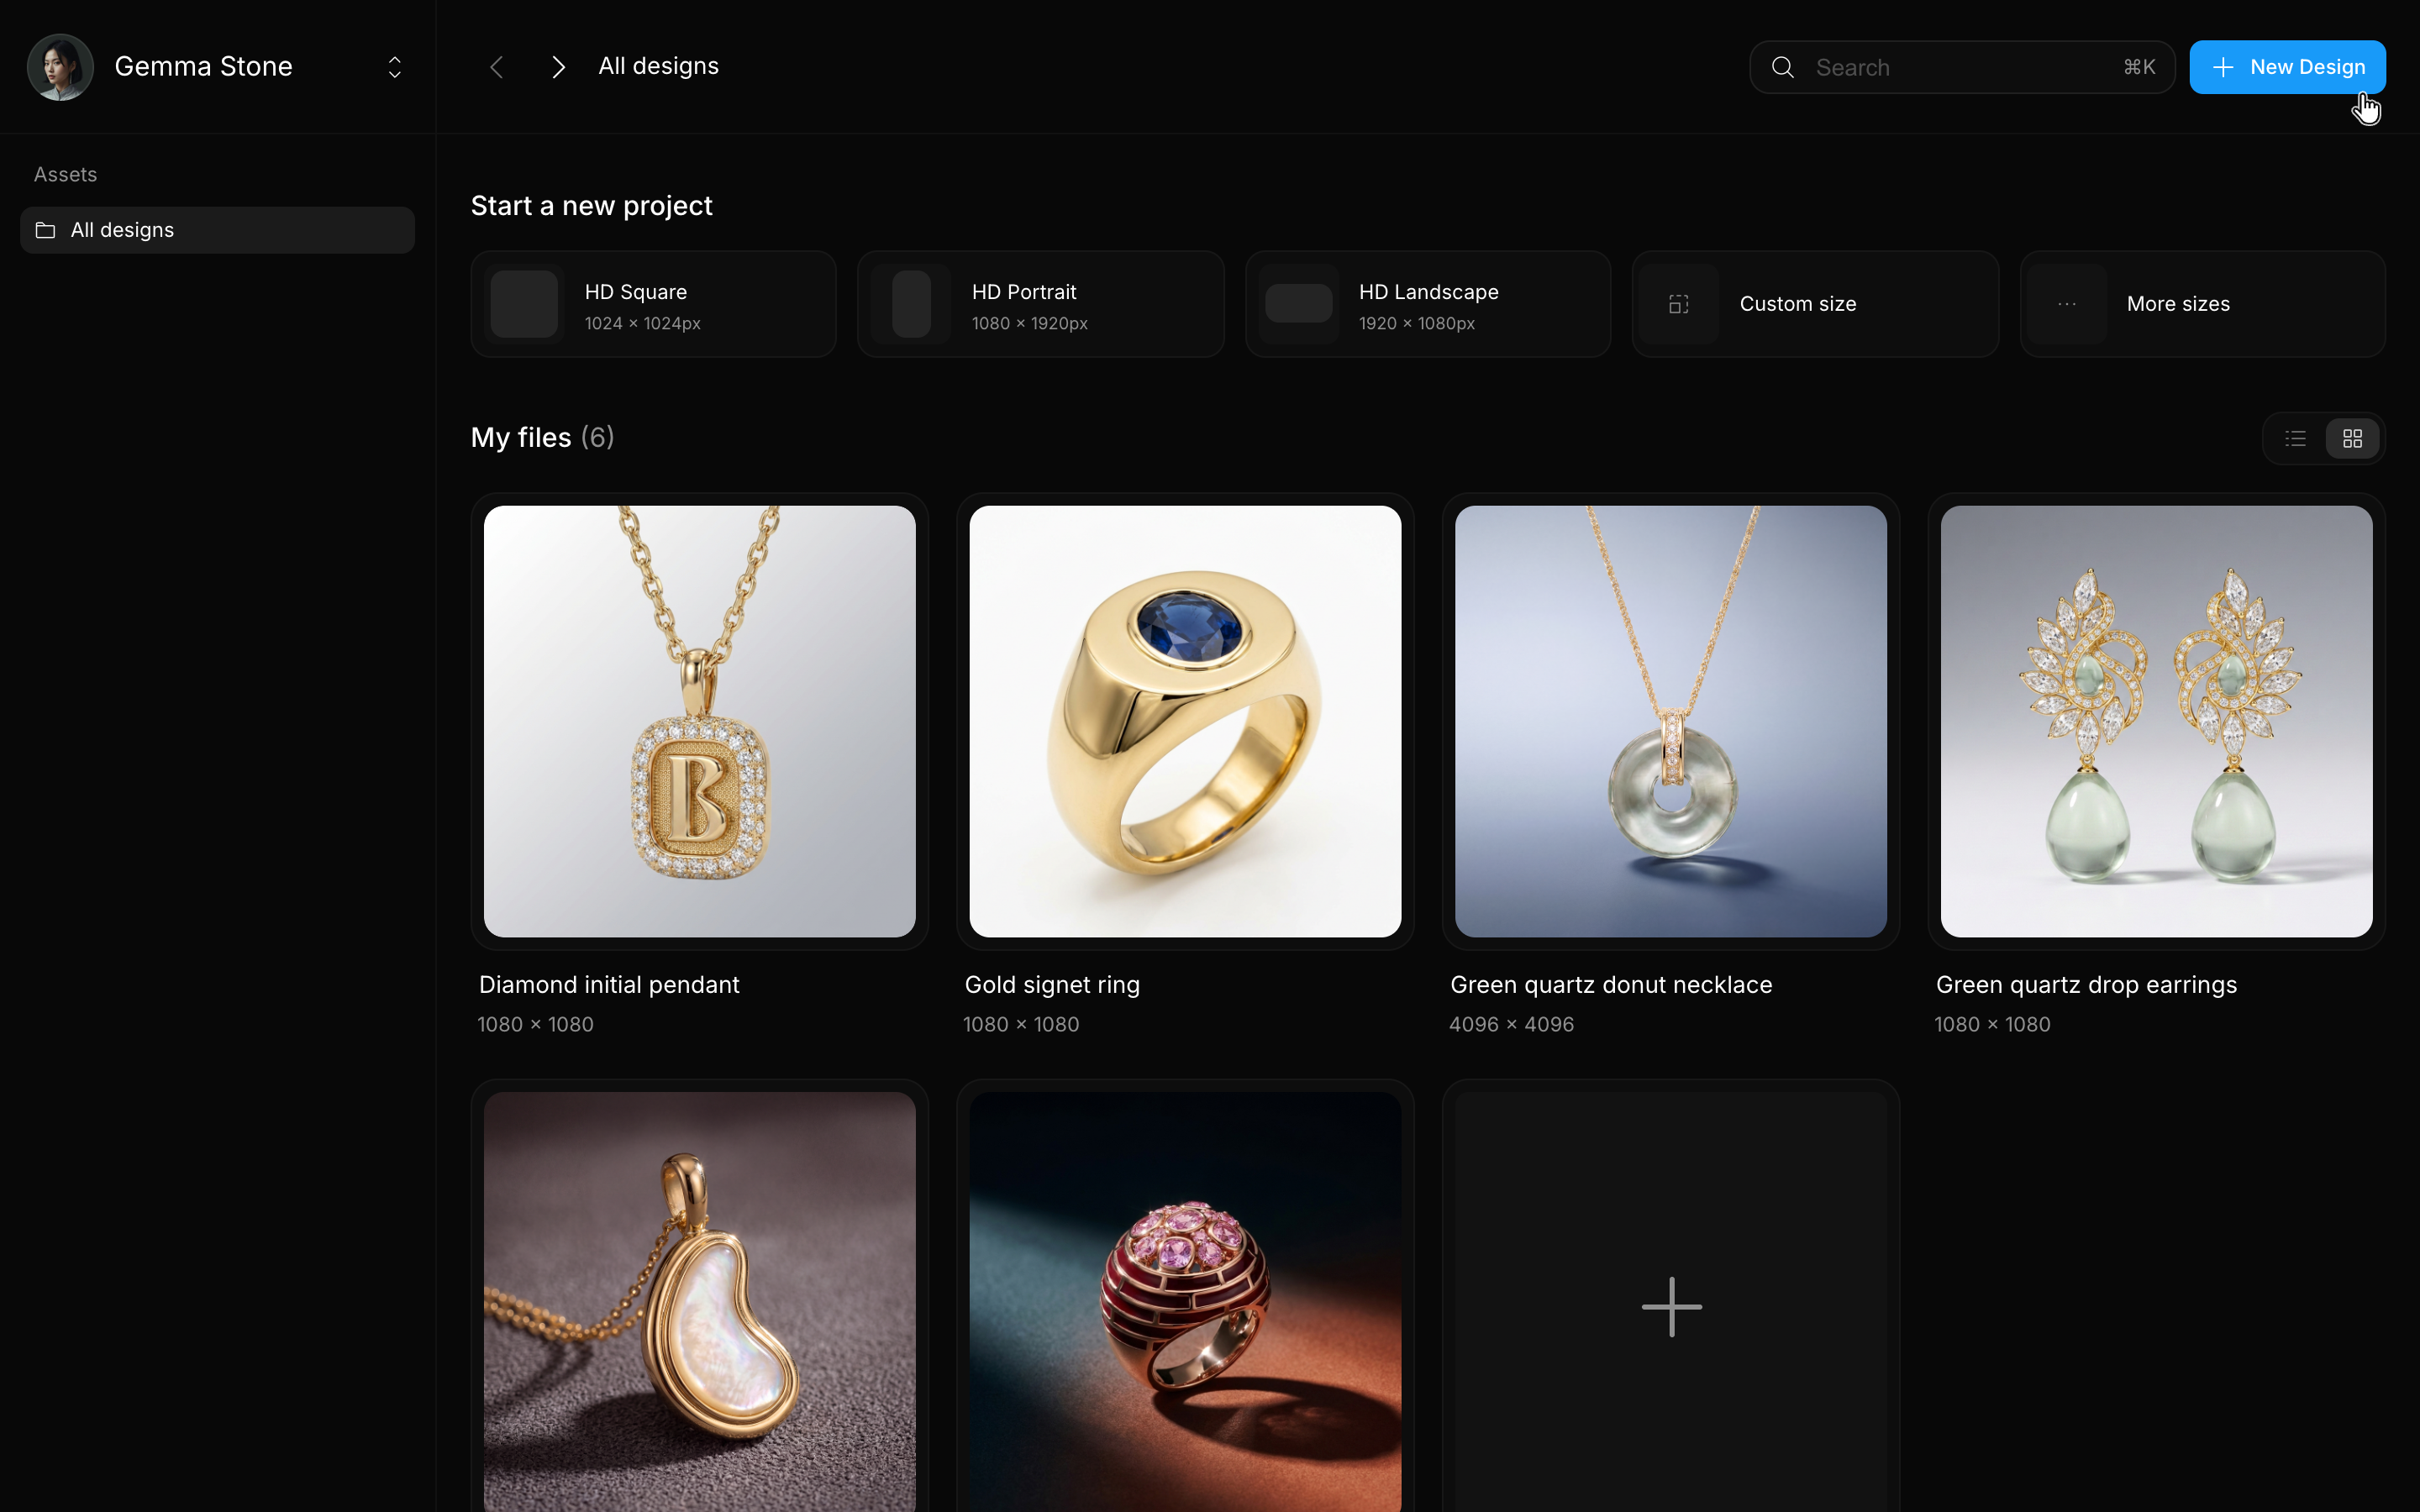
From your Dashboard, click New Design and pick a canvas size, or open an existing design. The editor opens with the Canvas in the center and the Chat panel on the right.
2. Describe what you want
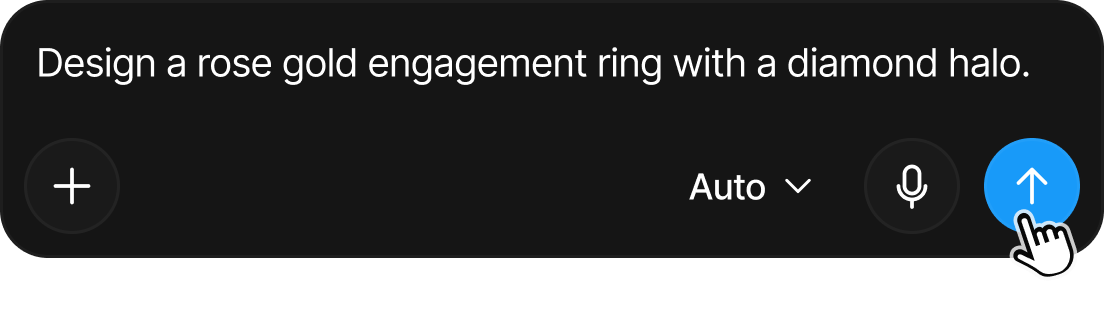
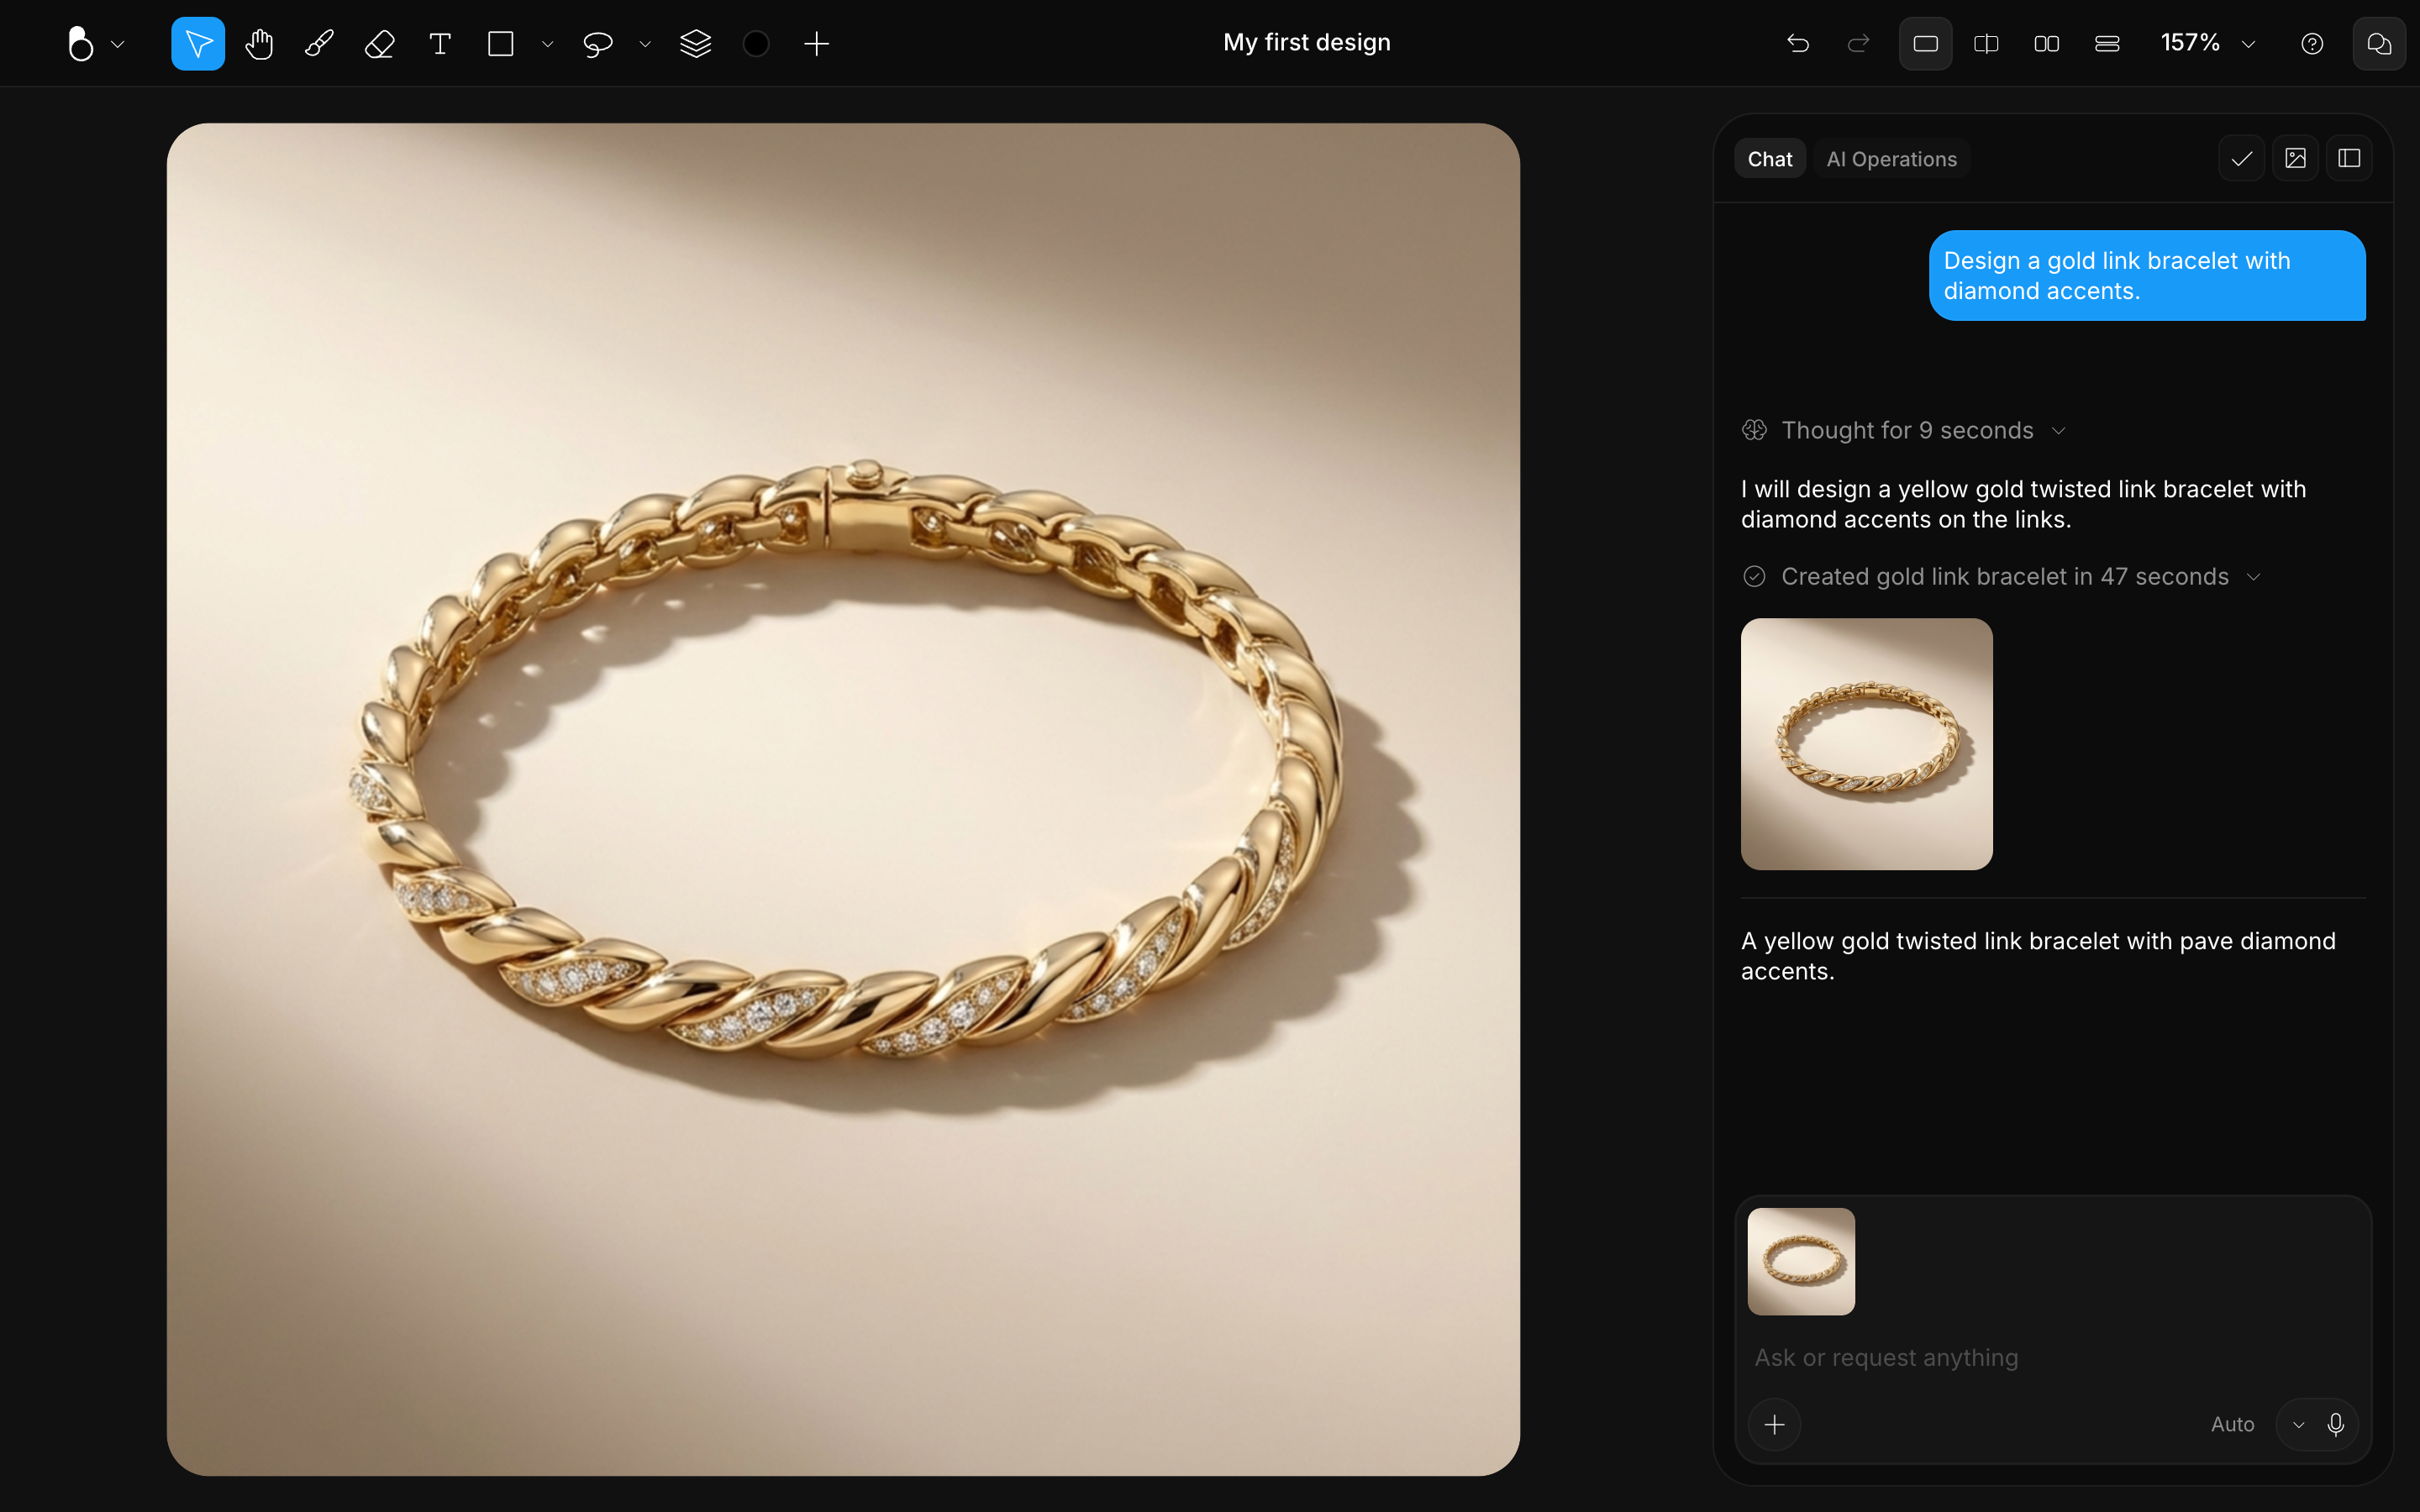
In the Chat panel's prompt area, type a clear description of your idea, for example, "Design a gold link bracelet with diamond accents." The more specific you are about the subject, material, and style, the closer the result. See Writing Better Prompts.
3. Generate
- Press Enter, or click the Send arrow.
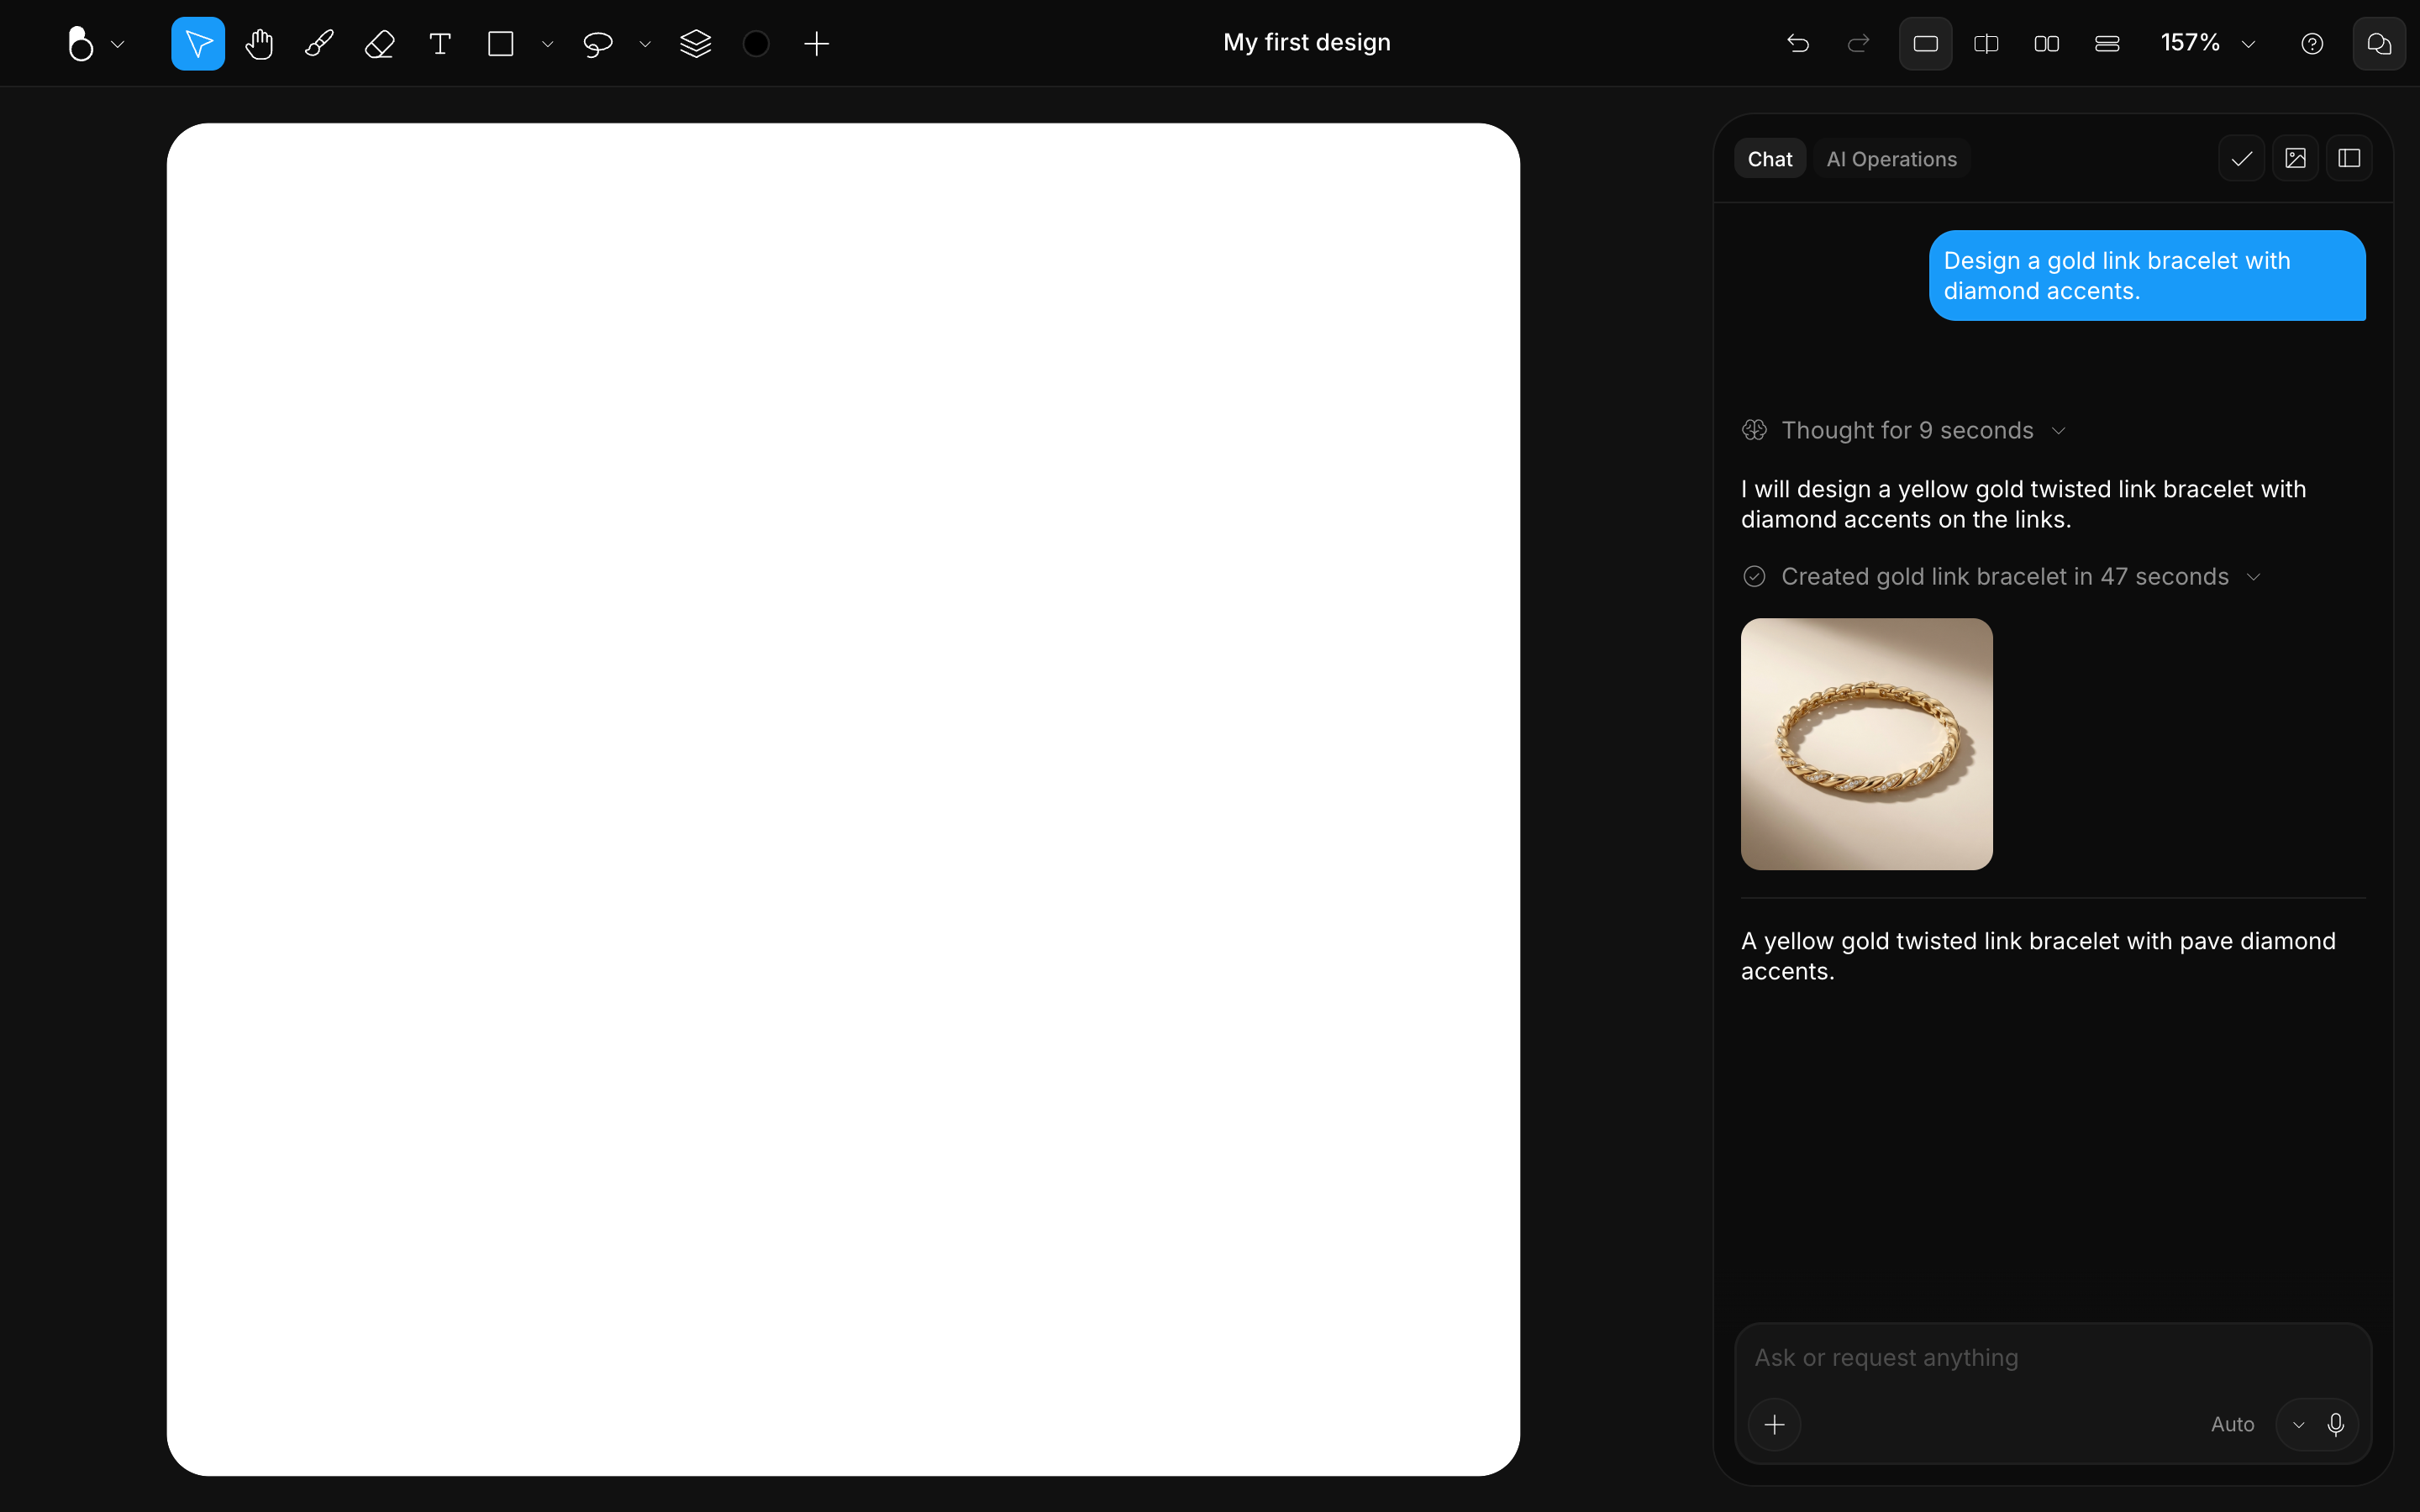
- The AI thinks through your request, then returns one or more images in the conversation.
- While it works, the Send button becomes a Stop button you can use to cancel.
4. Review your result
Click any generated image to open it in the Preview Pane over your canvas, then switch between the comparison layouts: Canvas view, Split view, Side by side, and Stacked. See Canvas & Views.
5. Keep refining
Right-click a result to see everything you can do with it: Add to canvas, Select, Preview, Use as reference, Try again, Upscale to 4K, Remove background, Extract shadows, Generate 3D, Copy image, Copy prompt, and Download. The menu matches what that result supports, so the exact set can vary. From there the loop starts over: add it to the canvas and prompt on top of it, or attach reference images to steer the next generation.