
Layers
Layers let you build a design from independent pieces (drawings, images, and AI results) that you can reorder, lock, hide, and blend. Open the Layers panel any time with L. The same sidebar holds a Properties tab, where the filters and adjustments for a selected image live. See Filters & Adjustments.
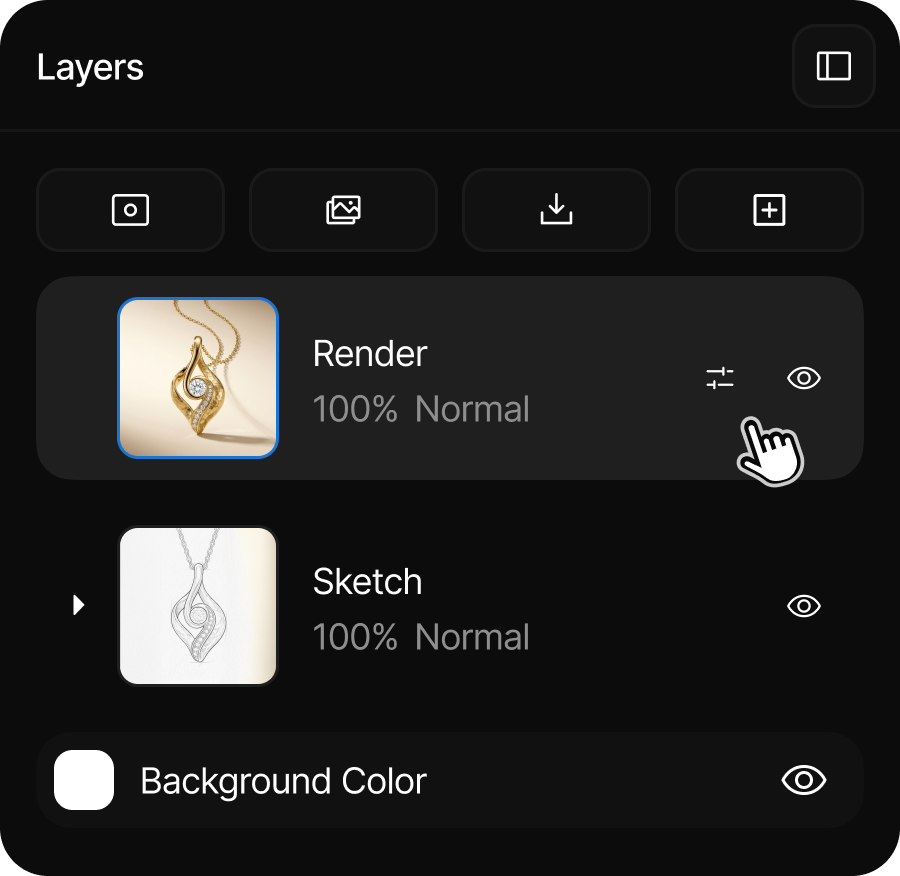
The Layers panel
The Layers panel lists every layer in your design and is where you select, toggle, and reorder them. Everything you add (strokes, text, shapes, imports, and AI results) lands on a layer here, and new layers are transparent by default.
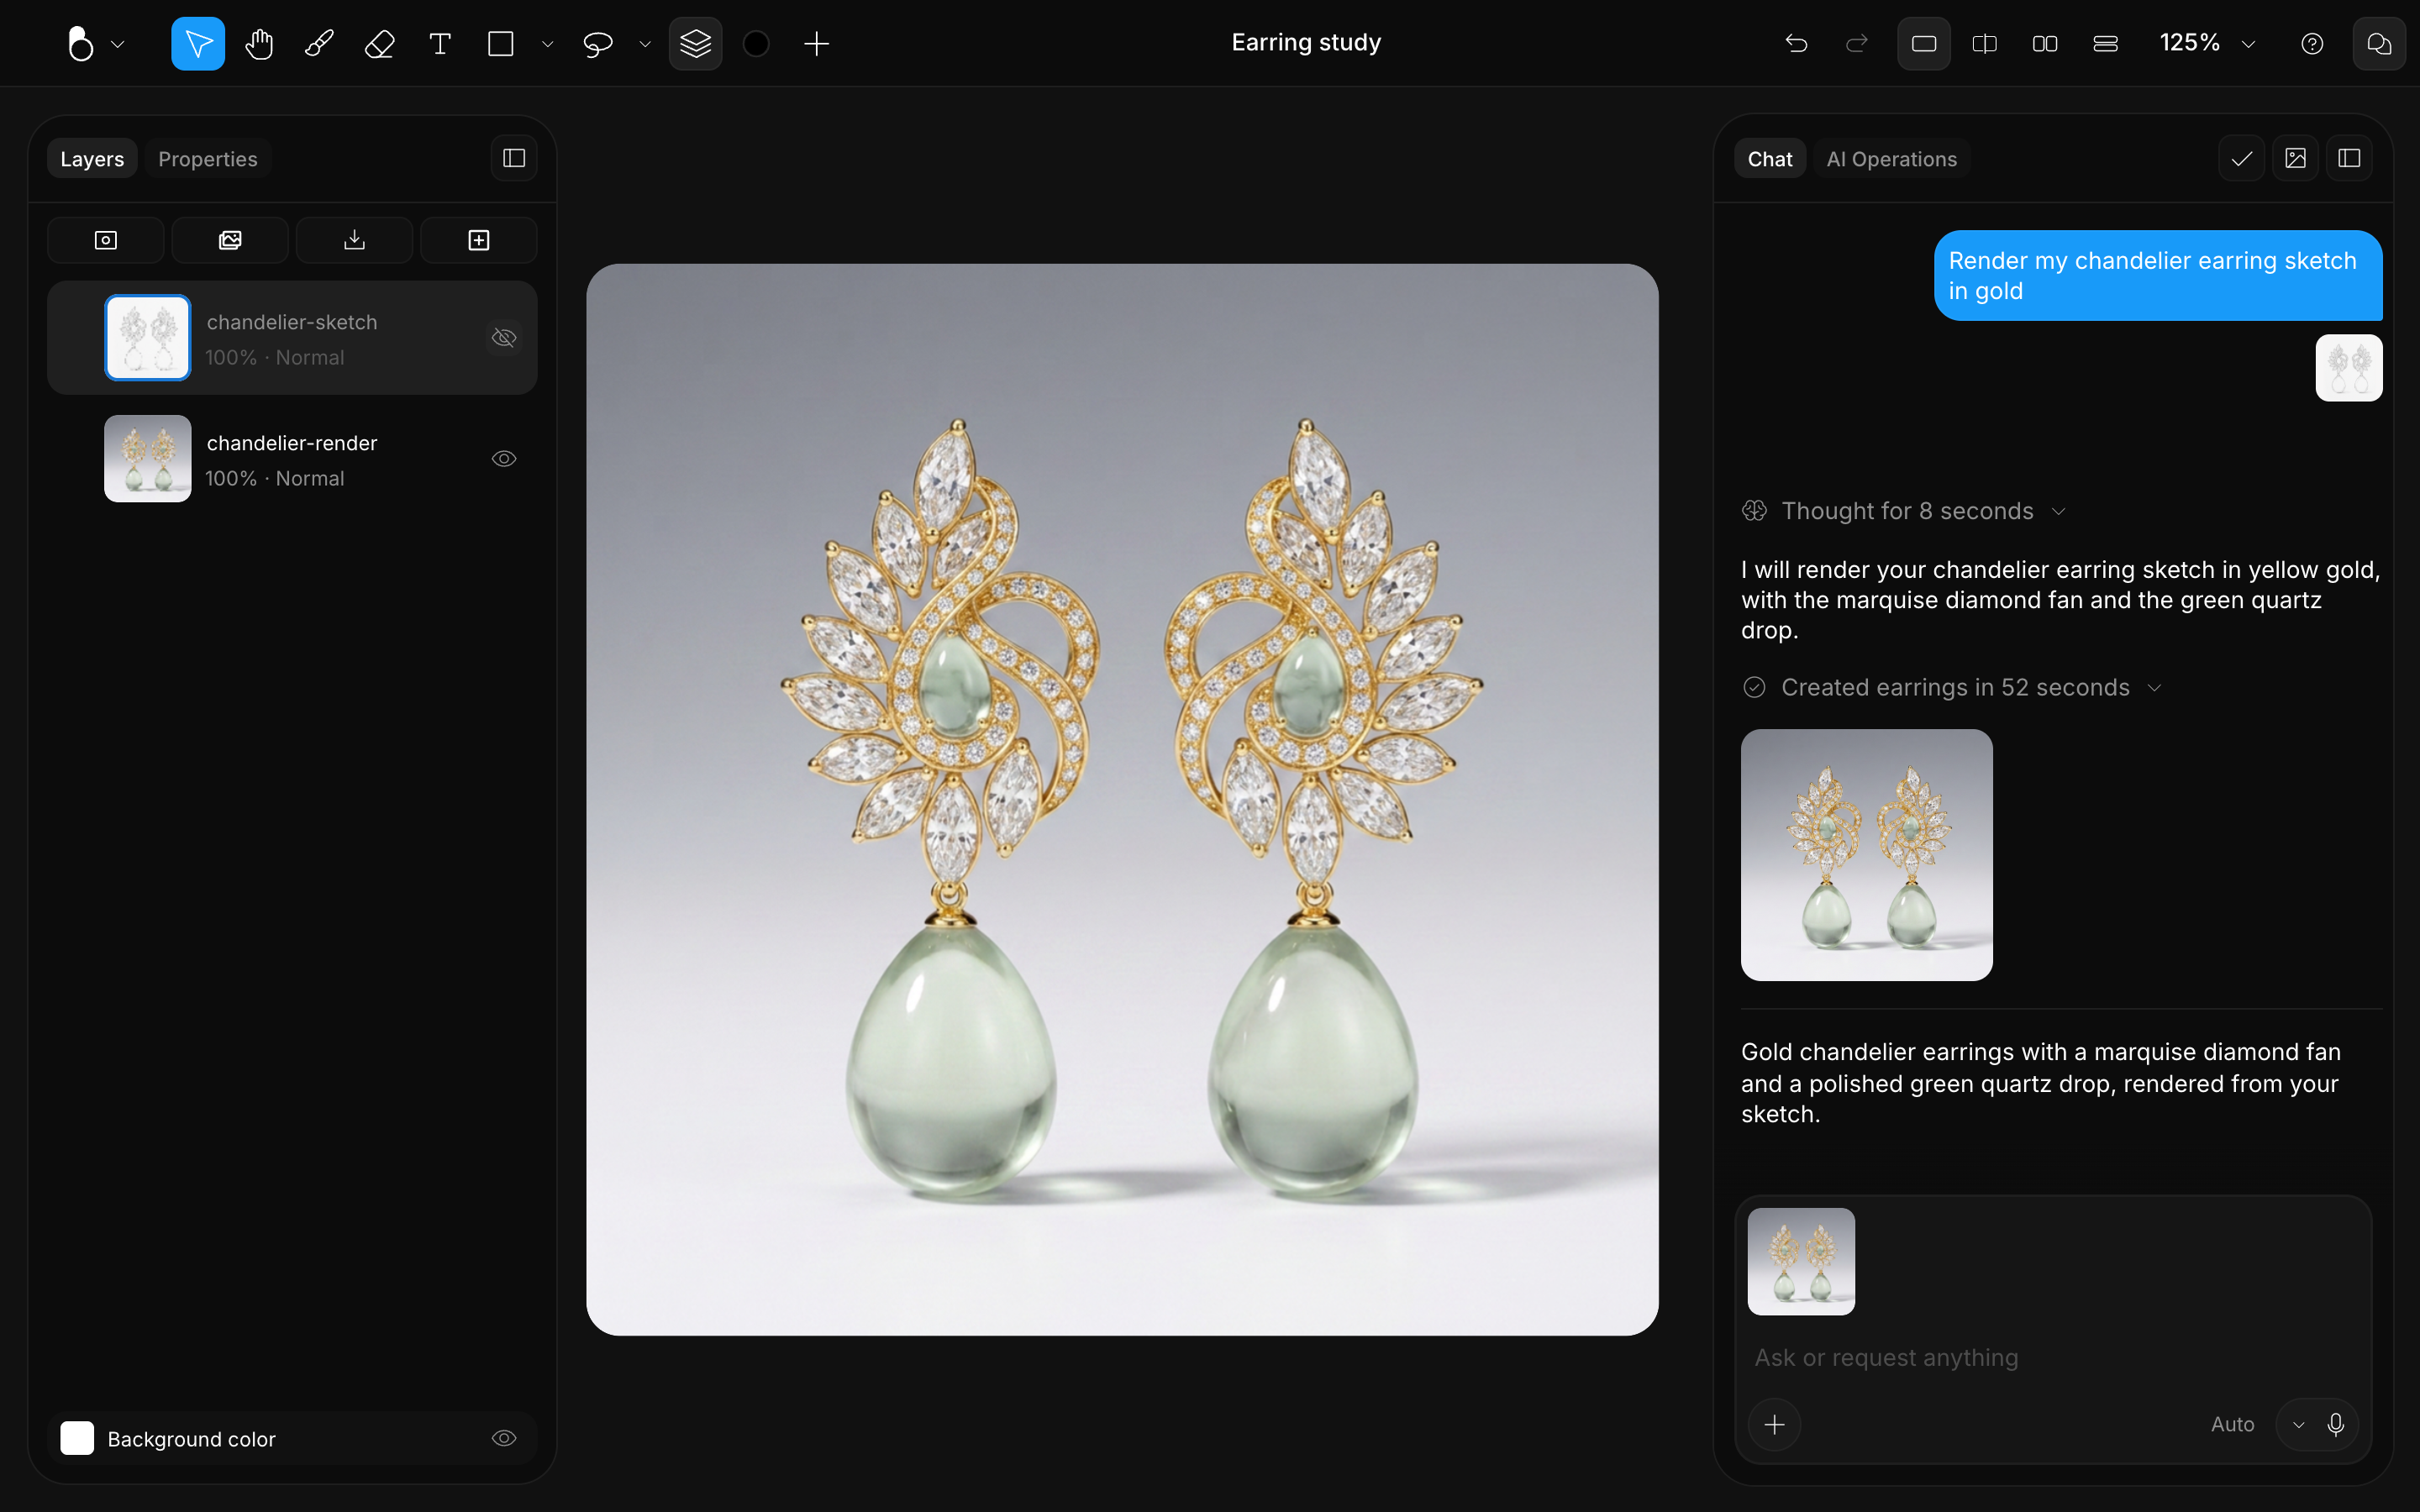
- Visibility: click a layer's eye icon to show or hide it.
- The background: the backdrop behind all your layers isn't a layer itself; it's a design-wide Background color. Change it from the swatch at the bottom of the Layers panel, or toggle it off with Hide background. The background is never included when you download or copy the canvas as an image.
- Layer icons: a text layer shows a text icon in place of its thumbnail, and other object types carry a small badge in the corner of theirs, so you can spot them at a glance.
- Multi-select: click a layer, then hold Shift and click others to select several at once, ready to group, flatten, or move together.
There's no fixed limit on how many layers a design can hold.
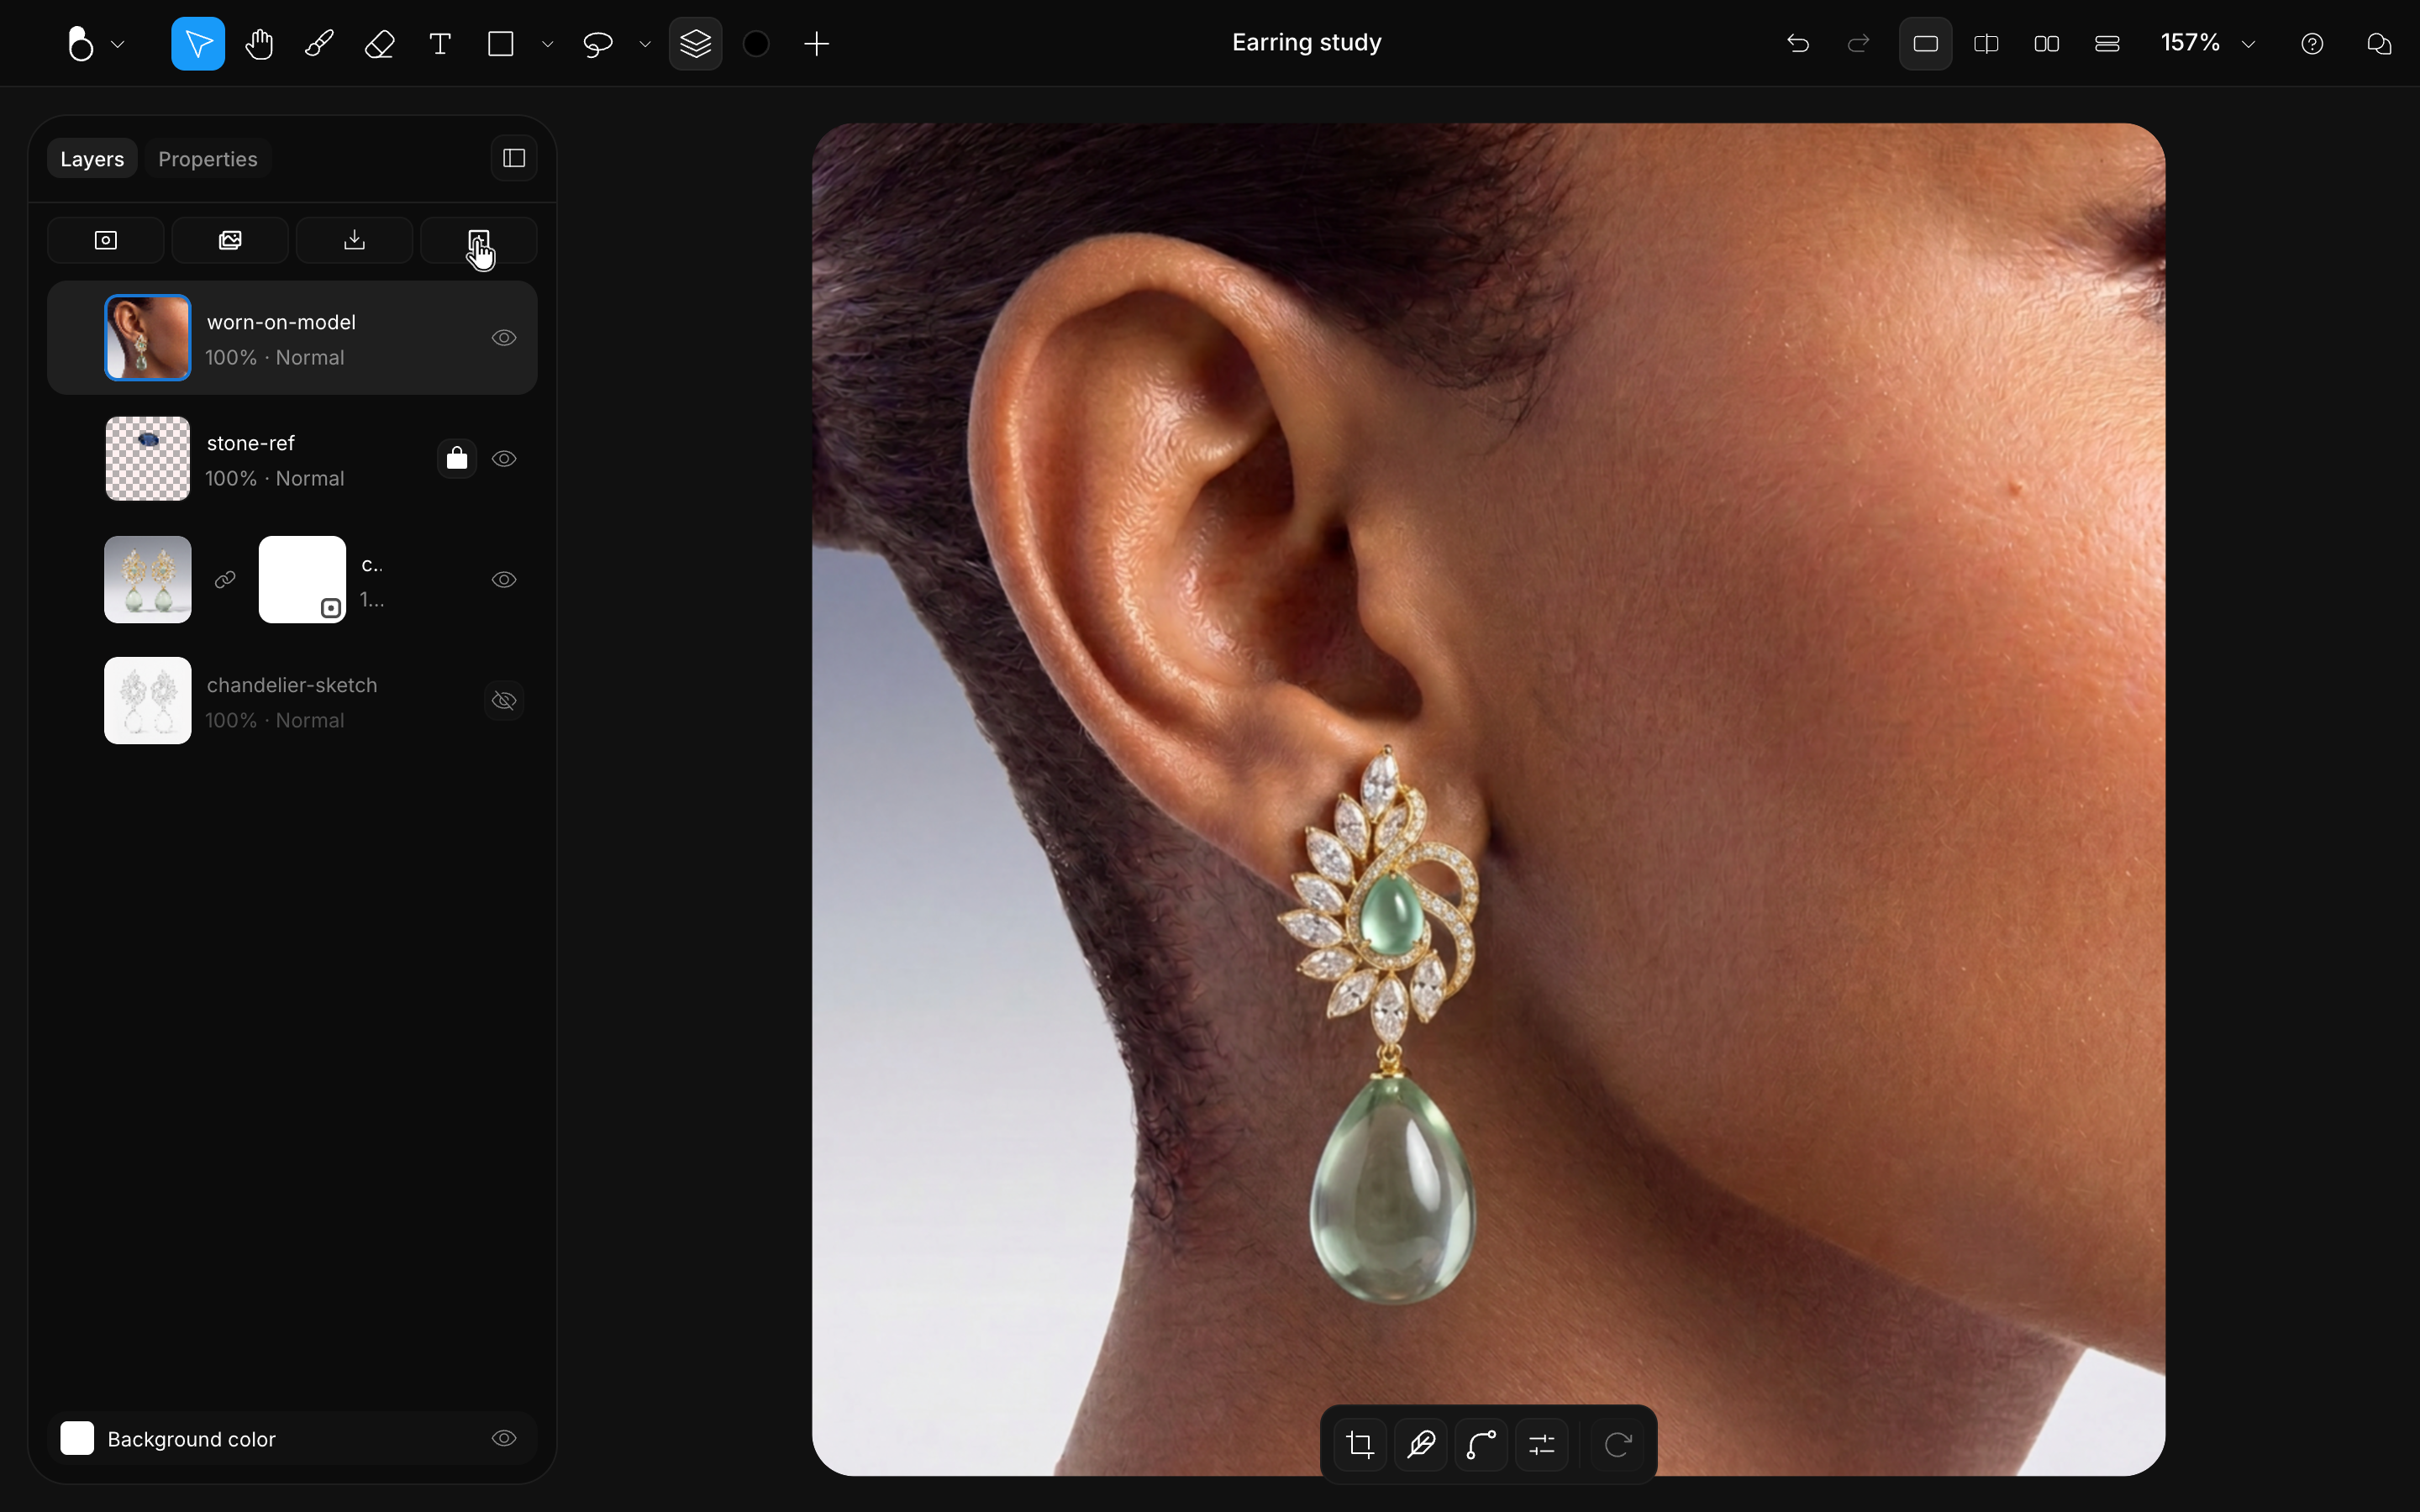
The panel's top menu
A row of buttons sits across the top of the panel:
- Add mask: add a mask to the selected layer or group. See Masks.
- Copy Layers as an image: copies the visible canvas to your clipboard, ready to paste elsewhere.
- Download: saves whatever is visible on the canvas (all the layers that are turned on) as an image.
- Add layer: inserts a new layer directly above the one you have selected: select the top layer and it goes on top, select one in the middle and it goes right above it.
Right-click actions
Right-click a layer row for its menu. What it offers depends on the row: labels flip with the layer's state (Lock or Unlock, Delete or Clear layer), the AI tools appear only on a layer they can run on, and a video layer downloads as MP4 or WebM where other layers offer a single Download.
Most of it is the same layer work you would do from the panel, gathered into submenus: things like Edit for cropping an image or filling it with color, Arrange and Group for stacking, and Merge for combining layers. The AI tools are covered in Images on the Canvas.
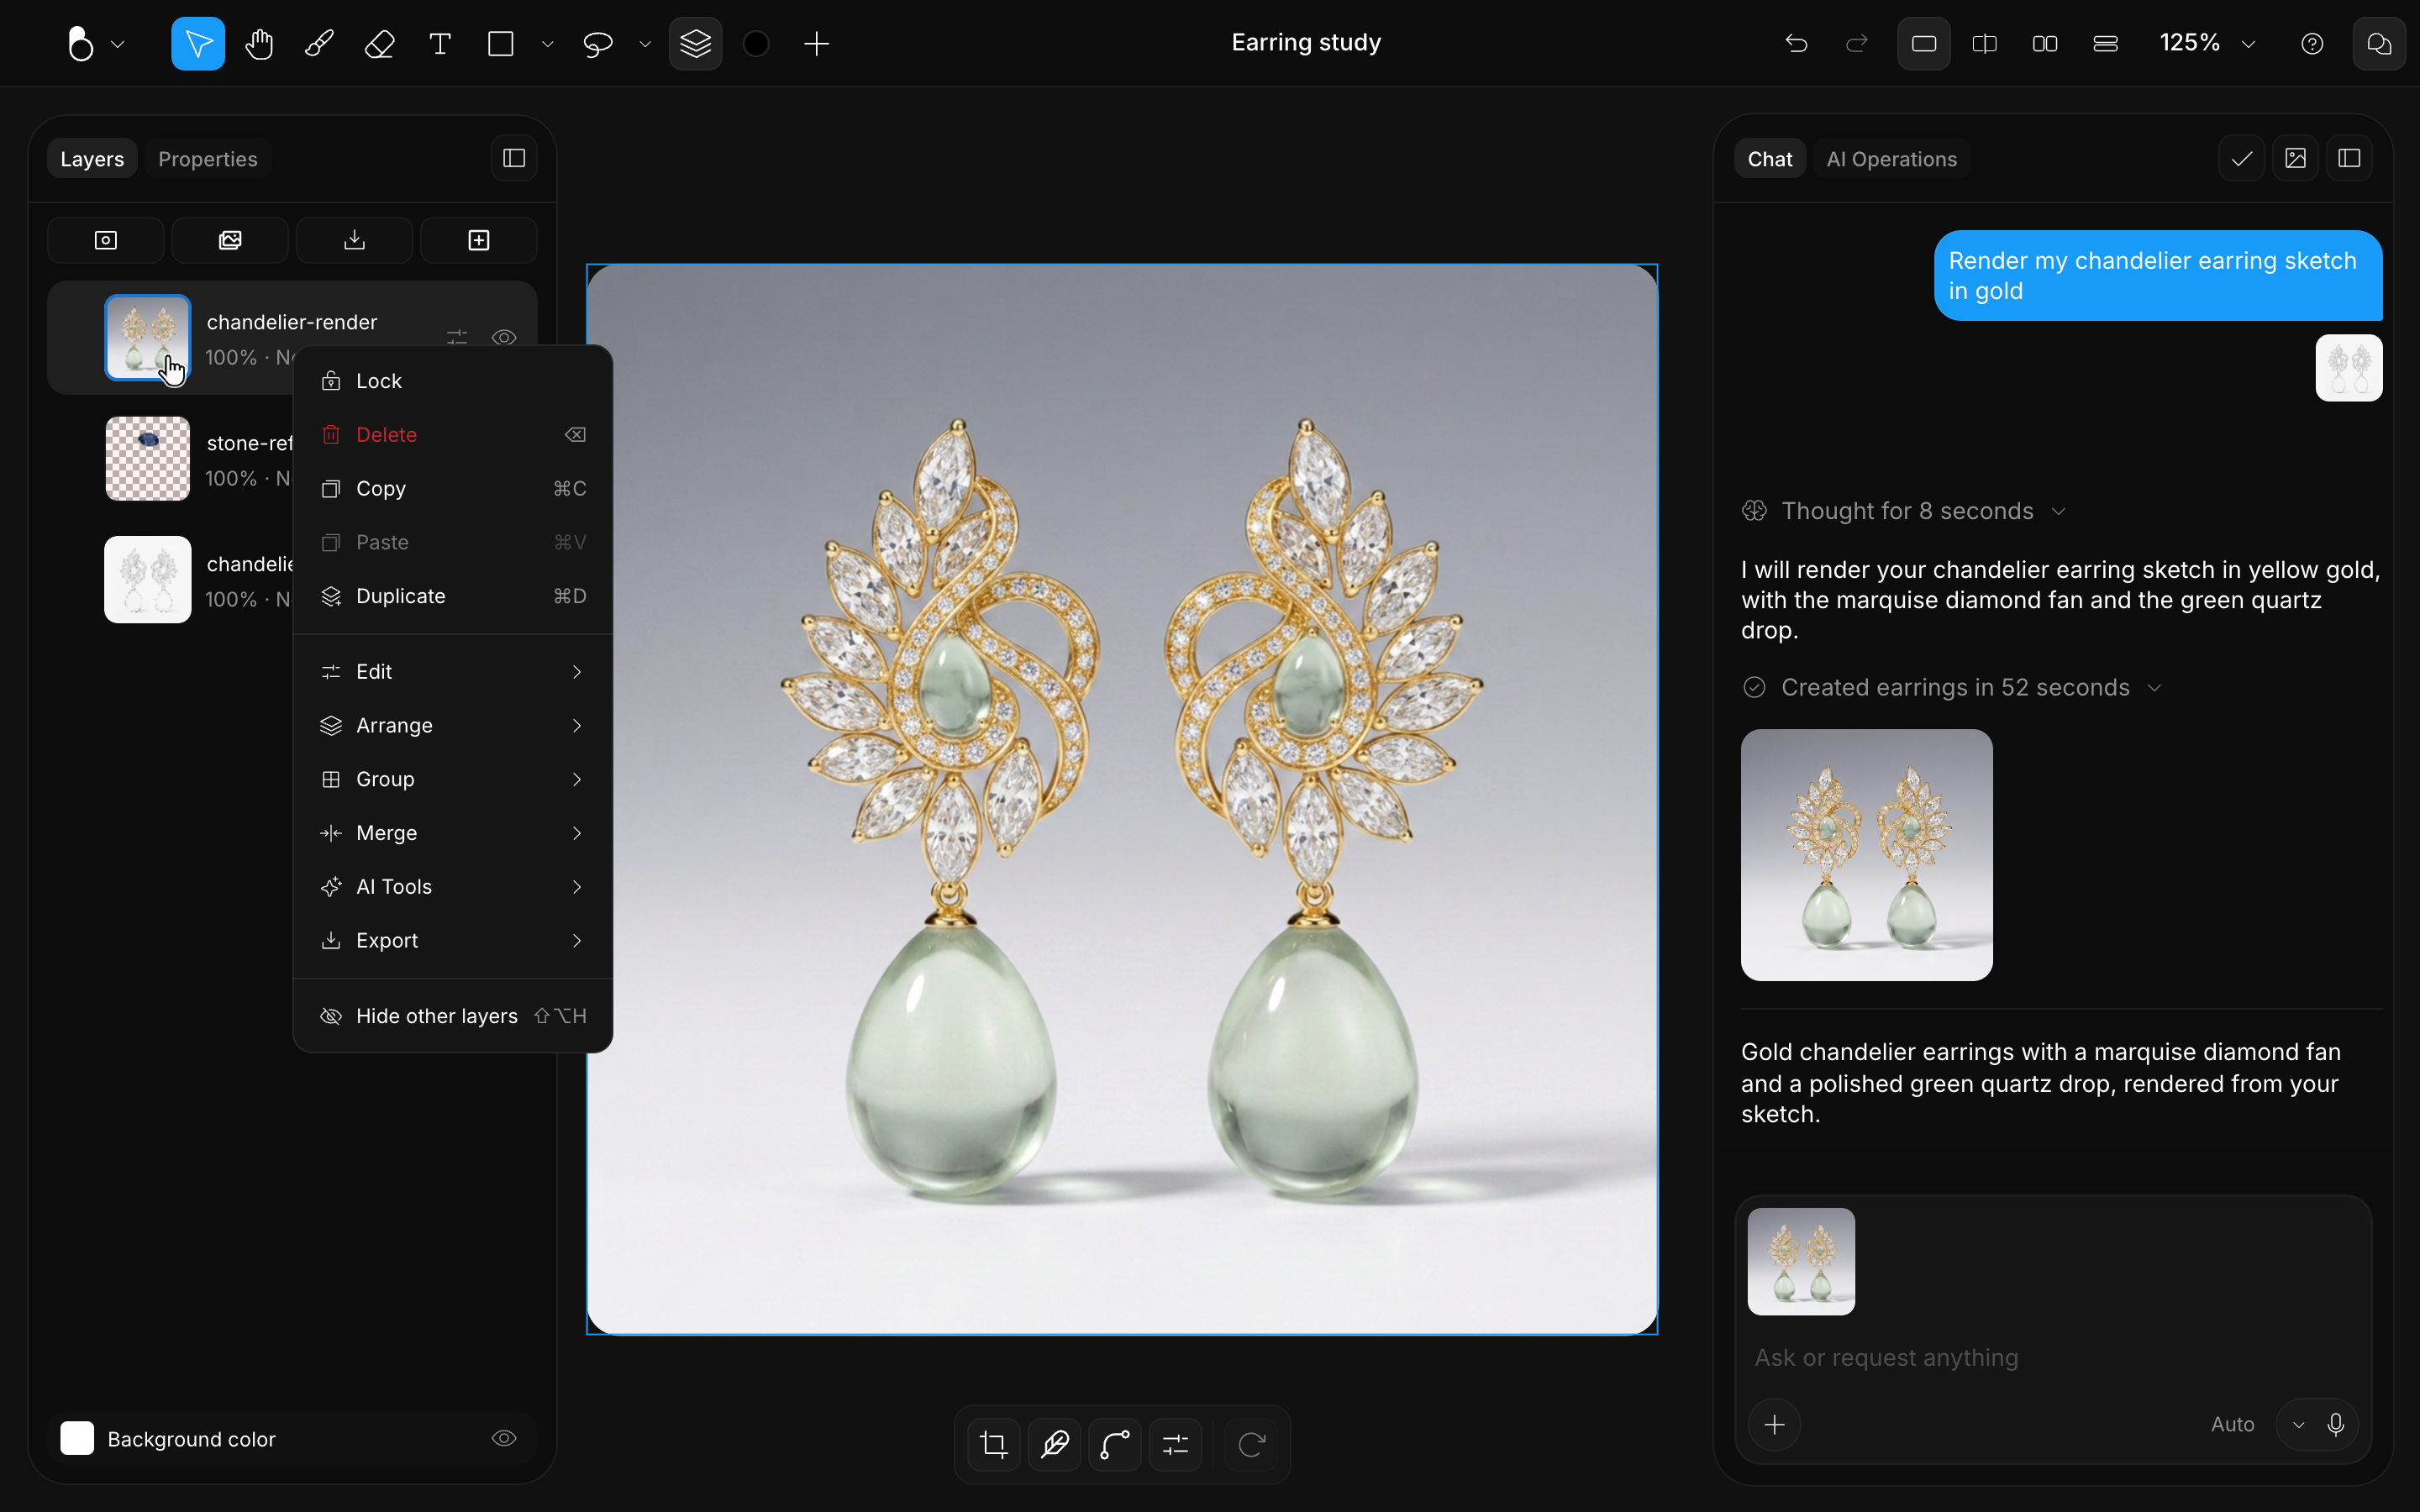
Exporting a single layer
The Export submenu takes one layer out on its own: Download saves just that layer's content, and Copy Layer as an image puts it on your clipboard. It is the way to hand off a cutout, a sketch pass, or one element of a composition without flattening anything.
Merge, Flatten, or Separate
- Merge: combines two or more brush-stroke layers into one, keeping the strokes editable. It's available when the selected layers hold only strokes.
- Flatten: bakes the selected layers into a single image layer, using the topmost one as the target. It works on image, video and 3D layers alike: a paused video flattens at the frame shown, a 3D model at the view shown. Unlock that layer first: a locked layer can't be flattened onto.
- Separate into layers: splits a layer holding several objects of the same kind so each object gets its own layer. The results come back inside a group when there are a lot of them, and whenever the layer held strokes or carried a mask.
Groups can nest up to 5 levels deep.
Reordering
Layers stack from top (front) to bottom (back), so the layer at the top of the panel sits in front of everything below it on the canvas. Drag a layer to a new position, or use the bracket keys: ] brings it to the front and [ sends it to the back, with Cmd/Ctrl + ] and Cmd/Ctrl + [ moving it one step at a time.
Group related layers with Cmd/Ctrl + G and the whole group reorders as one.
Locking
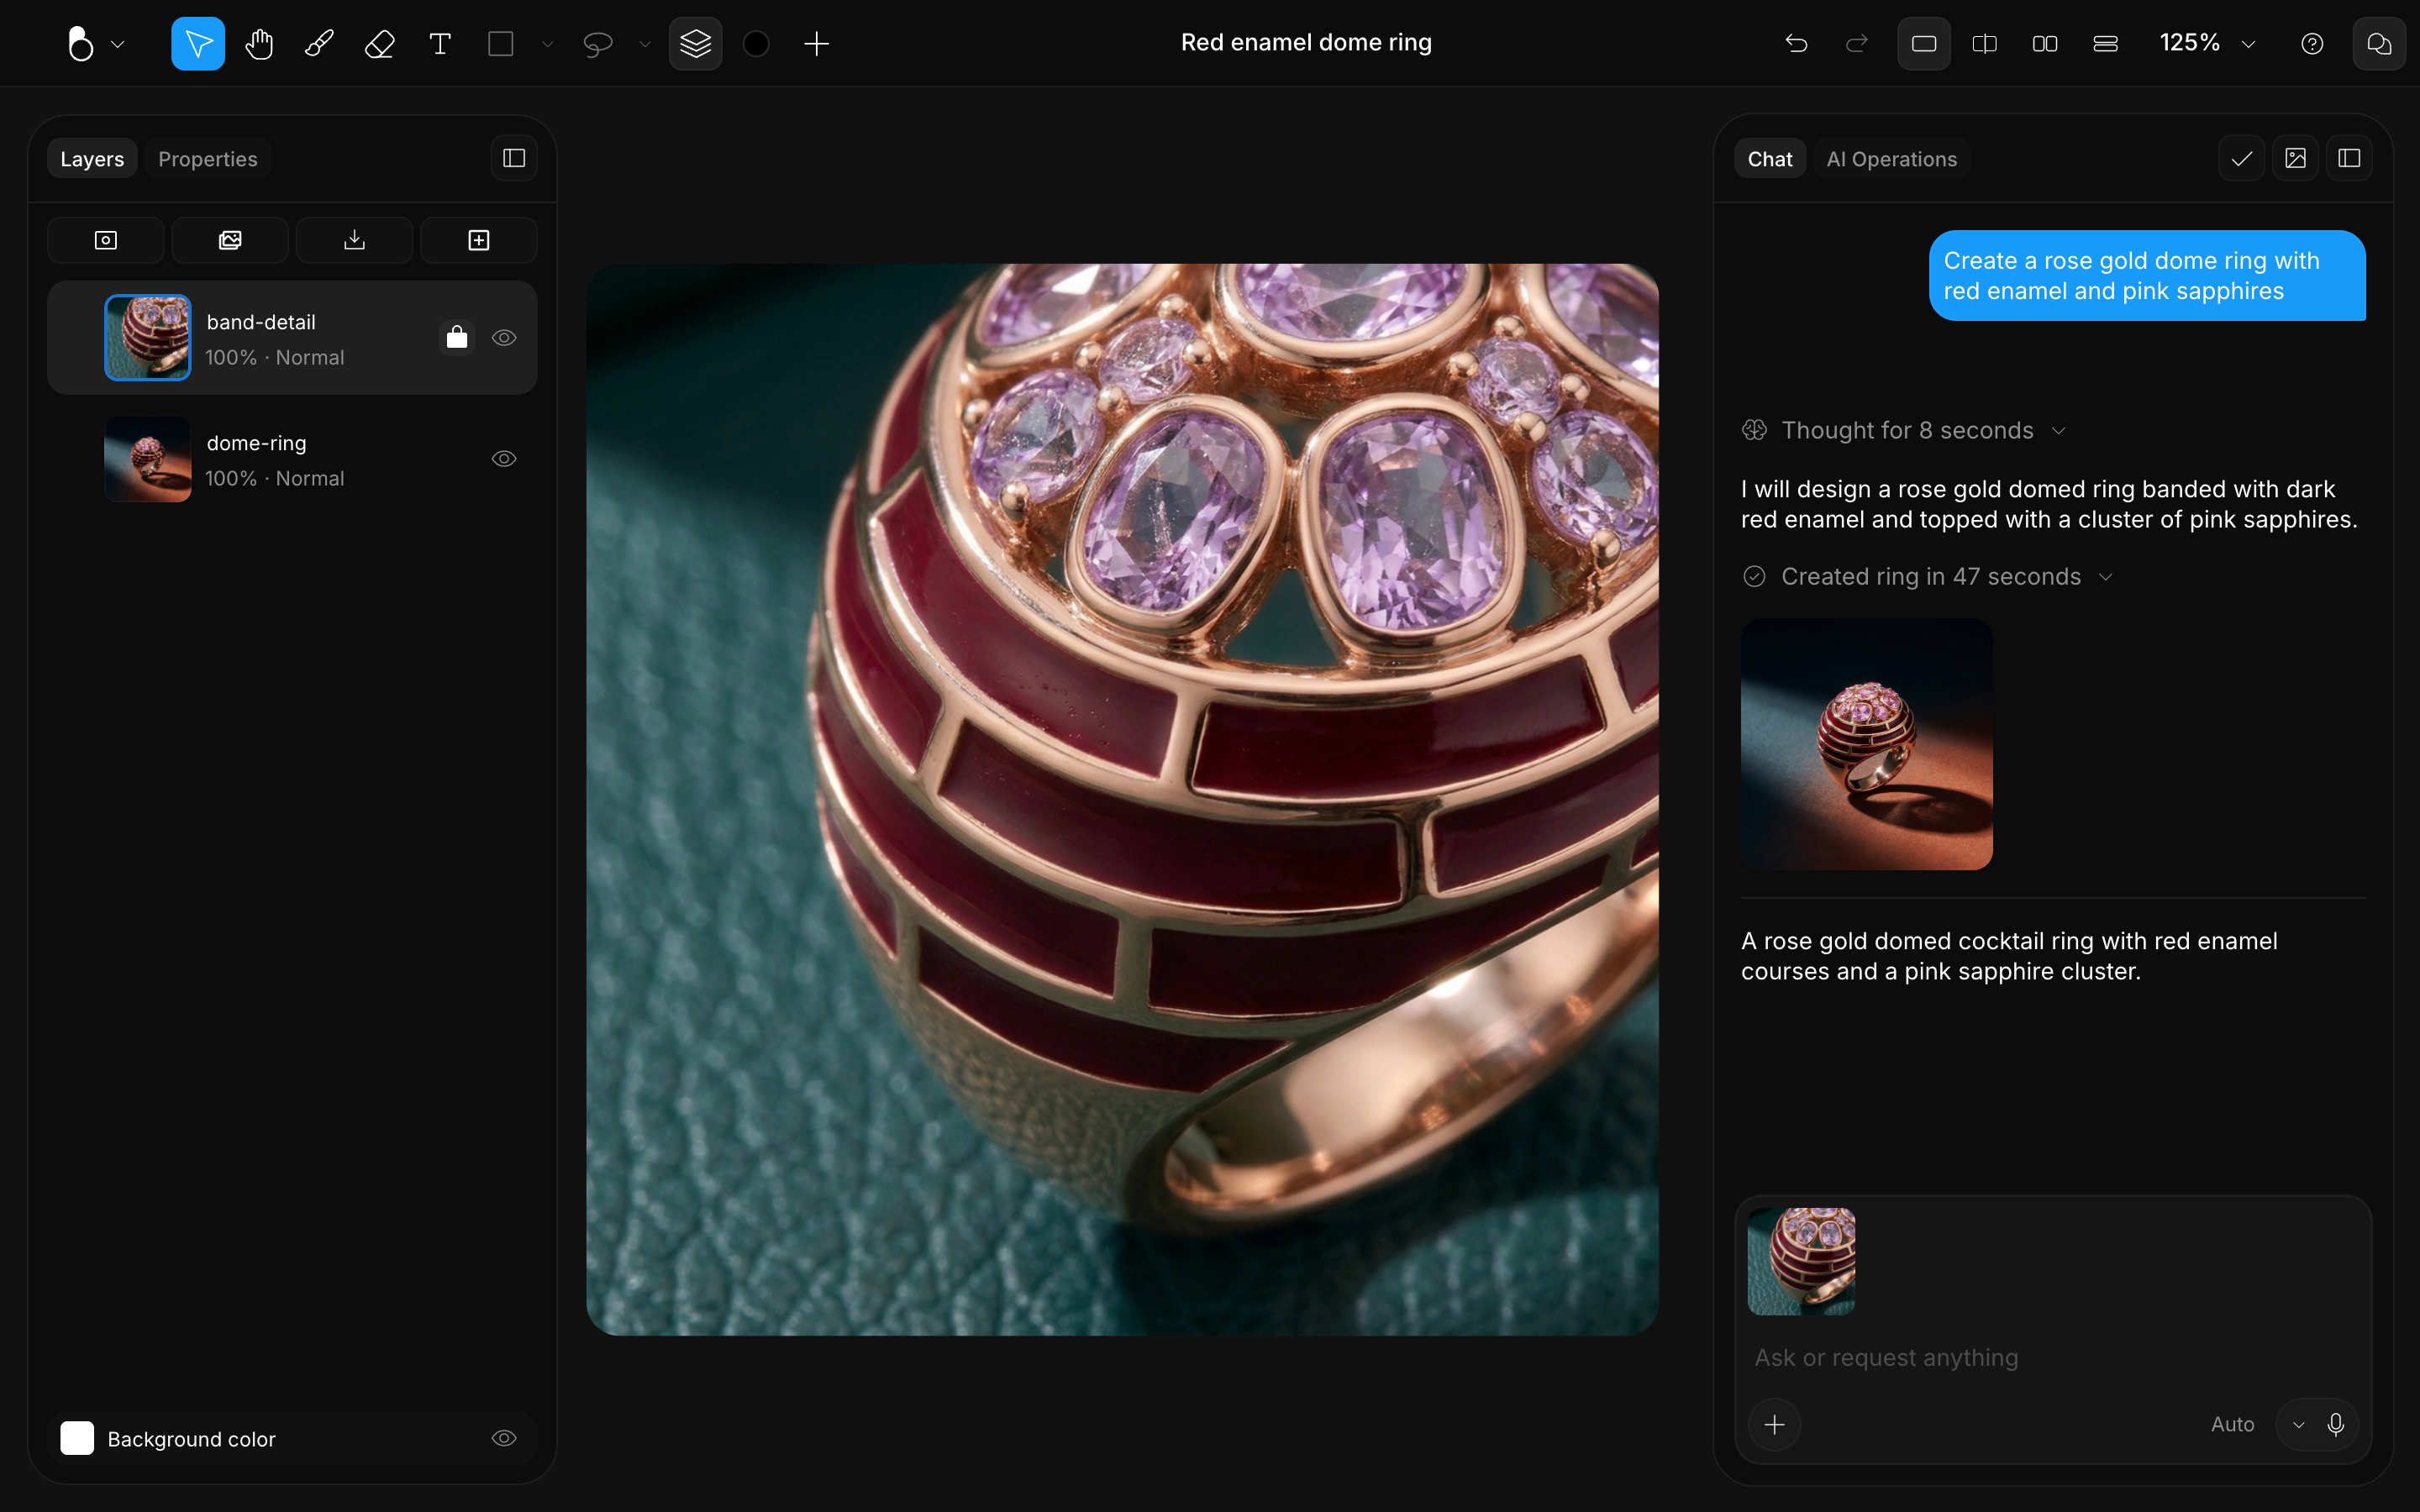
Locking a layer protects it from accidental edits: a locked layer can't be moved, drawn on, or changed until you unlock it, and its row is marked with a padlock. Toggle it from the Layers panel or with Cmd/Ctrl + Shift + L.
Lock a layer once it's the way you want it, so later work on everything else doesn't disturb it. It pays off most on backgrounds, finished elements, and reference images you need to stay put.
Hiding
Hiding a layer removes it from view without deleting it: nothing on the layer is lost, and you can bring it back at any time. A hidden layer doesn't appear on the canvas, and it isn't included when you download or copy the canvas as an image. Toggle it from the row's eye icon or with Cmd/Ctrl + Shift + H.
Use it to compare versions, isolate part of your design, or take a reference out of the way before you generate. To hide everything except the layer you're on, Hide other layers in the right-click menu does it in one step (Shift + Alt + H).
Blending
Blending controls how a layer combines with the layers beneath it. You set it with a blend mode and an opacity, and it applies over whatever sits below the layer in the stack, so reordering changes the result.
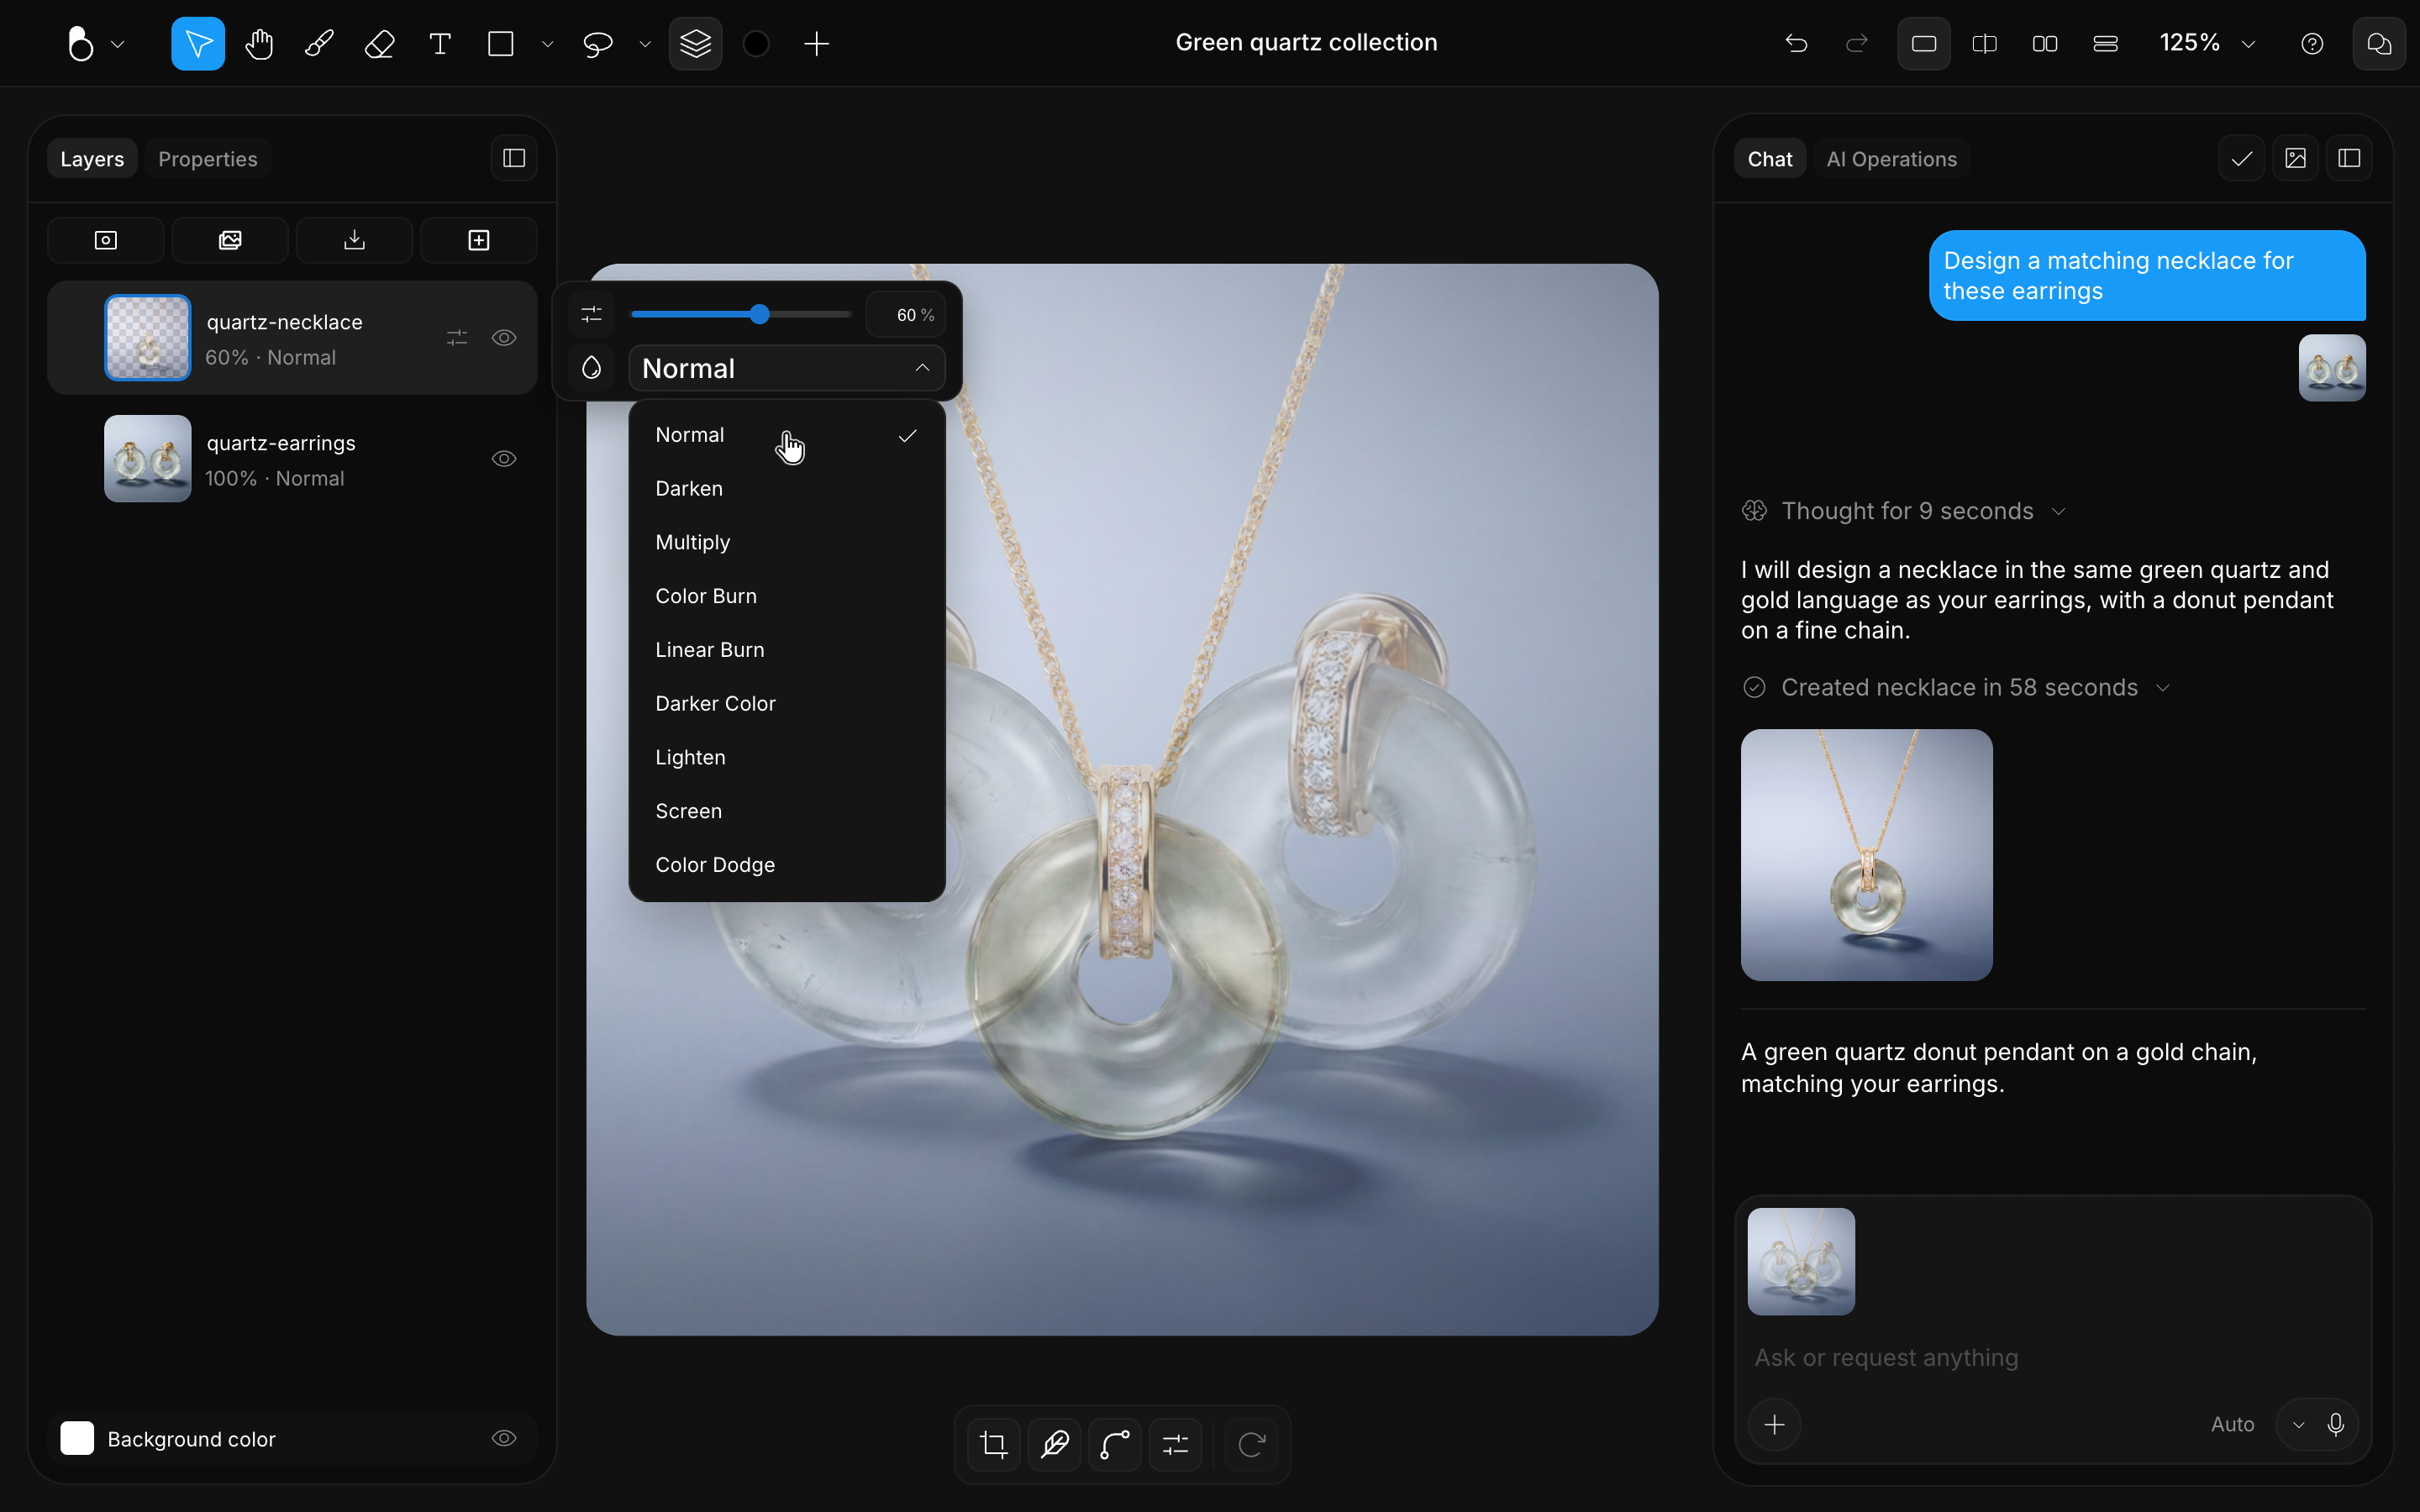
Blend modes
A layer's blend mode determines how its colors interact with the layers below it. It's Normal by default; change it from the Layers panel to make a layer lighten, darken, or combine with what's underneath, useful for compositing a generated result with your canvas or adding texture and highlights. There are 26 blend modes to choose from:
| Category | Blend modes |
|---|---|
| Normal | Normal |
| Darken | Darken, Multiply, Color Burn, Linear Burn, Darker Color |
| Lighten | Lighten, Screen, Color Dodge, Add, Lighter Color |
| Contrast | Overlay, Soft Light, Hard Light, Vivid Light, Linear Light, Pin Light, Hard Mix |
| Difference | Difference, Exclusion, Subtract, Divide |
| Color-Based | Hue, Saturation, Color, Luminosity |
Opacity
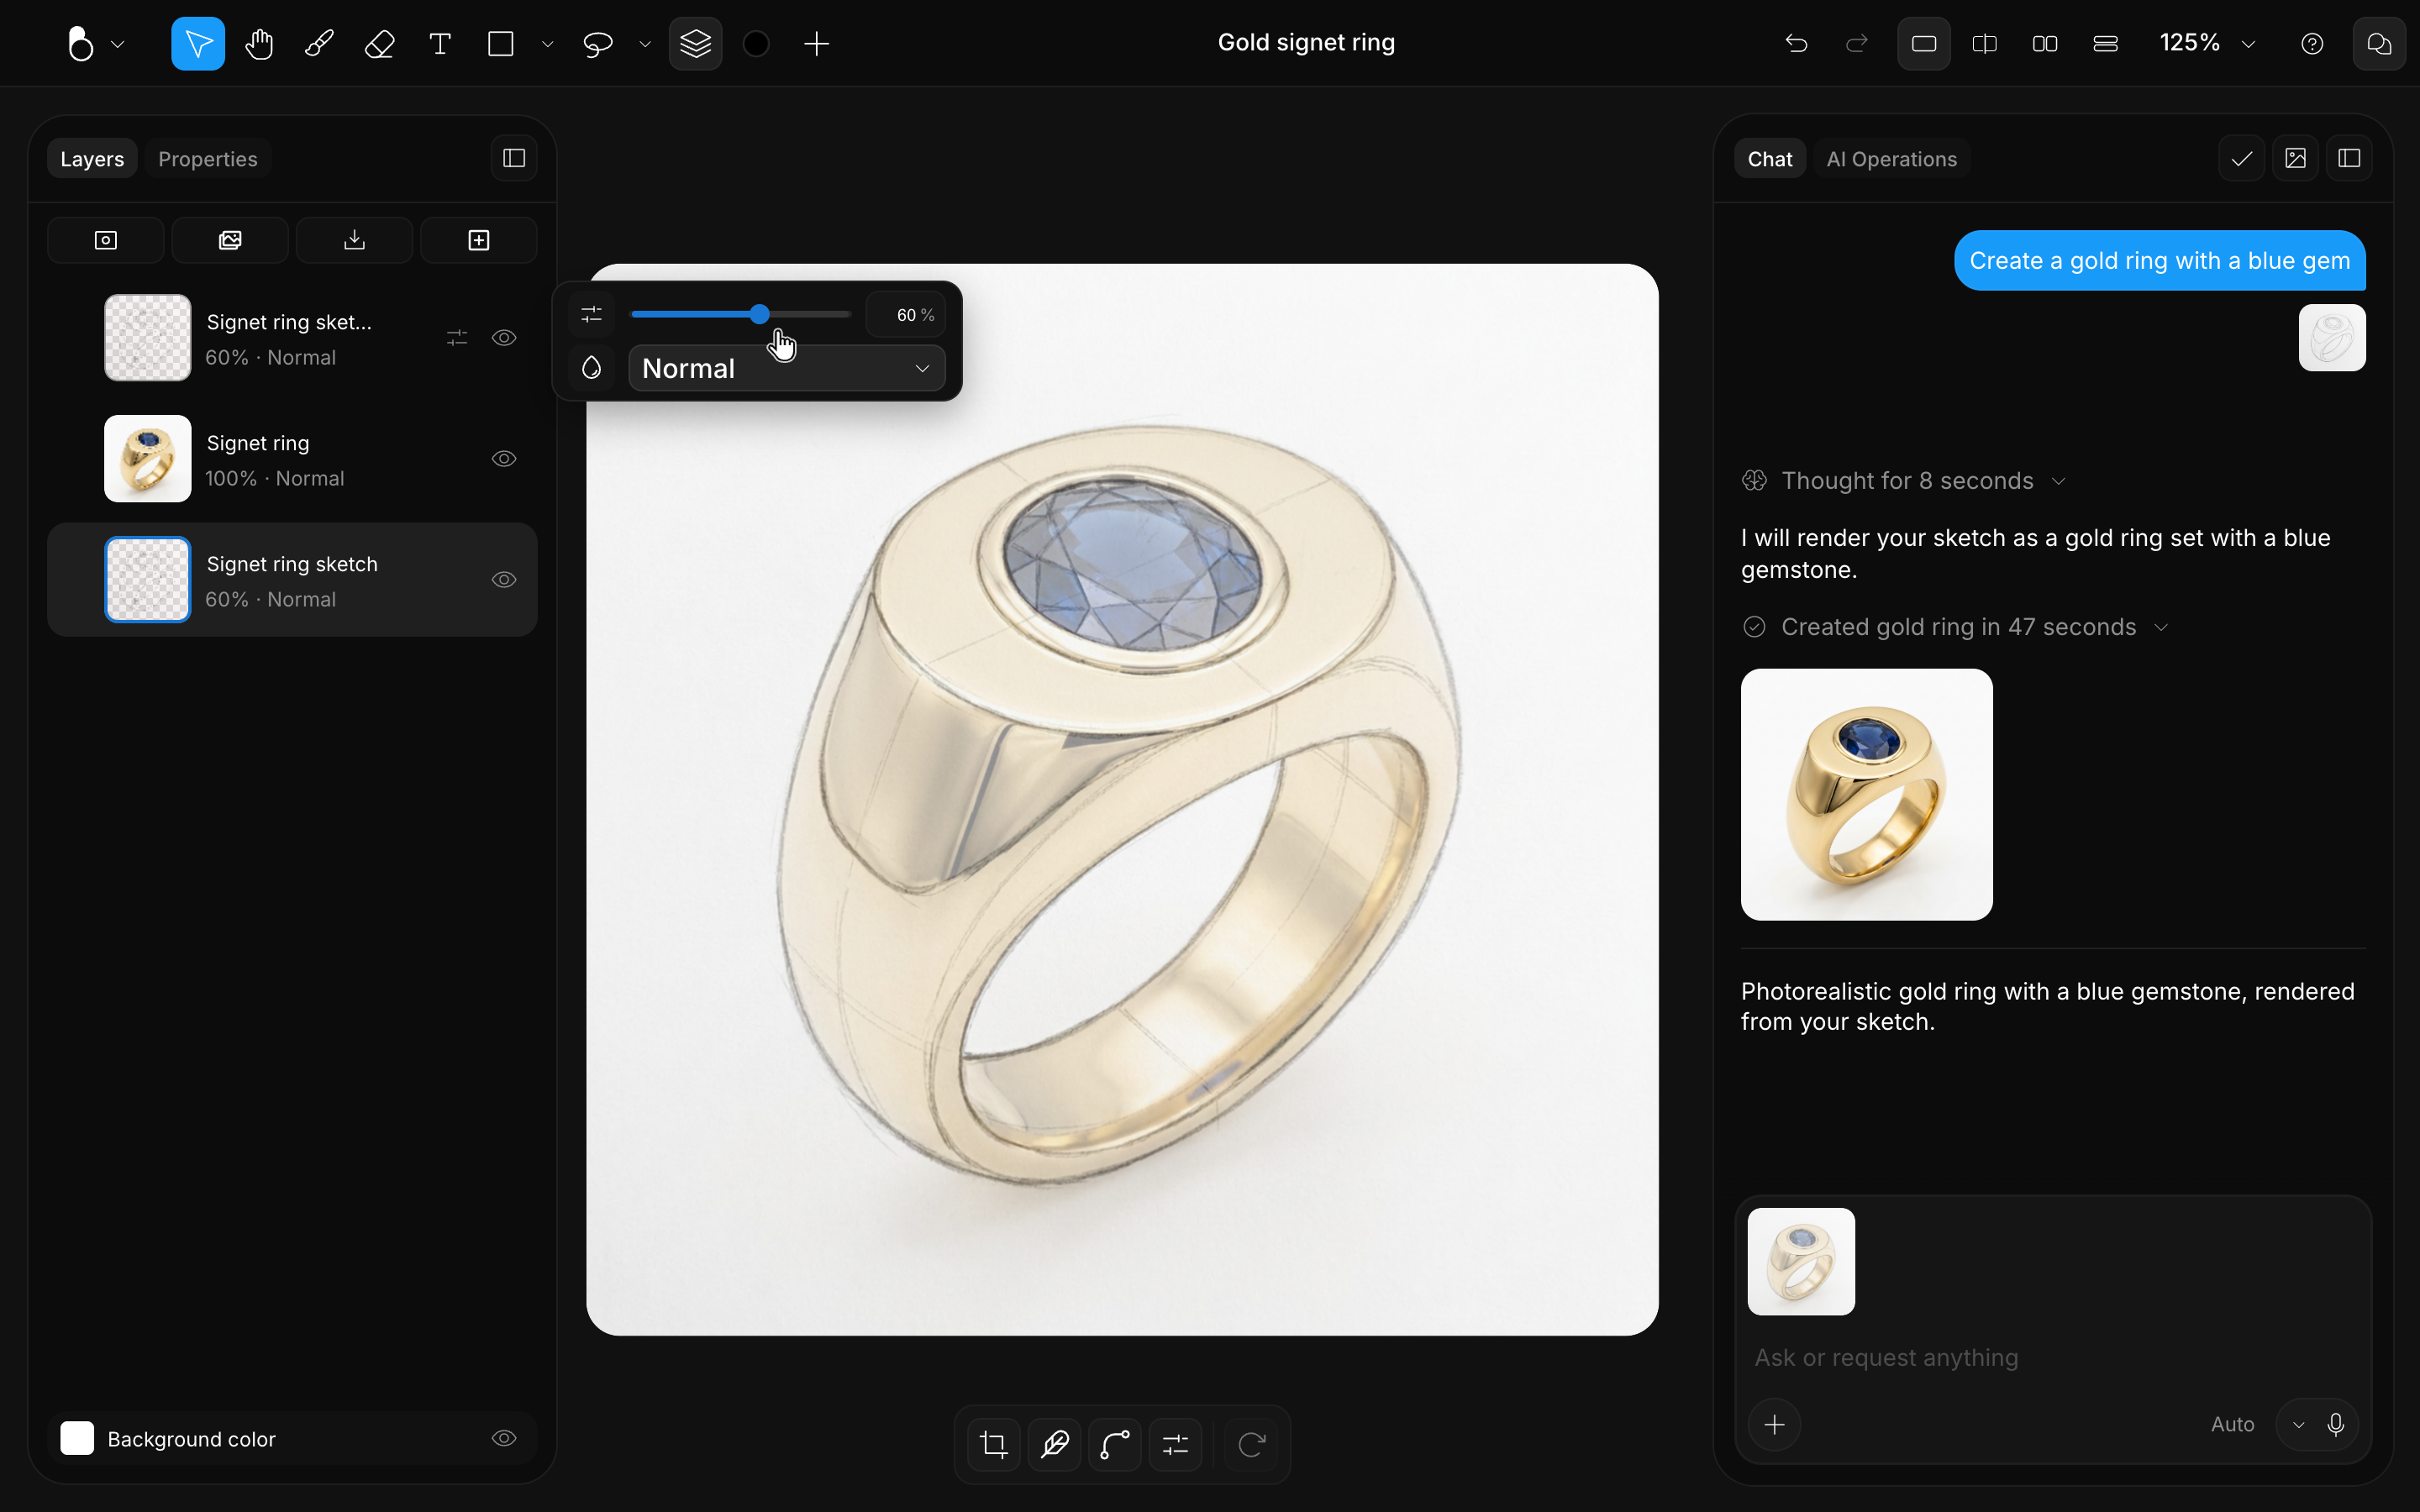
A layer's opacity makes the whole layer more or less transparent, so what's underneath shows through. With a layer selected, the number keys set it in one press: 1 to 9 for 10% to 90%, and 0 for 100%.