
Templates & Canvas Sizes
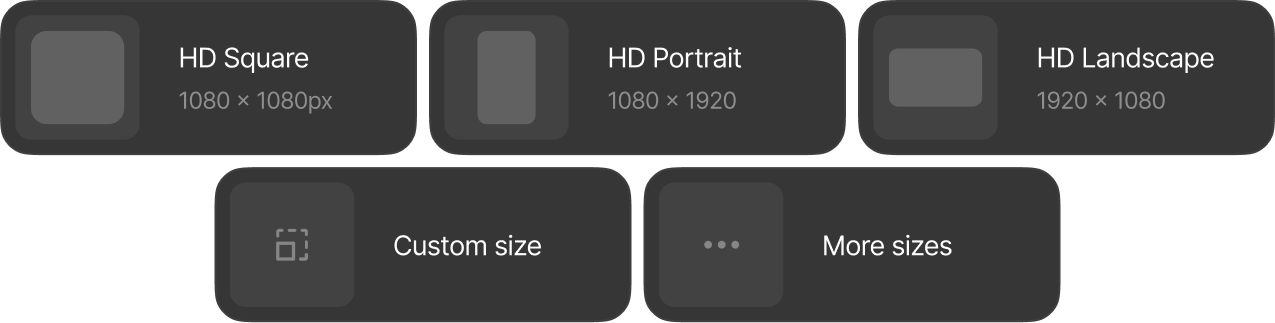
Every project starts from a canvas size, and the dashboard's Start a new project strip is where you pick it. Templates in BLNG are canvas sizes rather than pre-made designs: each card starts a blank project at those dimensions.
Built-in sizes
The built-ins combine a resolution (HD, 2K, 4K) with an aspect (Square 1:1, Landscape 16:9, Portrait 9:16), plus two print sizes. HD Square is the default and carries the "AI Best Performance" badge: it's the size the AI works best at.
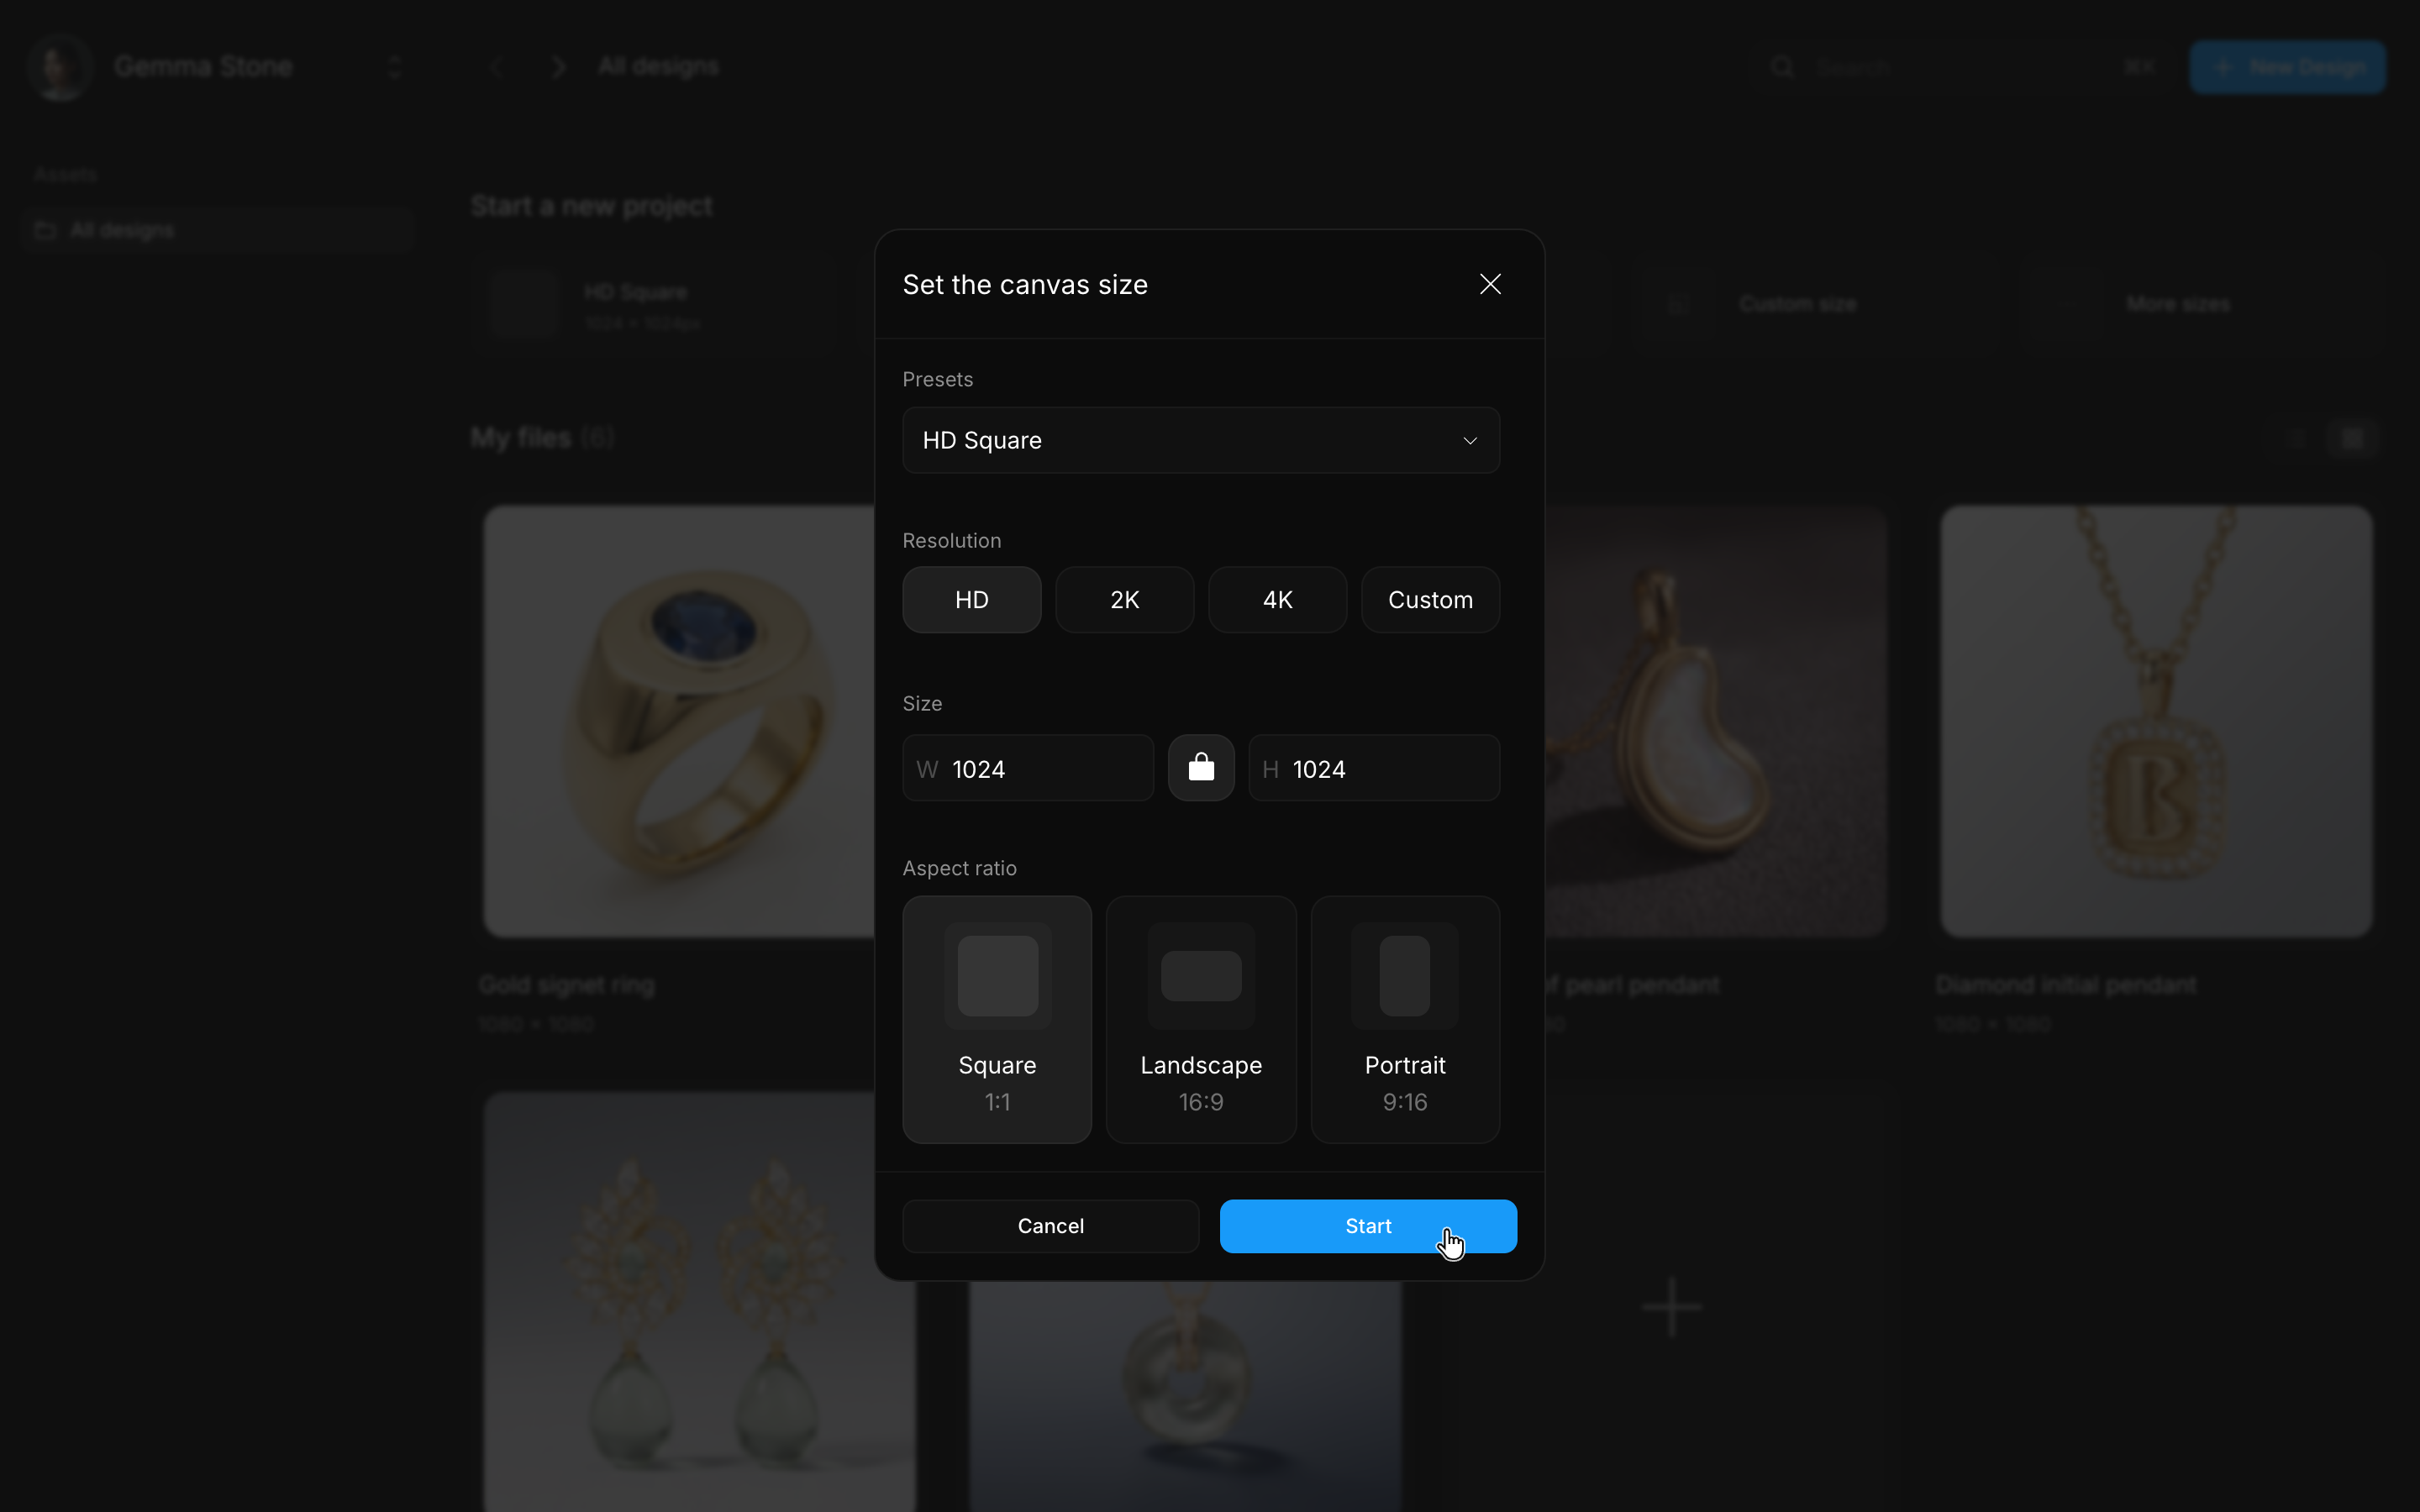
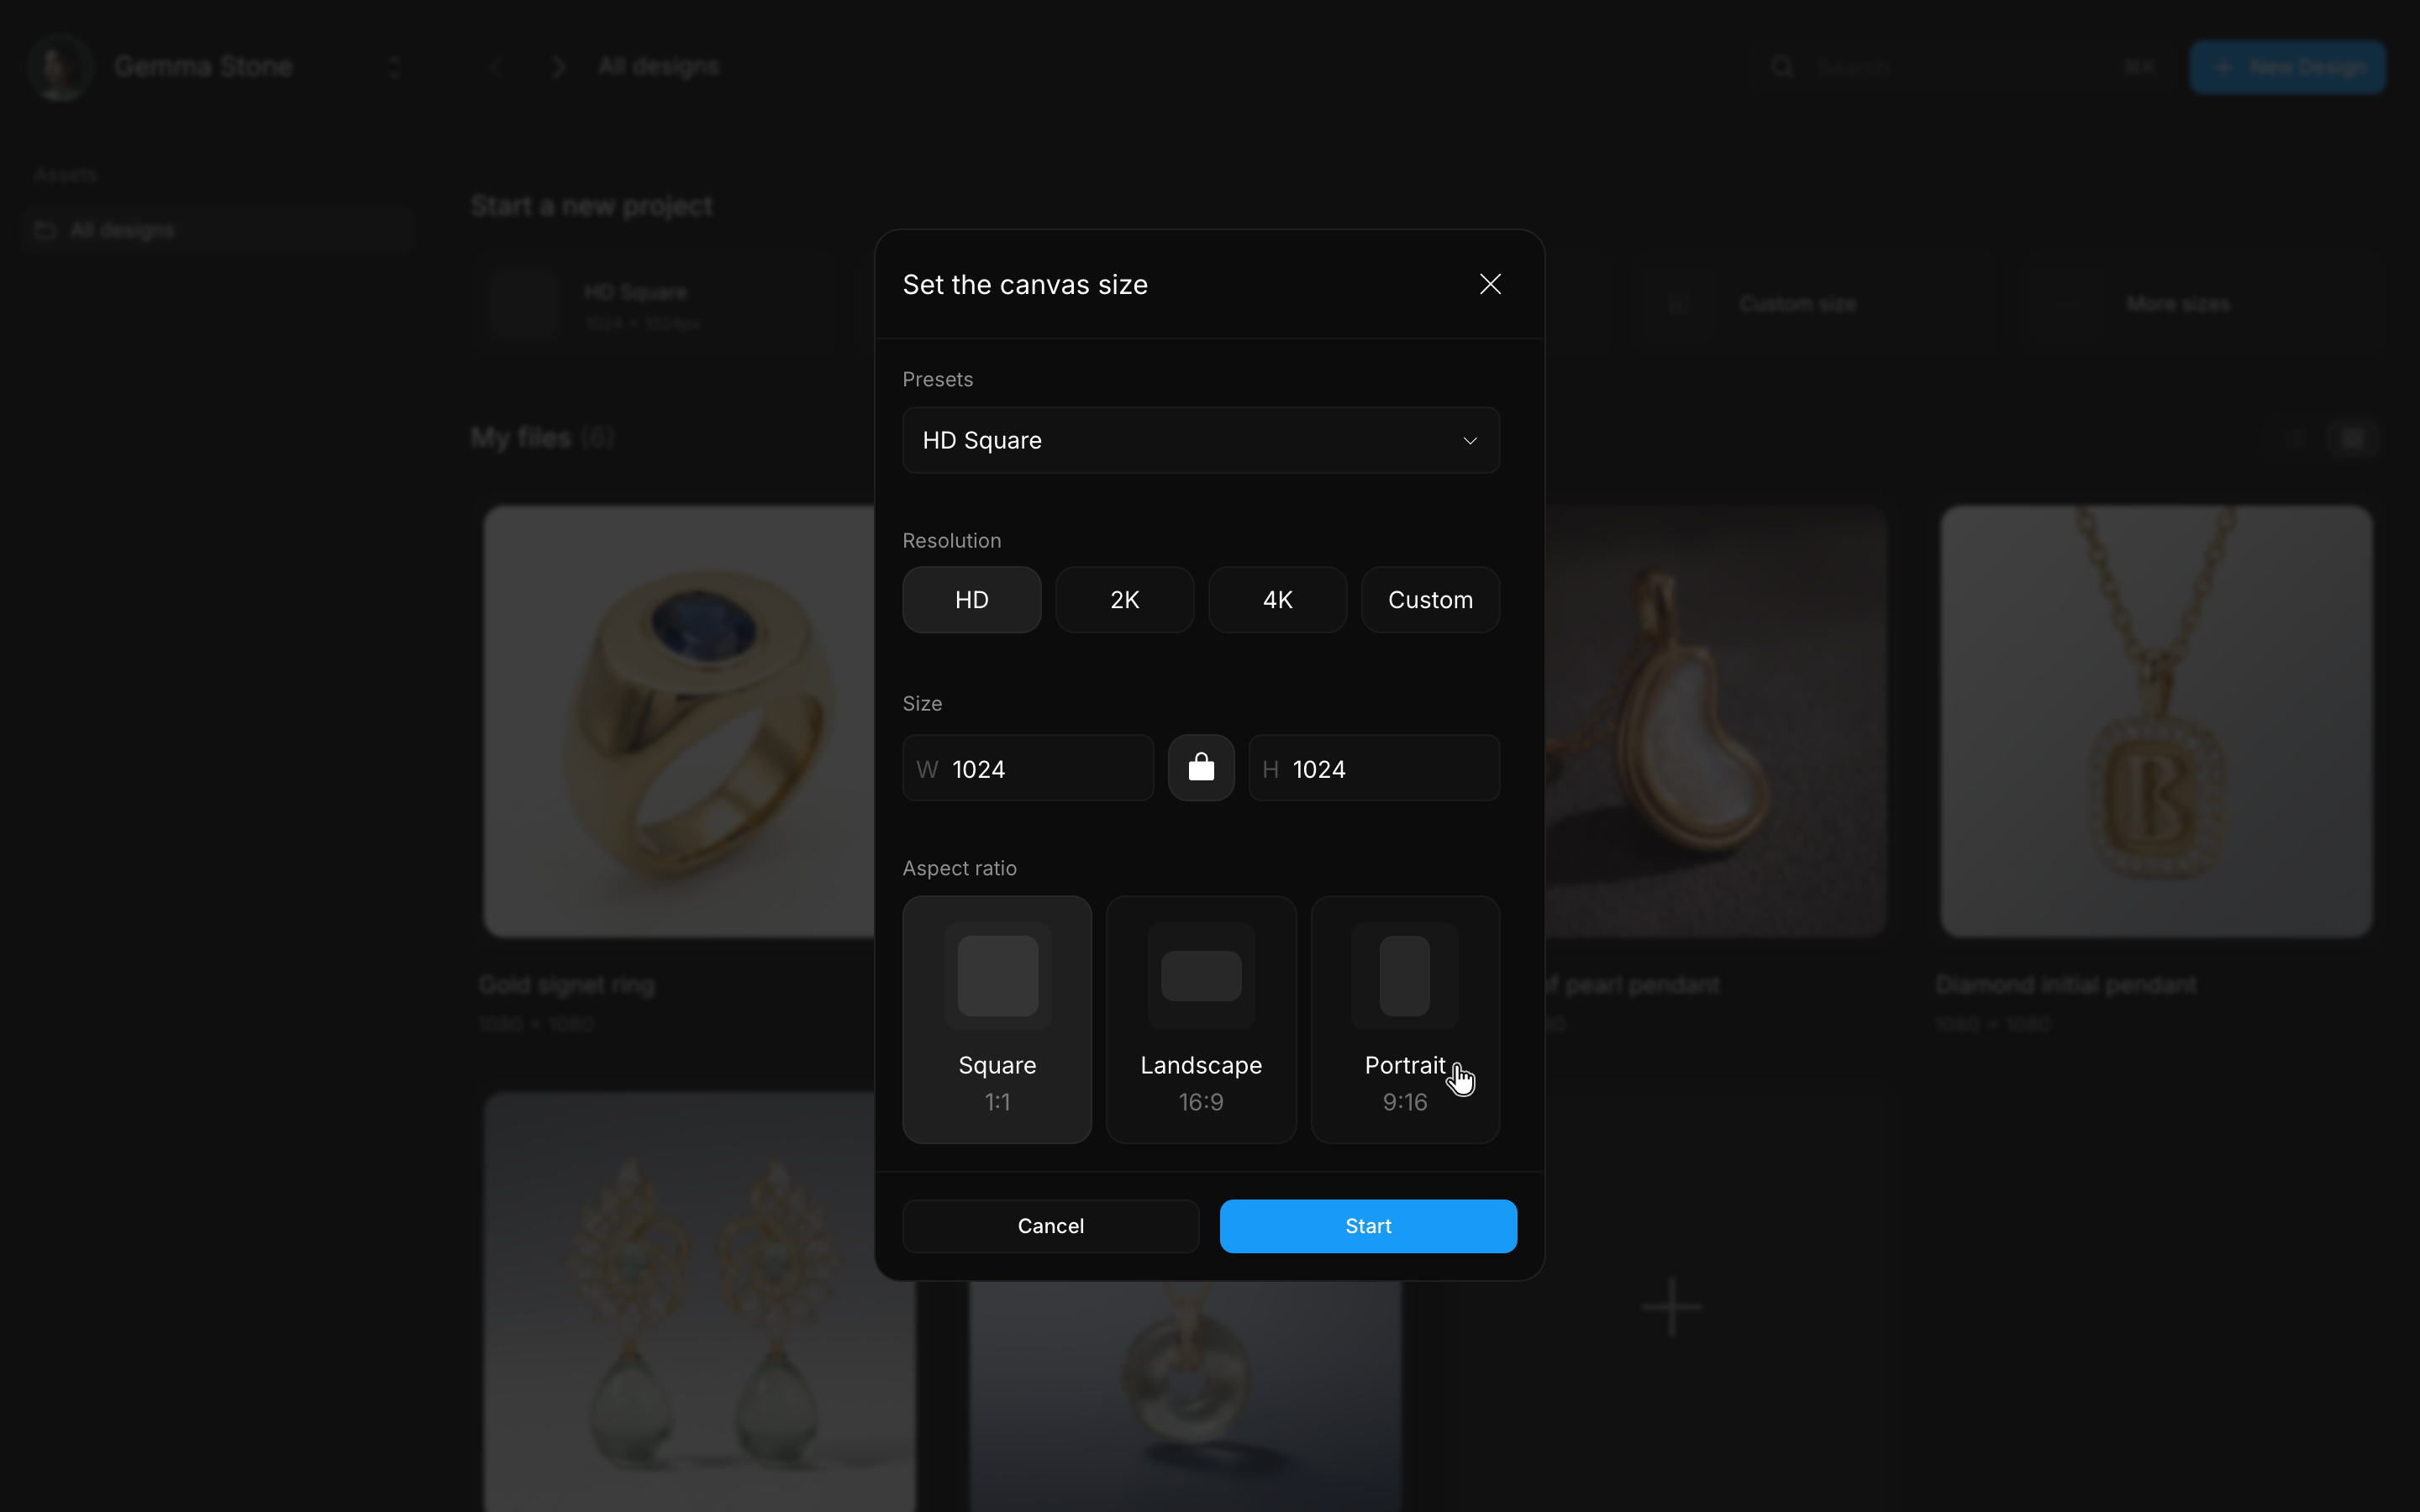
The strip has room for four size cards, so the full list lives one click away: More sizes opens the Set the canvas size dialog, where you pick a preset and press Start. The cards on the strip are the sizes you use most, with anything you pin sitting at the front.
| Template | Pixels |
|---|---|
| HD Square (default) | 1080 × 1080 |
| HD Landscape | 1920 × 1080 |
| HD Portrait | 1080 × 1920 |
| Square 2K | 2048 × 2048 |
| 2K Landscape | 2560 × 1440 |
| 2K Portrait | 1440 × 2560 |
| 4K Square | 2160 × 2160 |
| 4K Landscape | 3840 × 2160 |
| 4K Portrait | 2160 × 3840 |
| Photo 6" × 4" | 1800 × 1200 |
| Paper 11" × 8.5" | 3300 × 2550 |
Custom sizes and your own presets
Click Custom size on the strip, or choose Custom in the dialog, to type a width and height anywhere from 16 to 16,384 pixels per side. The lock between the two fields holds the aspect ratio while you edit; it starts open on a custom size, so turn it on when you want one side to follow the other.
Two notes can appear under the fields as you type, and neither stops you. Past 4096 pixels on the long side, BLNG reminds you that AI images come out at up to 4K however large the canvas is: a bigger canvas doesn't make the AI render bigger. Very wide or very tall proportions get a note of their own, because sizes like that are hard to work with.
Once a project exists its canvas size is fixed: there is no canvas-resize control in the editor, so a different size means a new project. See Crop & Resize for what you can resize instead, and Dashboard & Projects for everything else on the dashboard.
Saving presets
To keep a custom size for good, flip on Save as preset while you set it up and give it a name. A saved preset gets its own card on the dashboard strip, shows up in the Set the canvas size dialog under that name, and is never pushed out by newer sizes: BLNG keeps your last 24 sizes, and saved or pinned ones always stay.
Right-click a preset card to Rename it or Delete it. Only your own custom sizes can be deleted; the trash icon beside a preset in the dialog's list does the same.
Pinning sizes
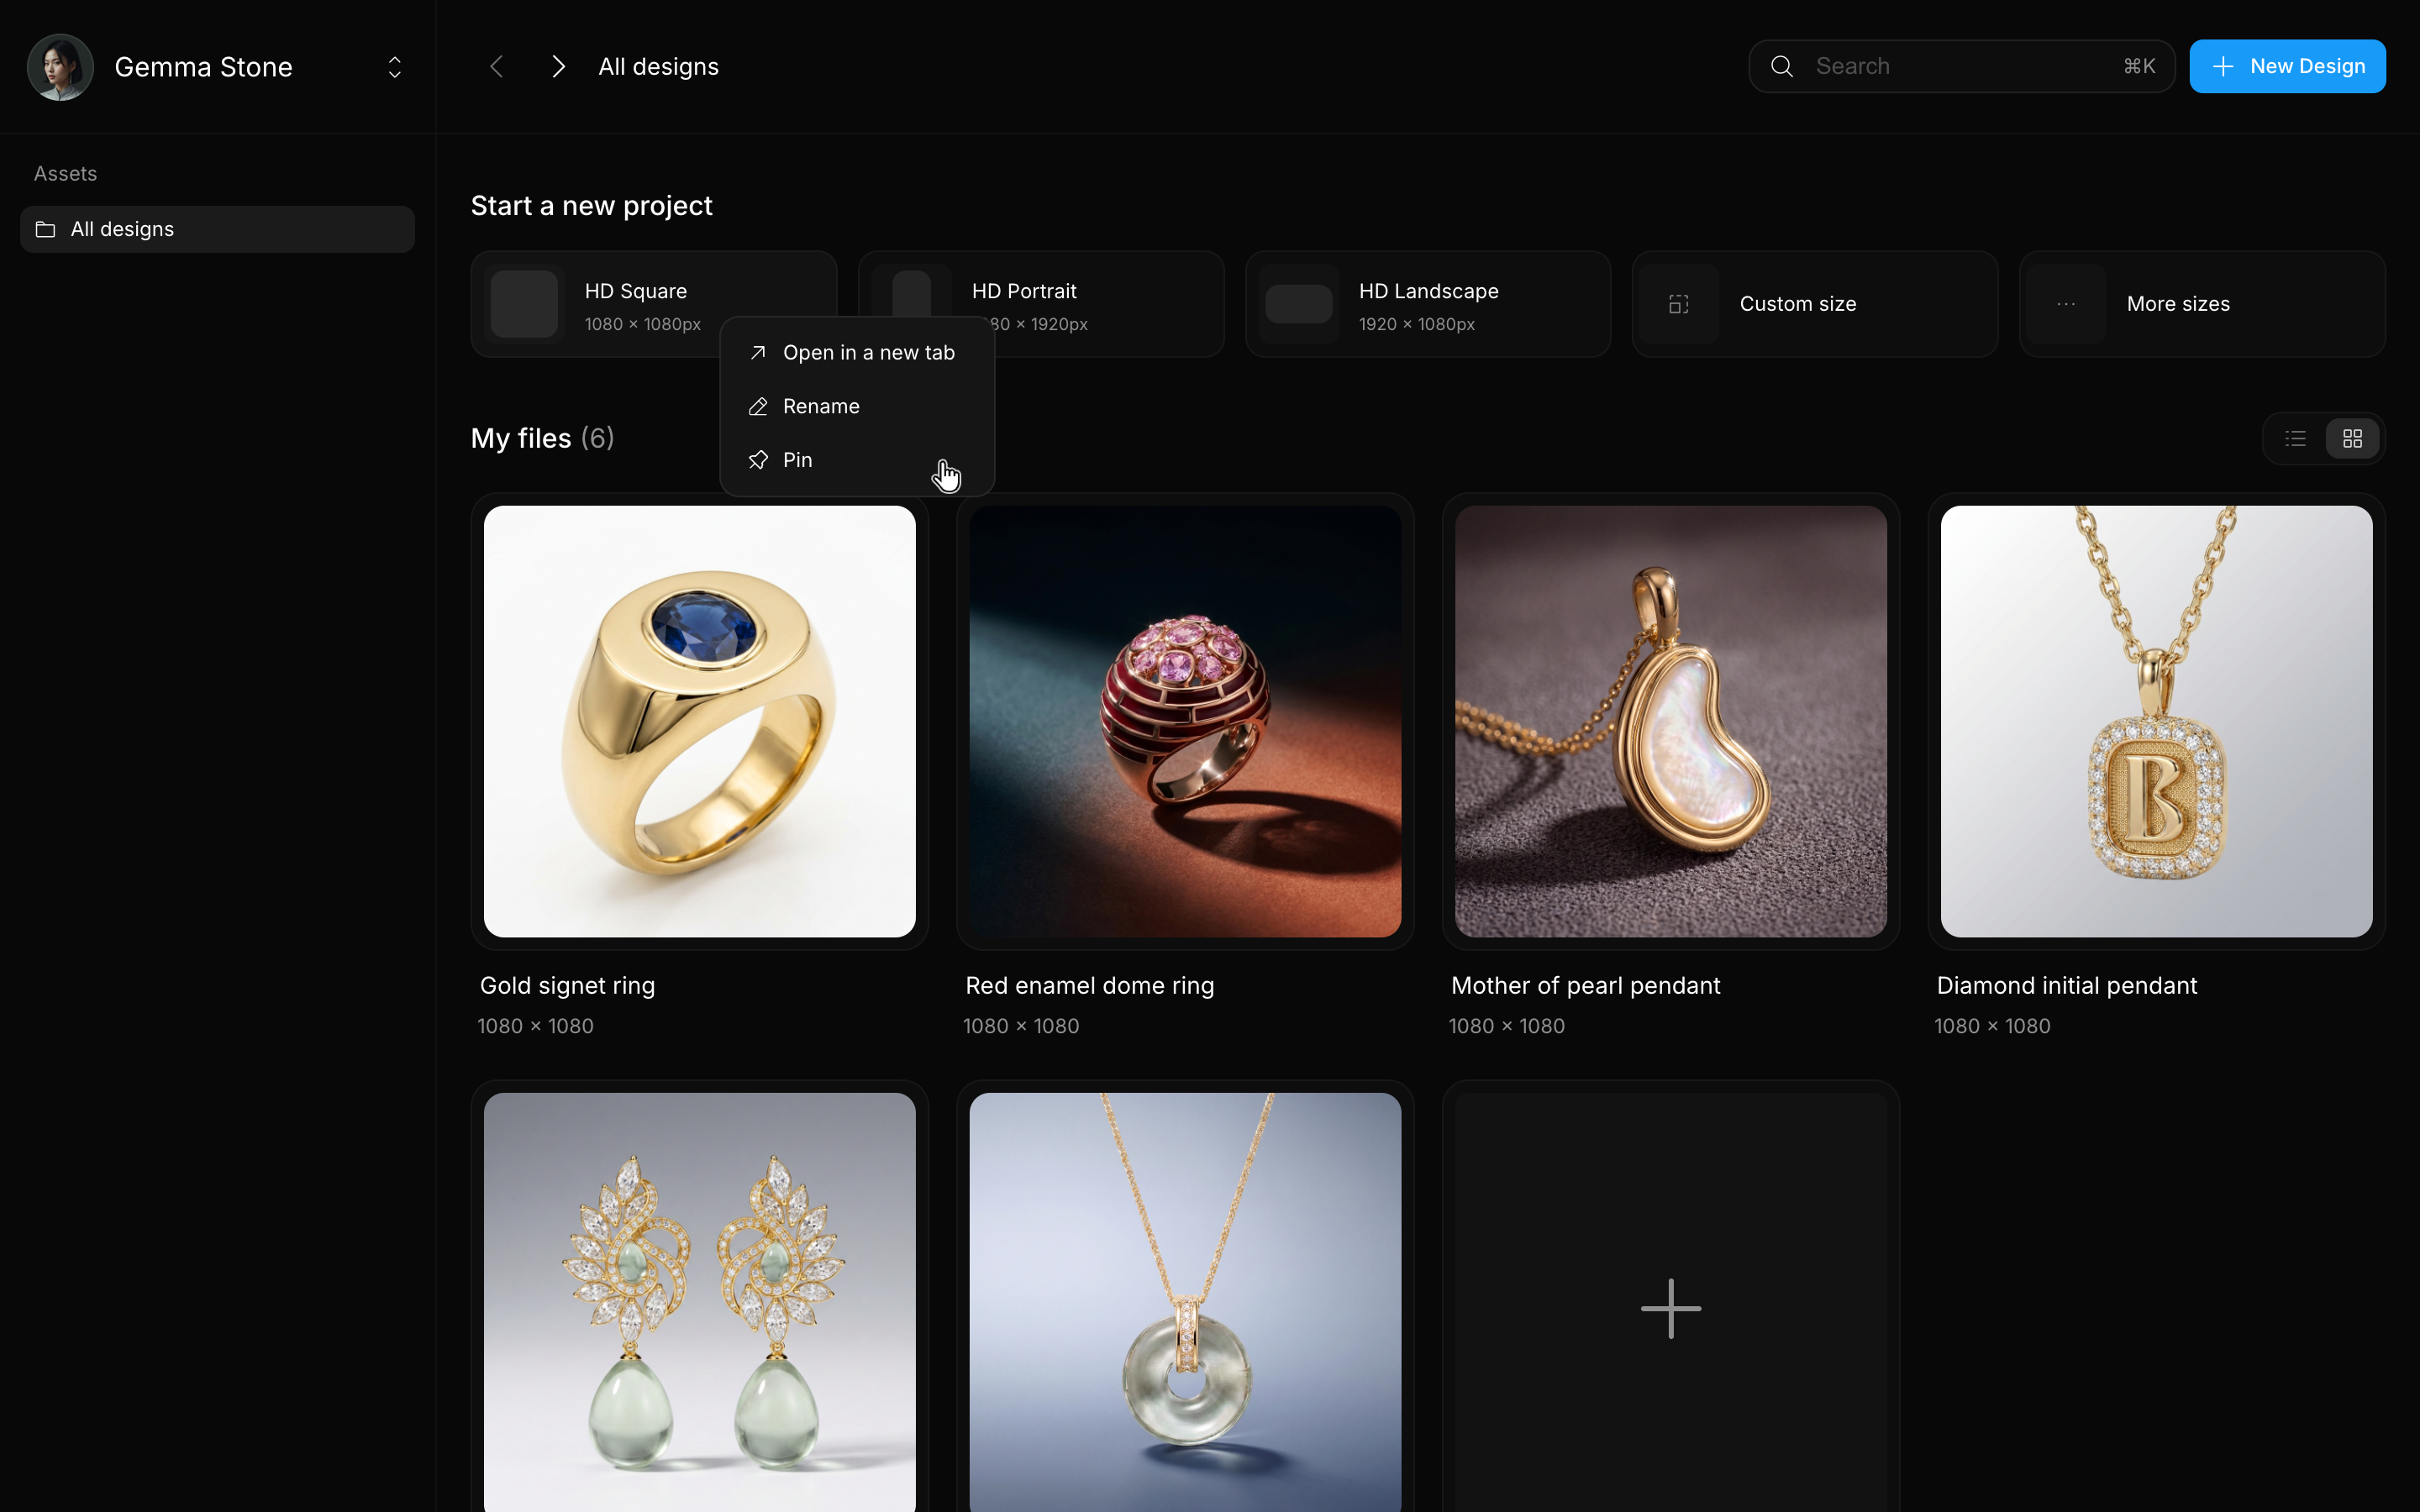
The strip has four cards and remembers how you work: pinned sizes come first, then the custom sizes you used most recently, then the built-in favorites. While there is room and no custom size on the strip, the Custom size card fills the last spot.
Right-click any card, built-in or your own, and choose Pin to move it to the front of the strip. A pinned card shows a pin icon; click the icon, or choose Unpin, to release it. The same menu also offers Open in a new tab, which starts a project at that size without leaving the dashboard.